I had the pleasure of working with Offbeat’s first Virtual Influencer, Zero from Nexus. I got to help in the back-end with Zero with his Live streaming on Twitch, create funny TikToks, present him Live in Expo’s and tell his story to the world of how he woke up in his bunker in the Nexus Universe.
Where needed, work with our motion capture performers to ensure successful daily livestreams. Where needed, support our Tech Directors in developing new streaming gimmicks/games/experiences.
Primarily, create artistic and story driven virtual environments for future characters to perform in, while providing feedback on the art direction as it informs environment development needs.
Make improvements and upgrades to existing environments under the direction of our Art Directors.
Continue to implement and learn how to use new features that was added to the systems, ensuring I know the ins and outs of the streaming system.
Collaborate with Production and Tech Directors to improve pipelines efficiency and ease of use based on what I learn and know.
Share any developments/insights that may contribute to the pipeline, various projects, or the team.
Current - Known as Project One:
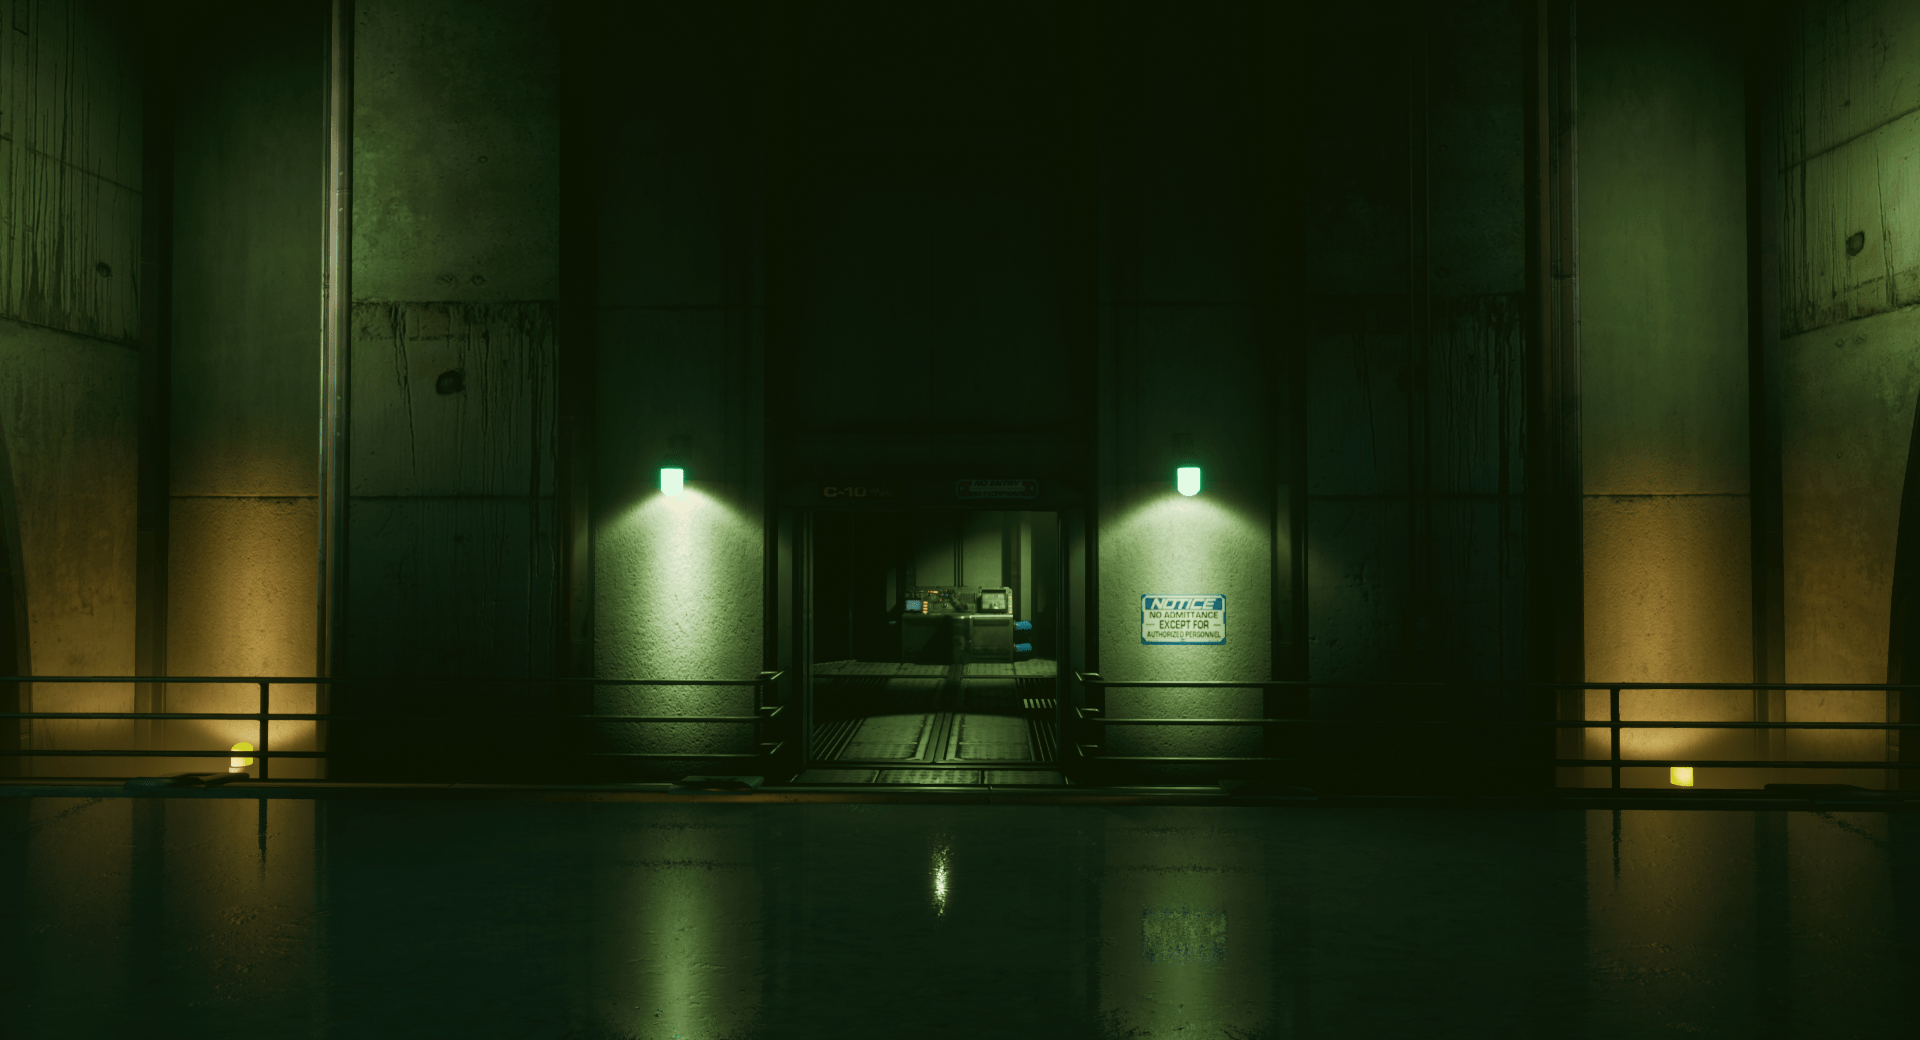
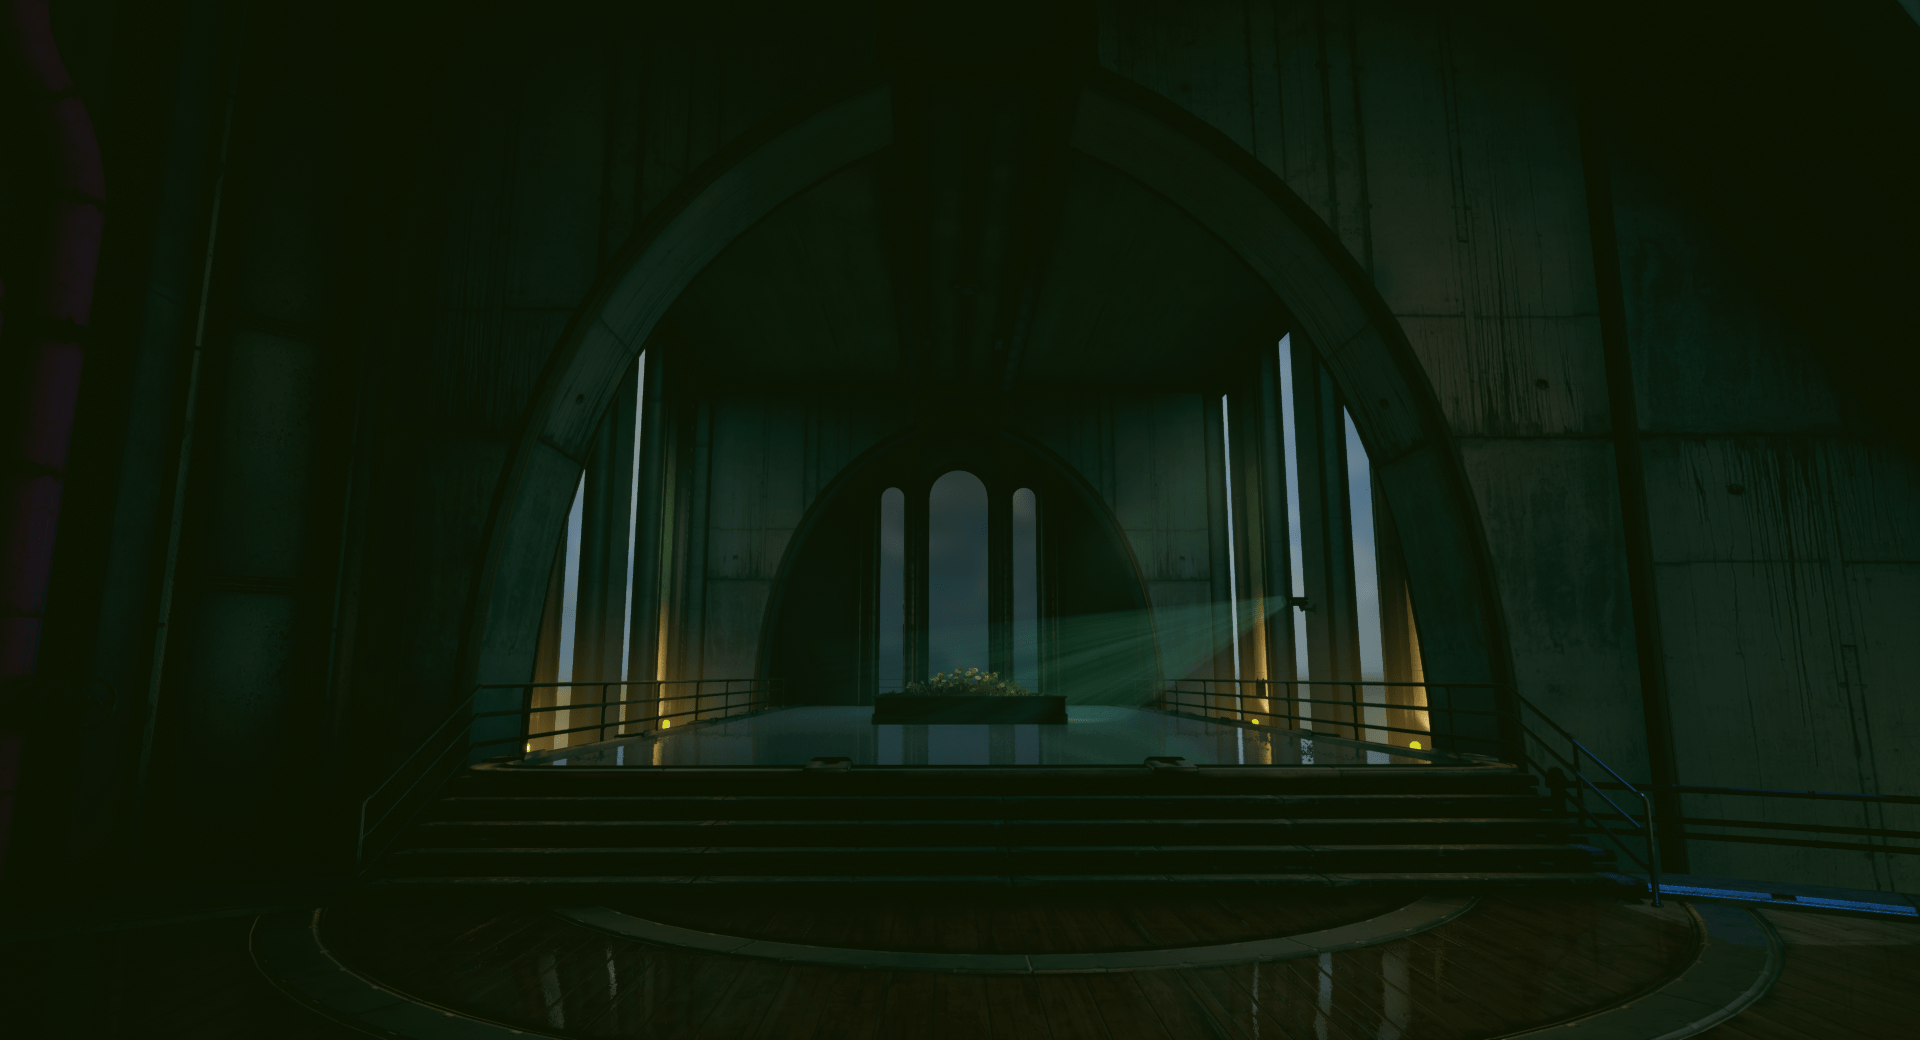
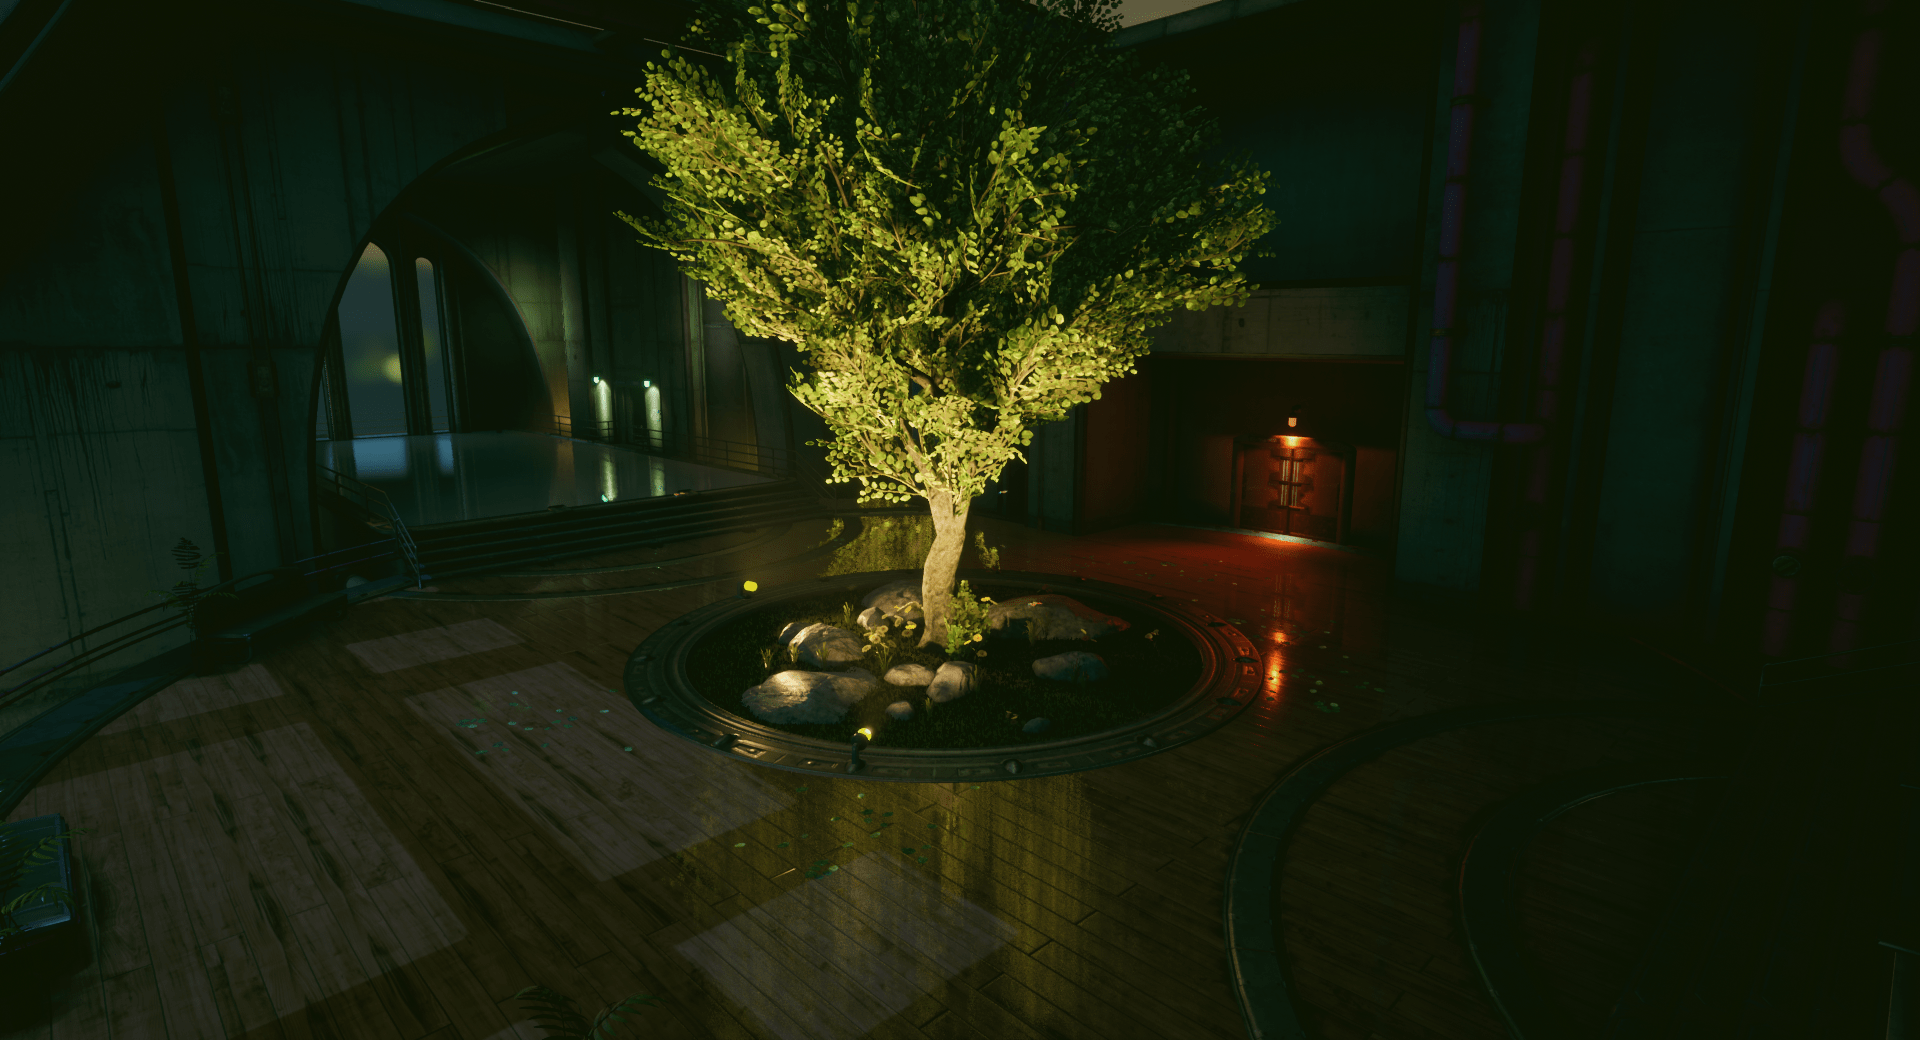
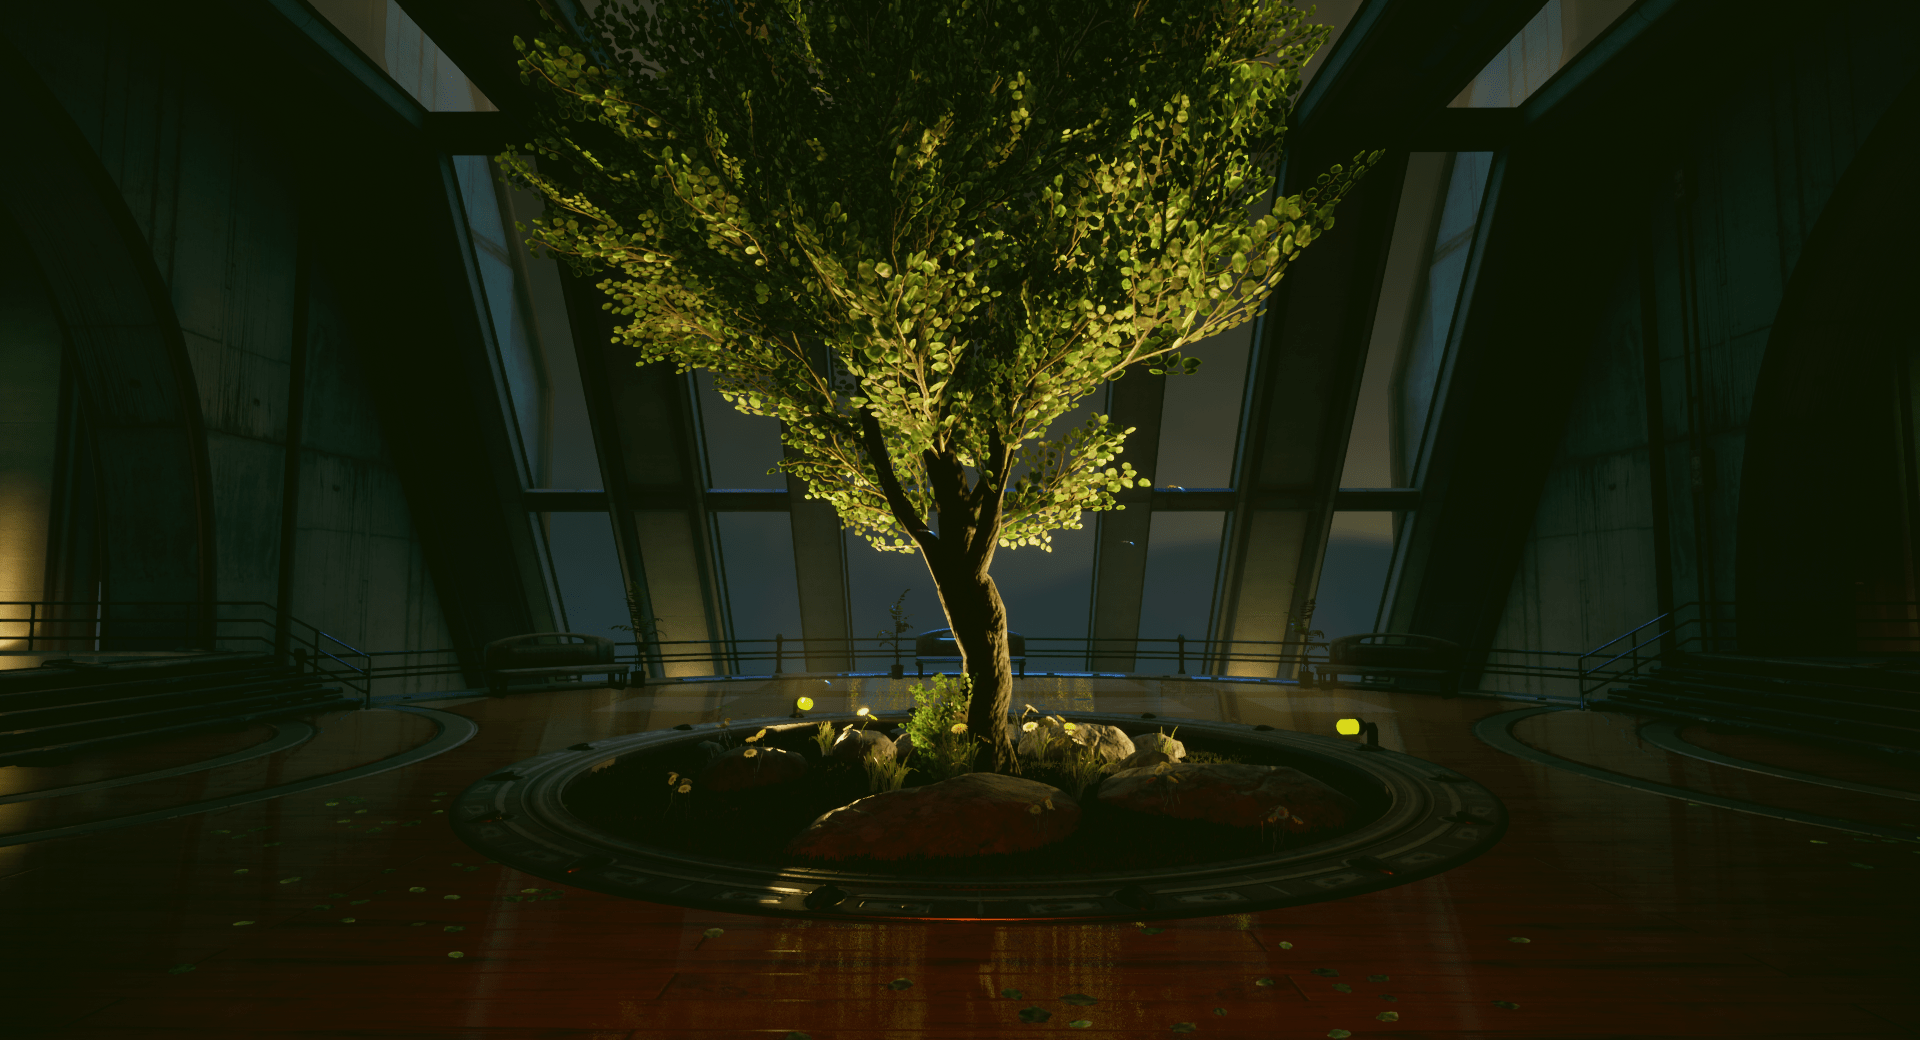
While working for Offbeat Media Group, my primary responsibility as a new Unreal Engine Generalist was to create environments that would be later used for future Virtual Influencers to perform in. I had to provide feedback on the art direction as it informs environment development and I made improvements and upgrades to existing environments under the direction of our Art Directors.
For the time being, the information that is currently out on Project One can be found on the Discord.
To learn more about Virtual Influencers and the teams progress here:
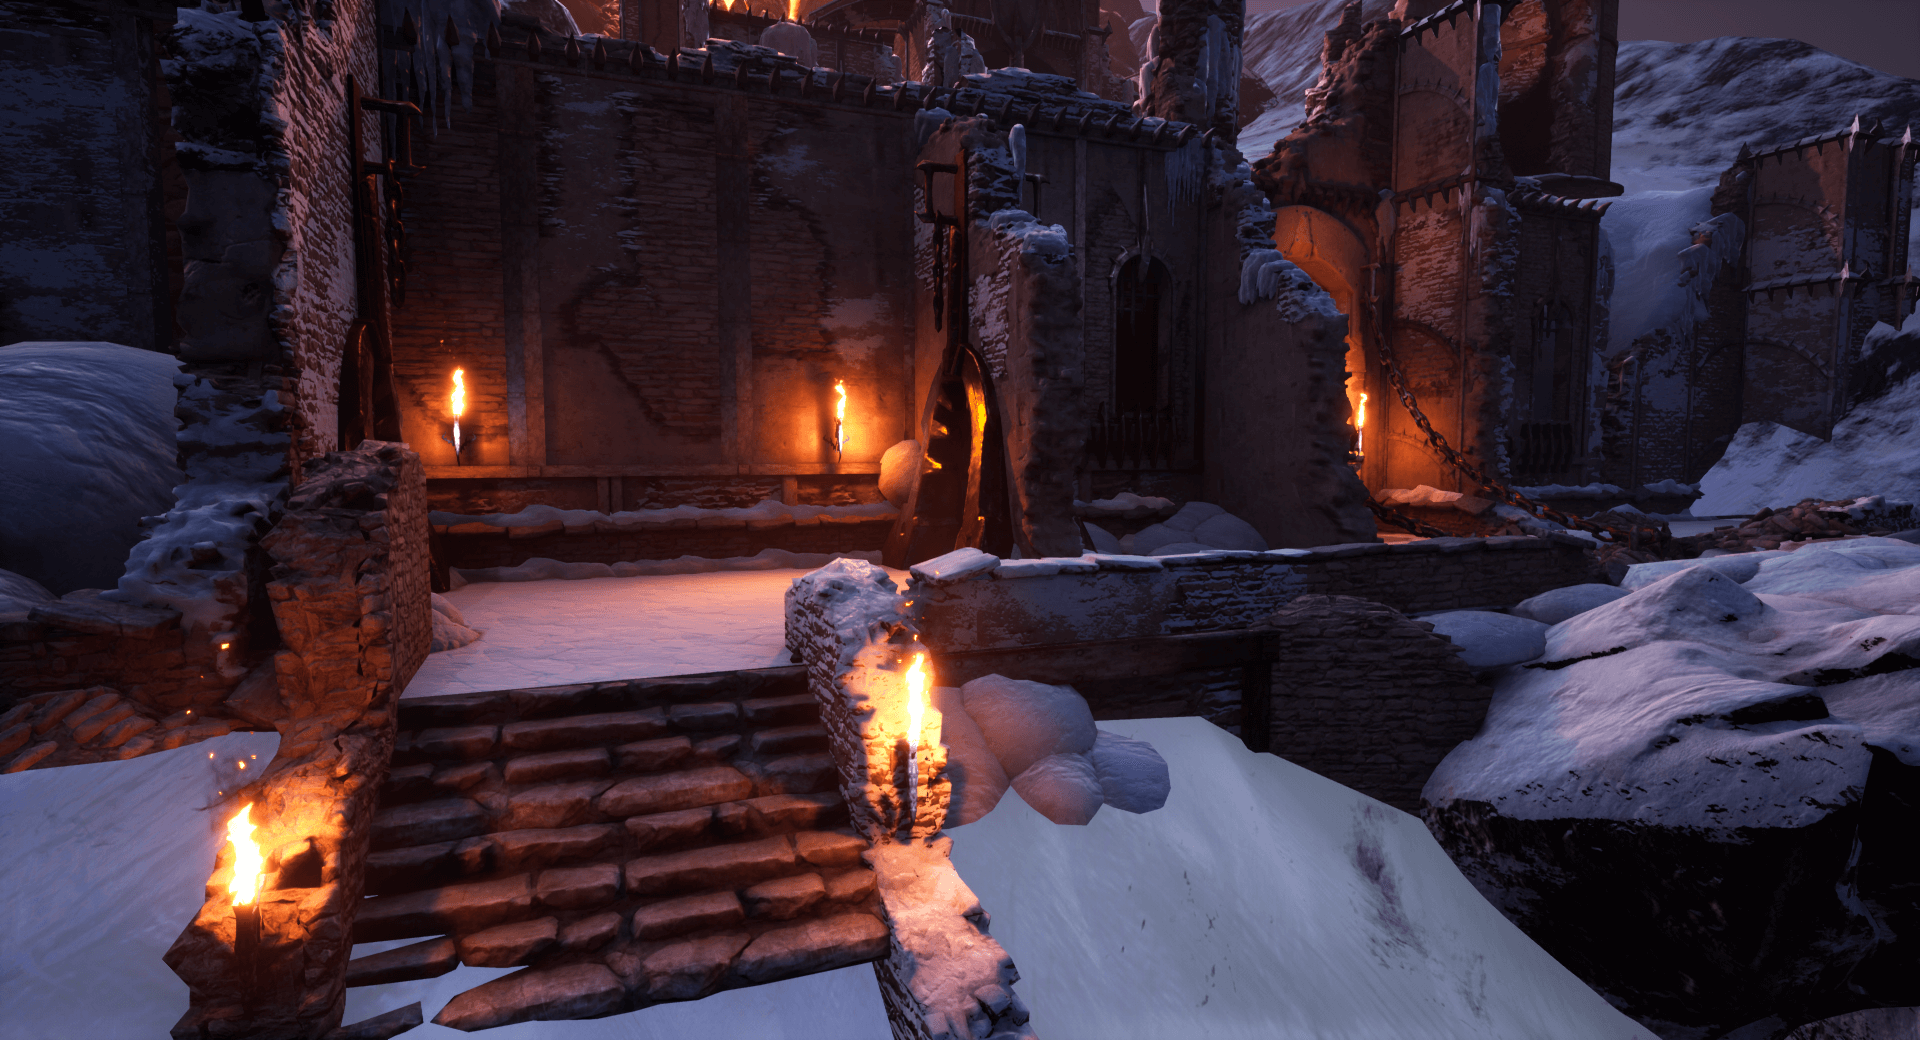
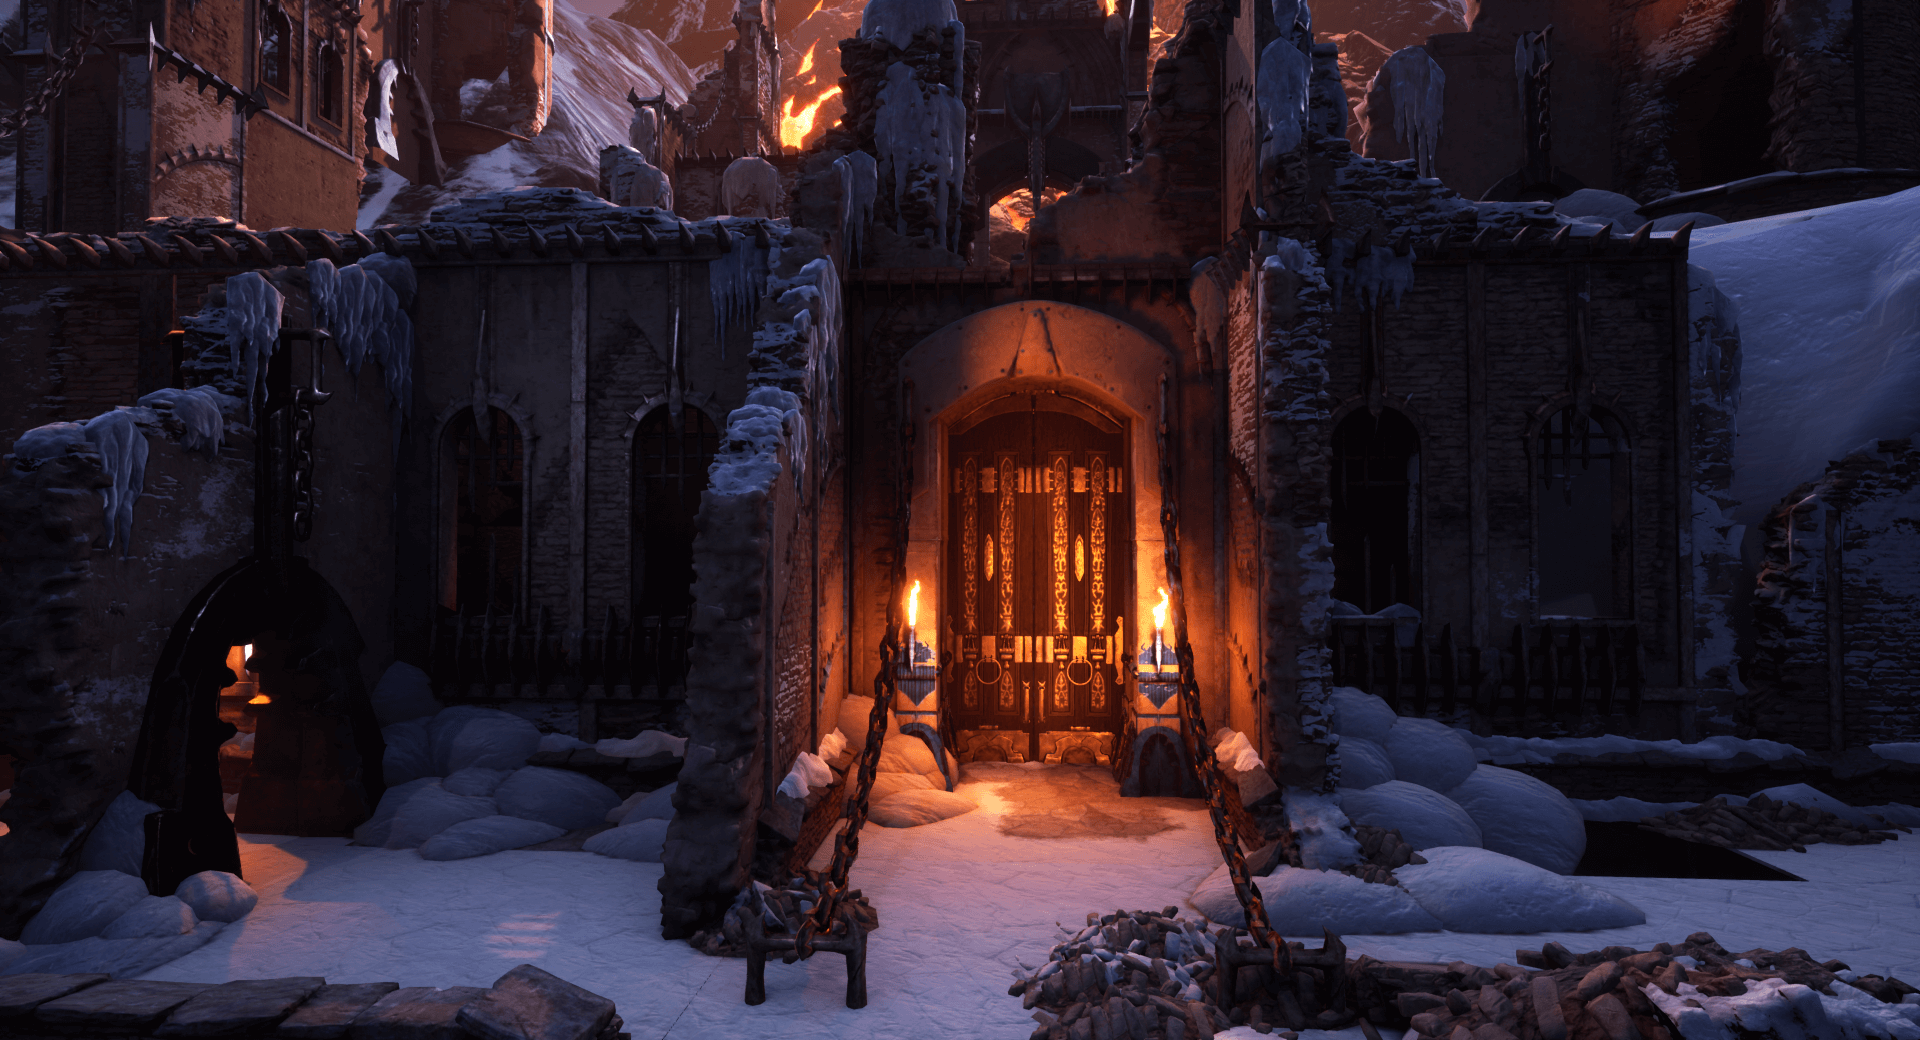
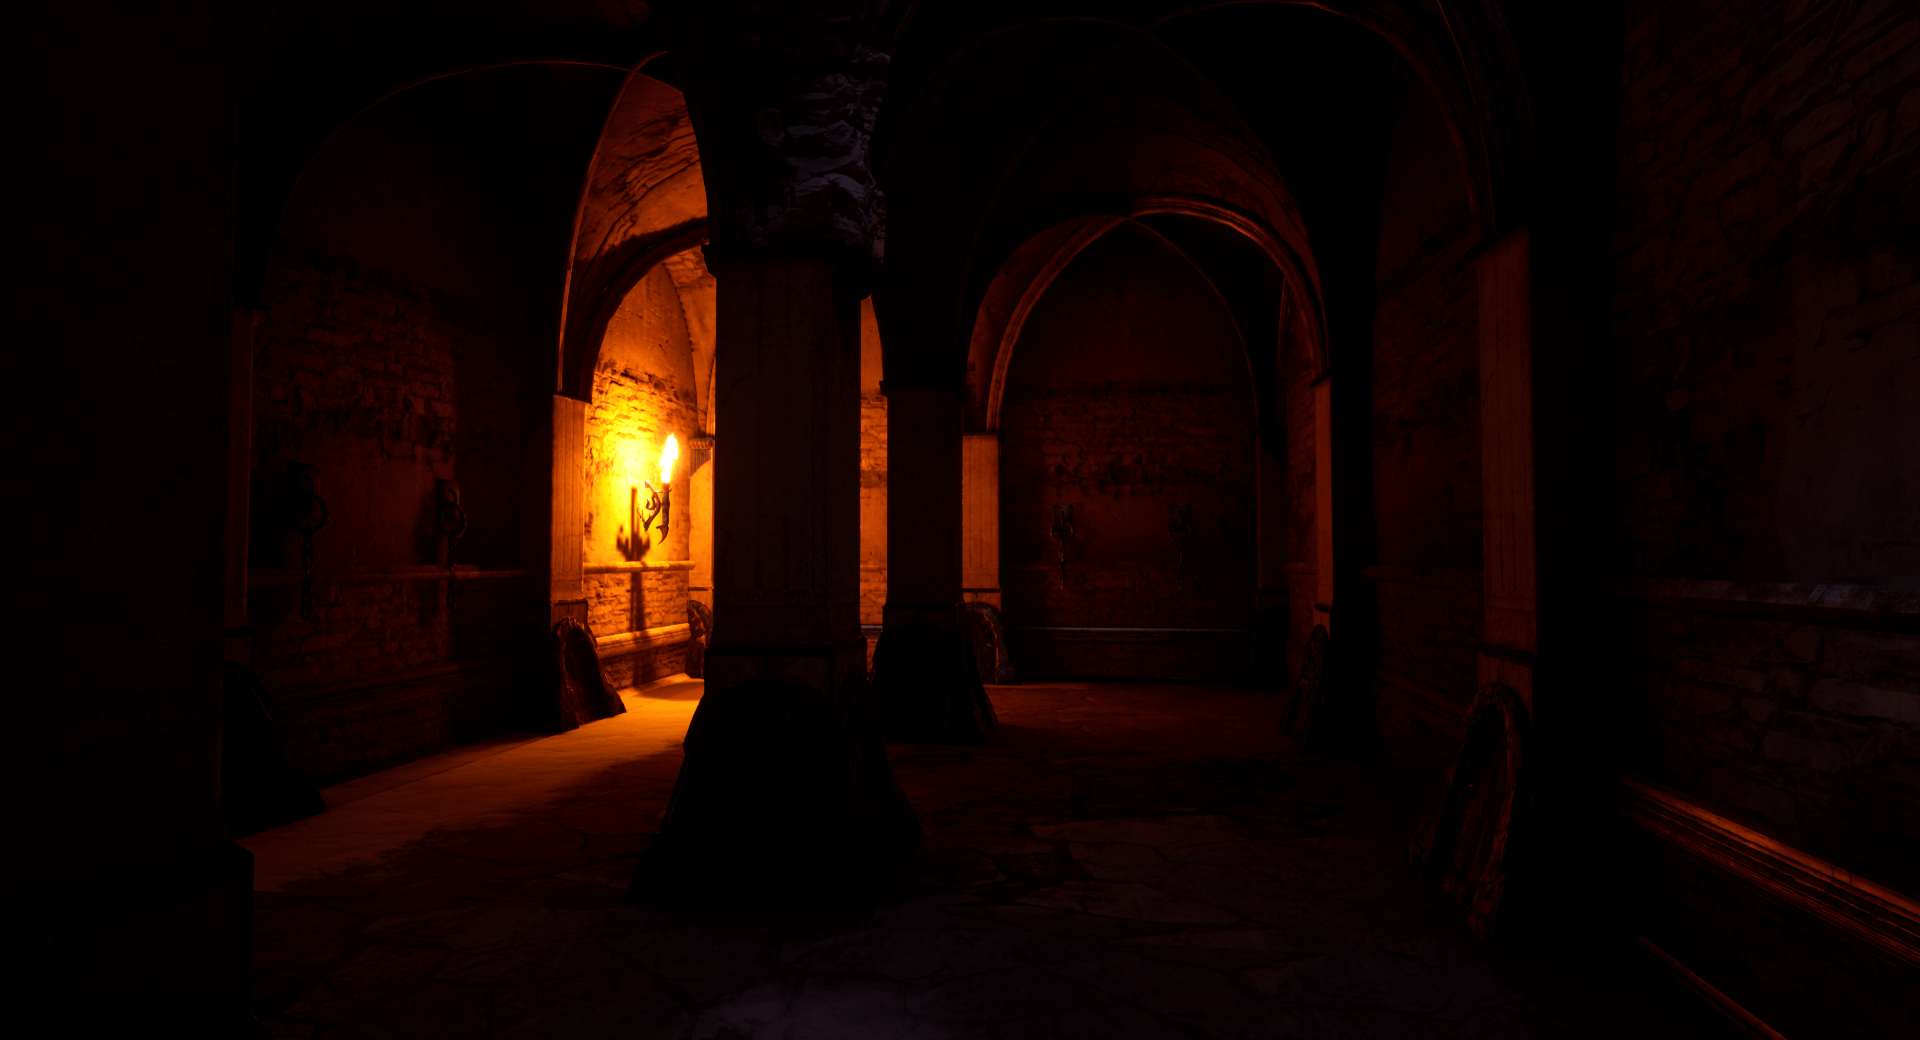
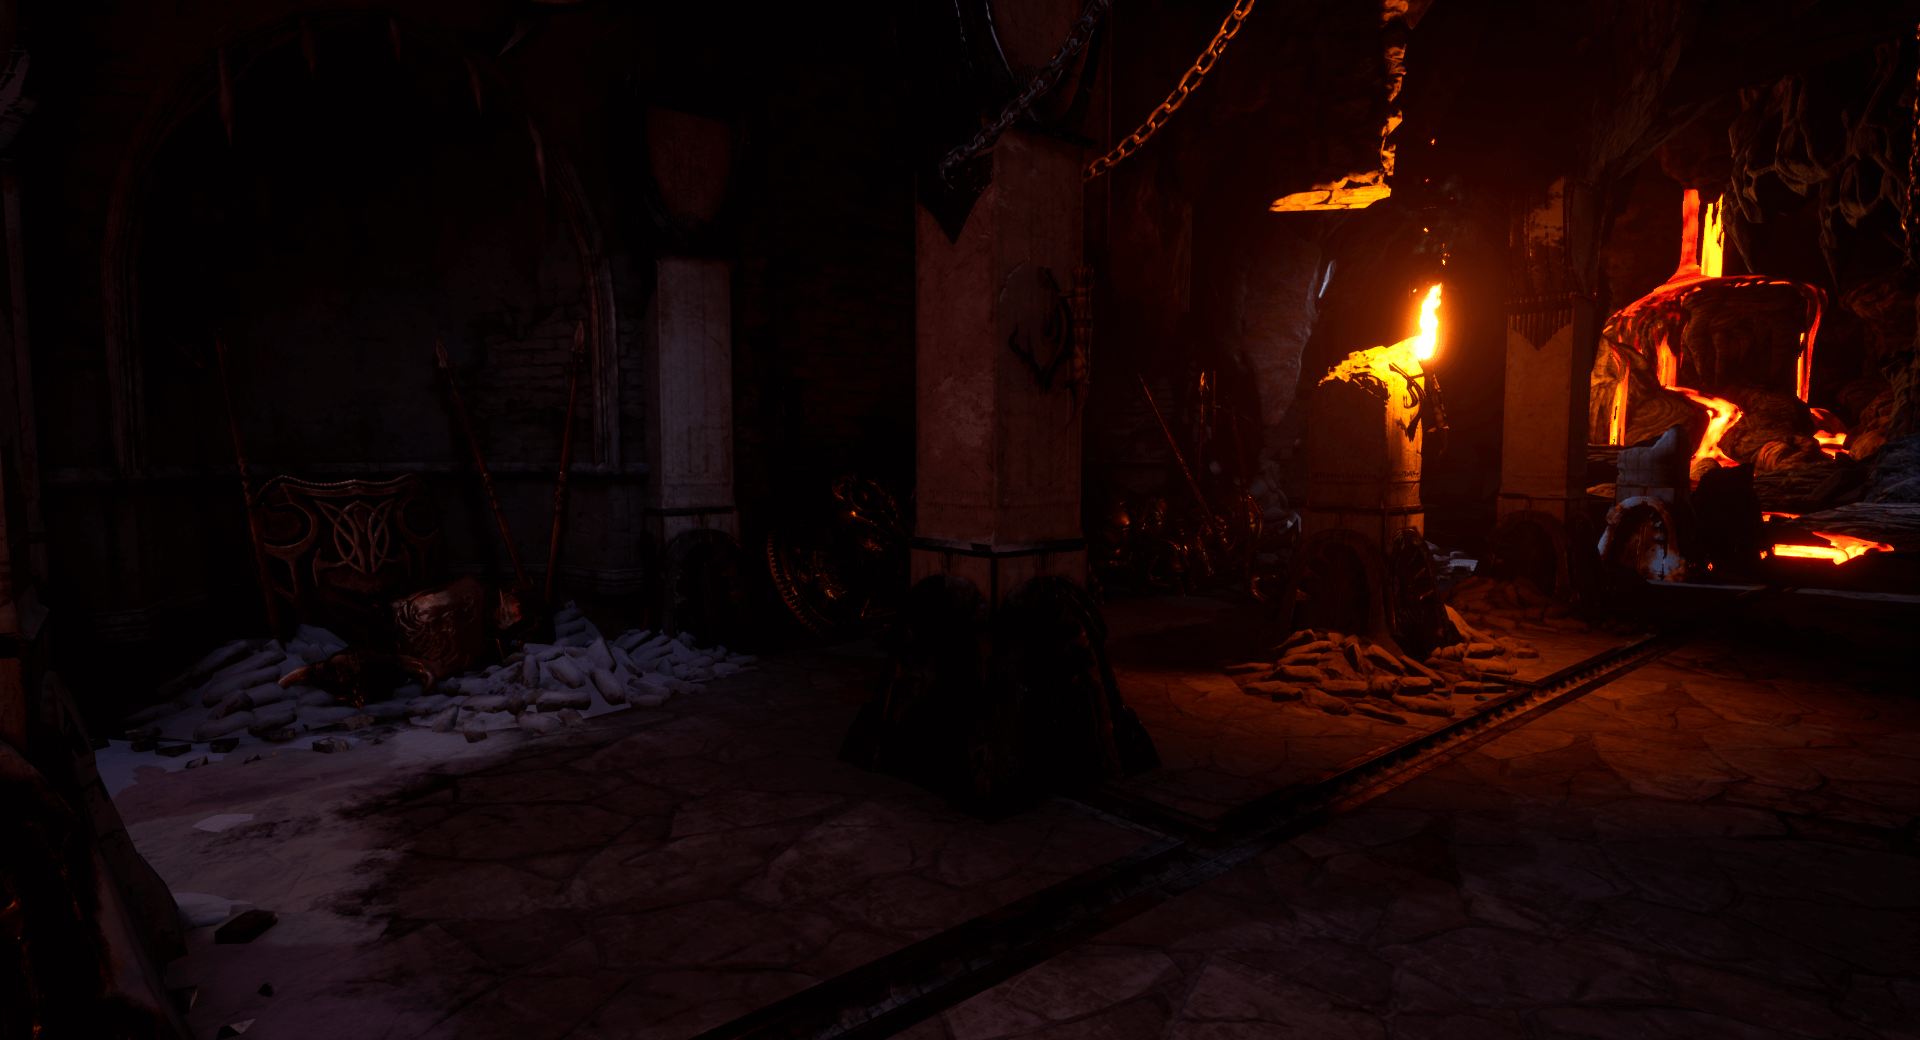
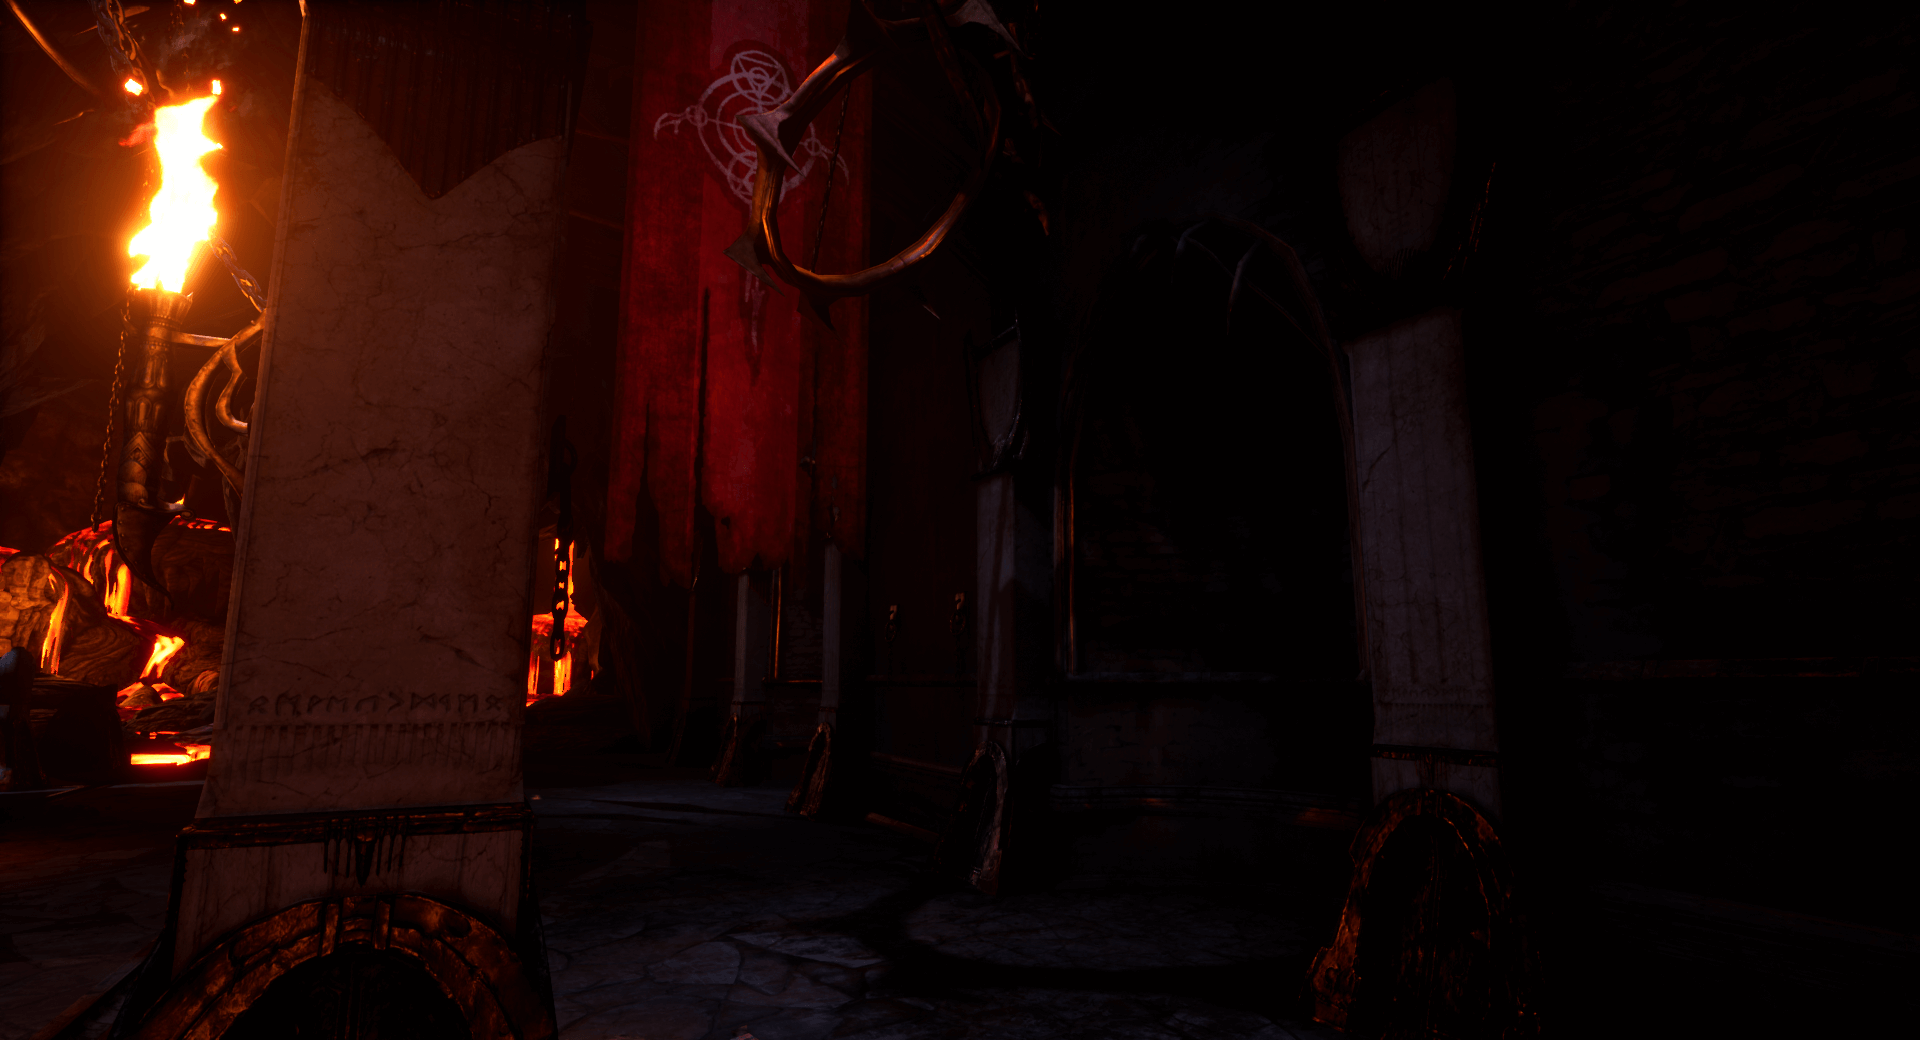
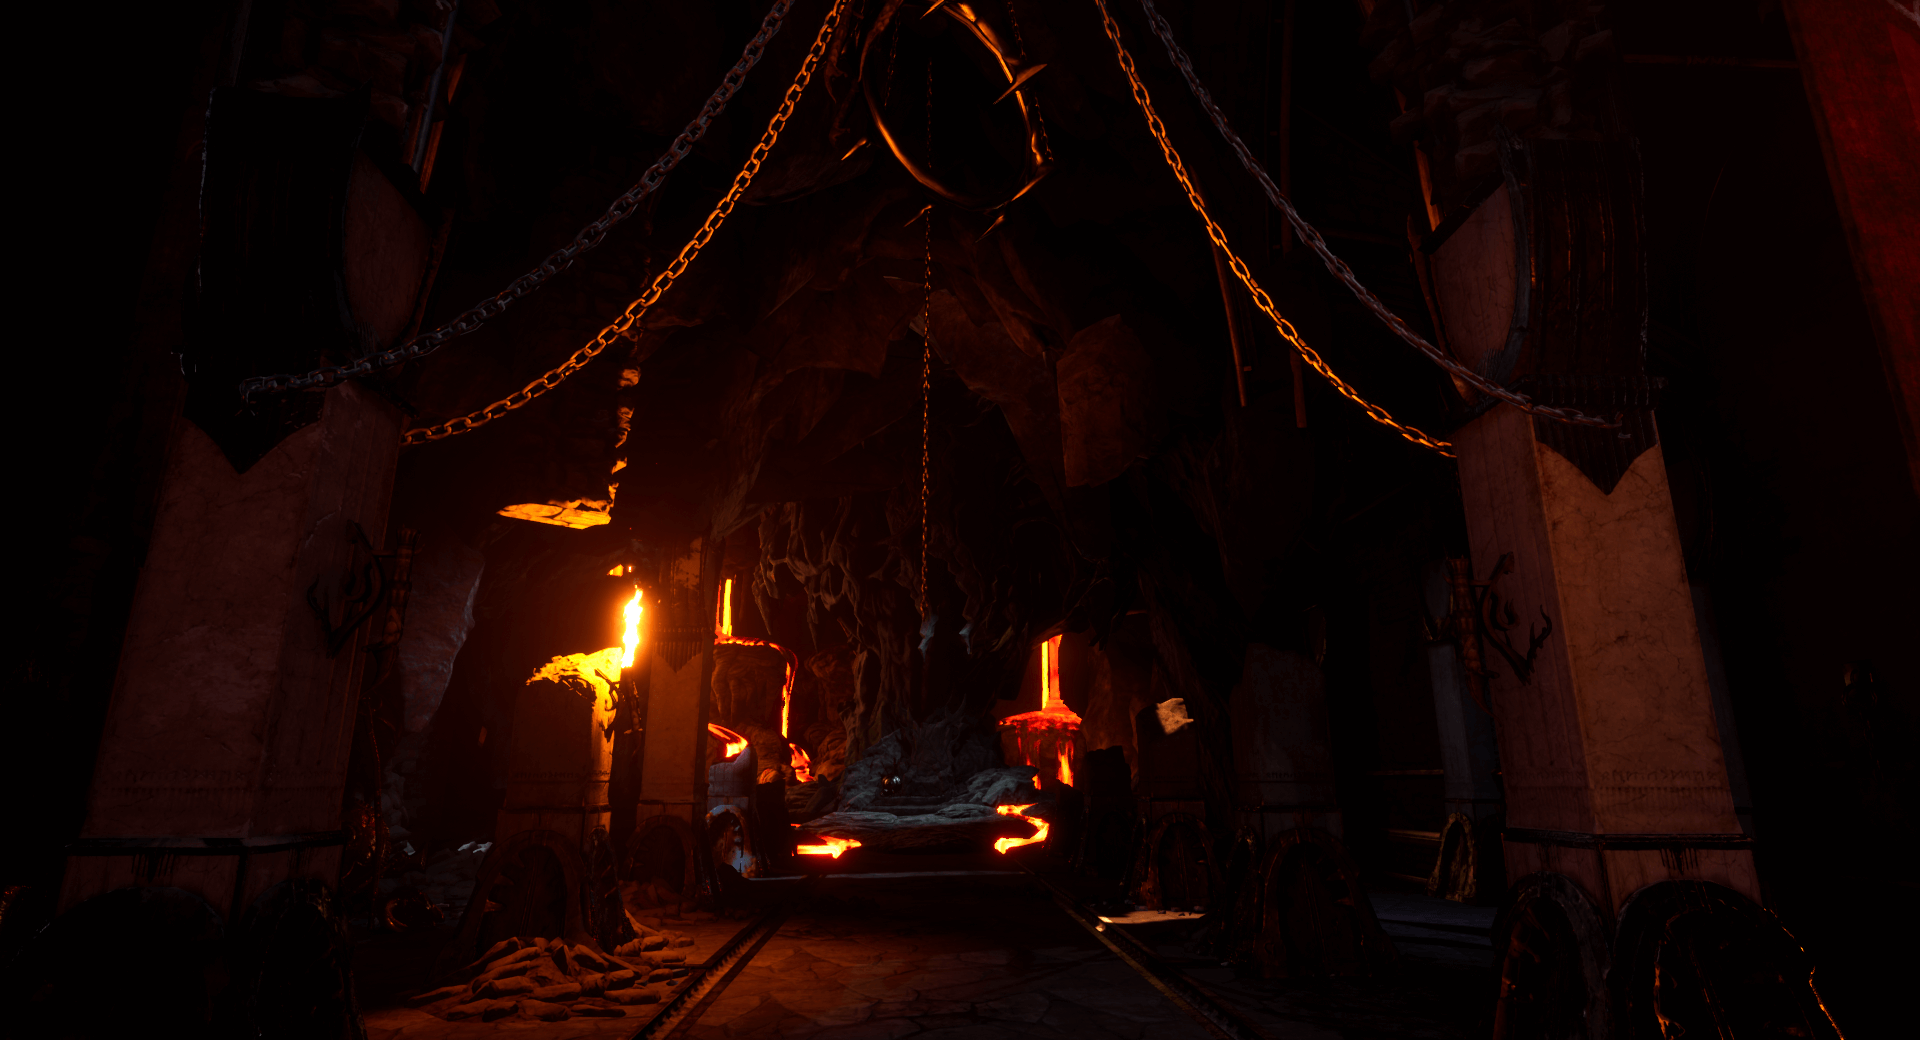
A relighting of this ruined castle for gameplay. Enjoy this castle that can be used for gameplay. Explore the hidden treasures and be careful of the king who still rules here.
Type of project:
Lighting Project
Duration:
2
Week
Software used:
Unreal Engine 4
Asset Pack:
Elemental Demo
Objectives
How to think about light for games, from practical production POV.
Considering player pathing, and mood.
Gathering references
Setting up the sun direction, color, and intensity.
Setting up the Sky light (LBL)
Setting up the Sky dome.
Setting up simple reflections.
Setting up Lightmass Importance volume.
Adding Fog, Color Gradient, and Post-Processing
Looking for separation of foreground and background elements.
Gameplay:
Image Gallery:
Process:
If you would like to know my detailed Lighting Process please click on my Subway Sequencer Portfolio piece.
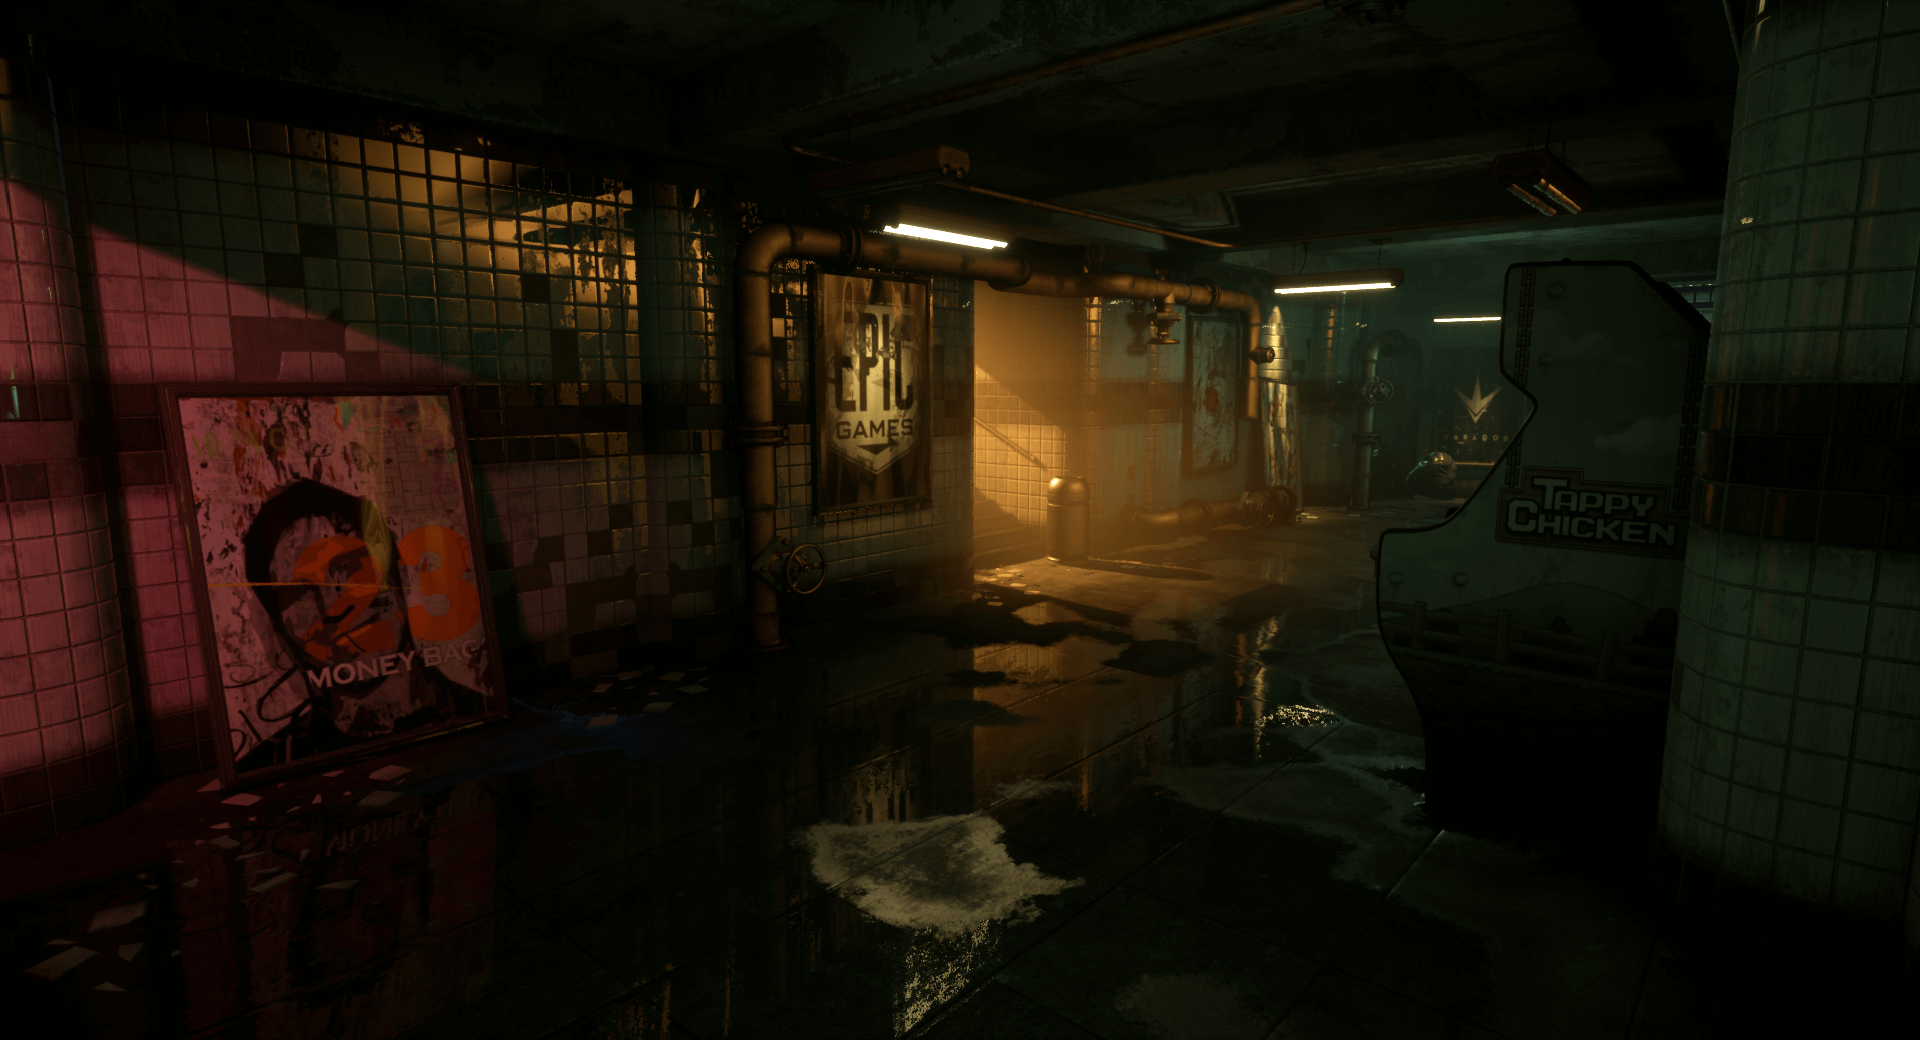
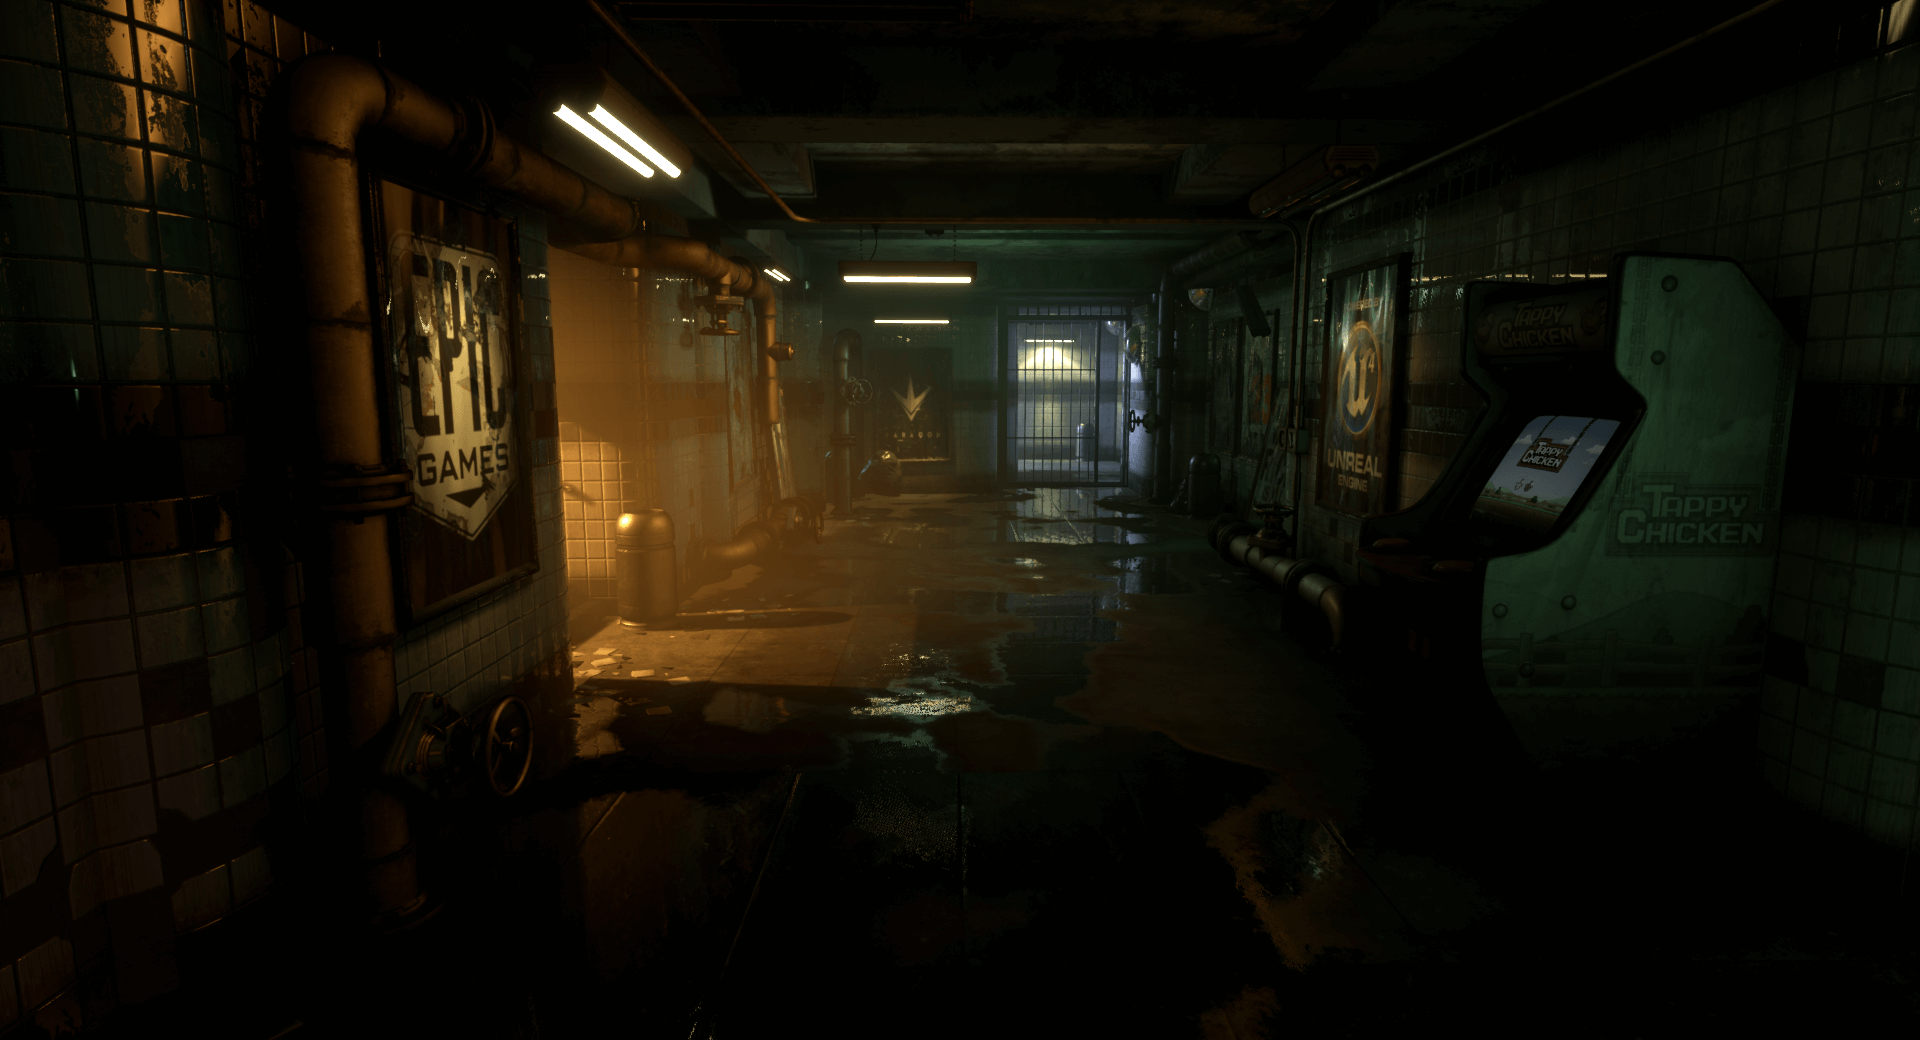
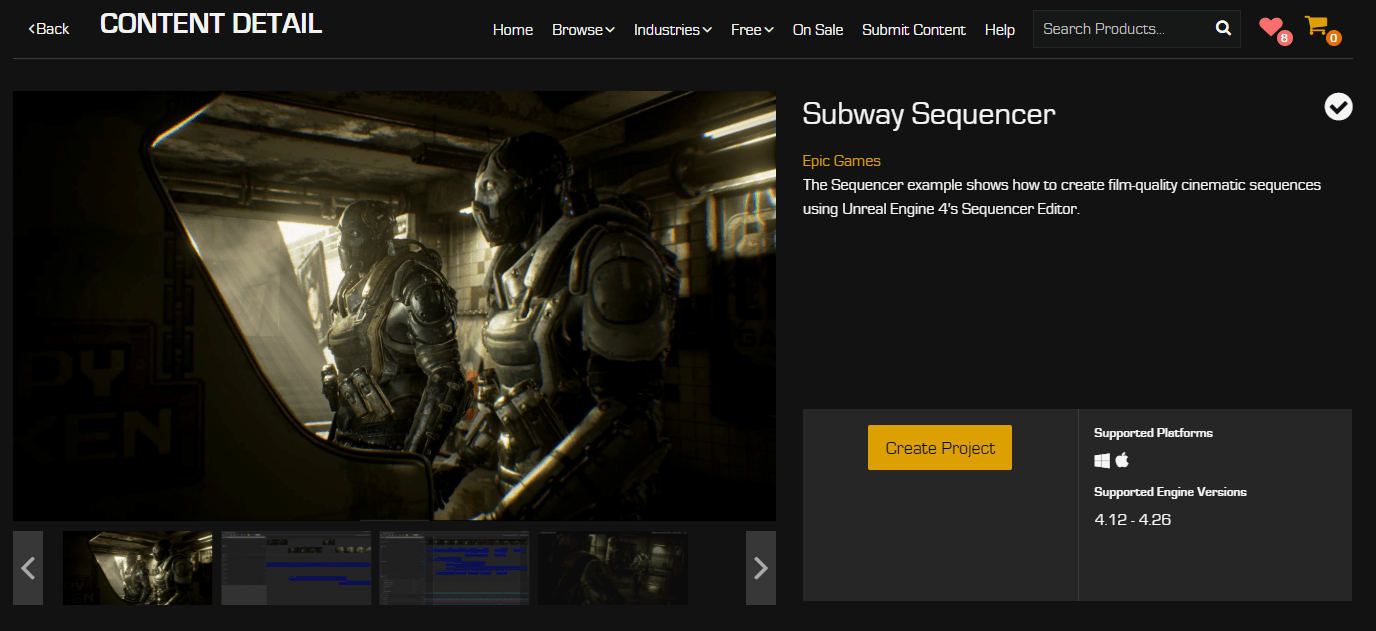
A relighting of of this game cut-scene in Sequencer. Watch as these two enemies go up against each other in a video game match. Who will be champion?
Type of project:
Lighting Project
Duration:
2 Week
Software used:
Unreal Engine 4
Asset Pack:
Subway Sequencer
Objectives
Working with an interior environment.
Lighting the scene for a fixed or limited camera perspective.
Considering special cases: dynamic conditions, moving platforms, scripted lights.
Setting up simple reflections.
Setting up Lightmass Importance volume.
Adding Fog, Color Gradient, and Post-Processing
Working with 3-point light rig, determining readability.
Integrating the characters with the background lighting.
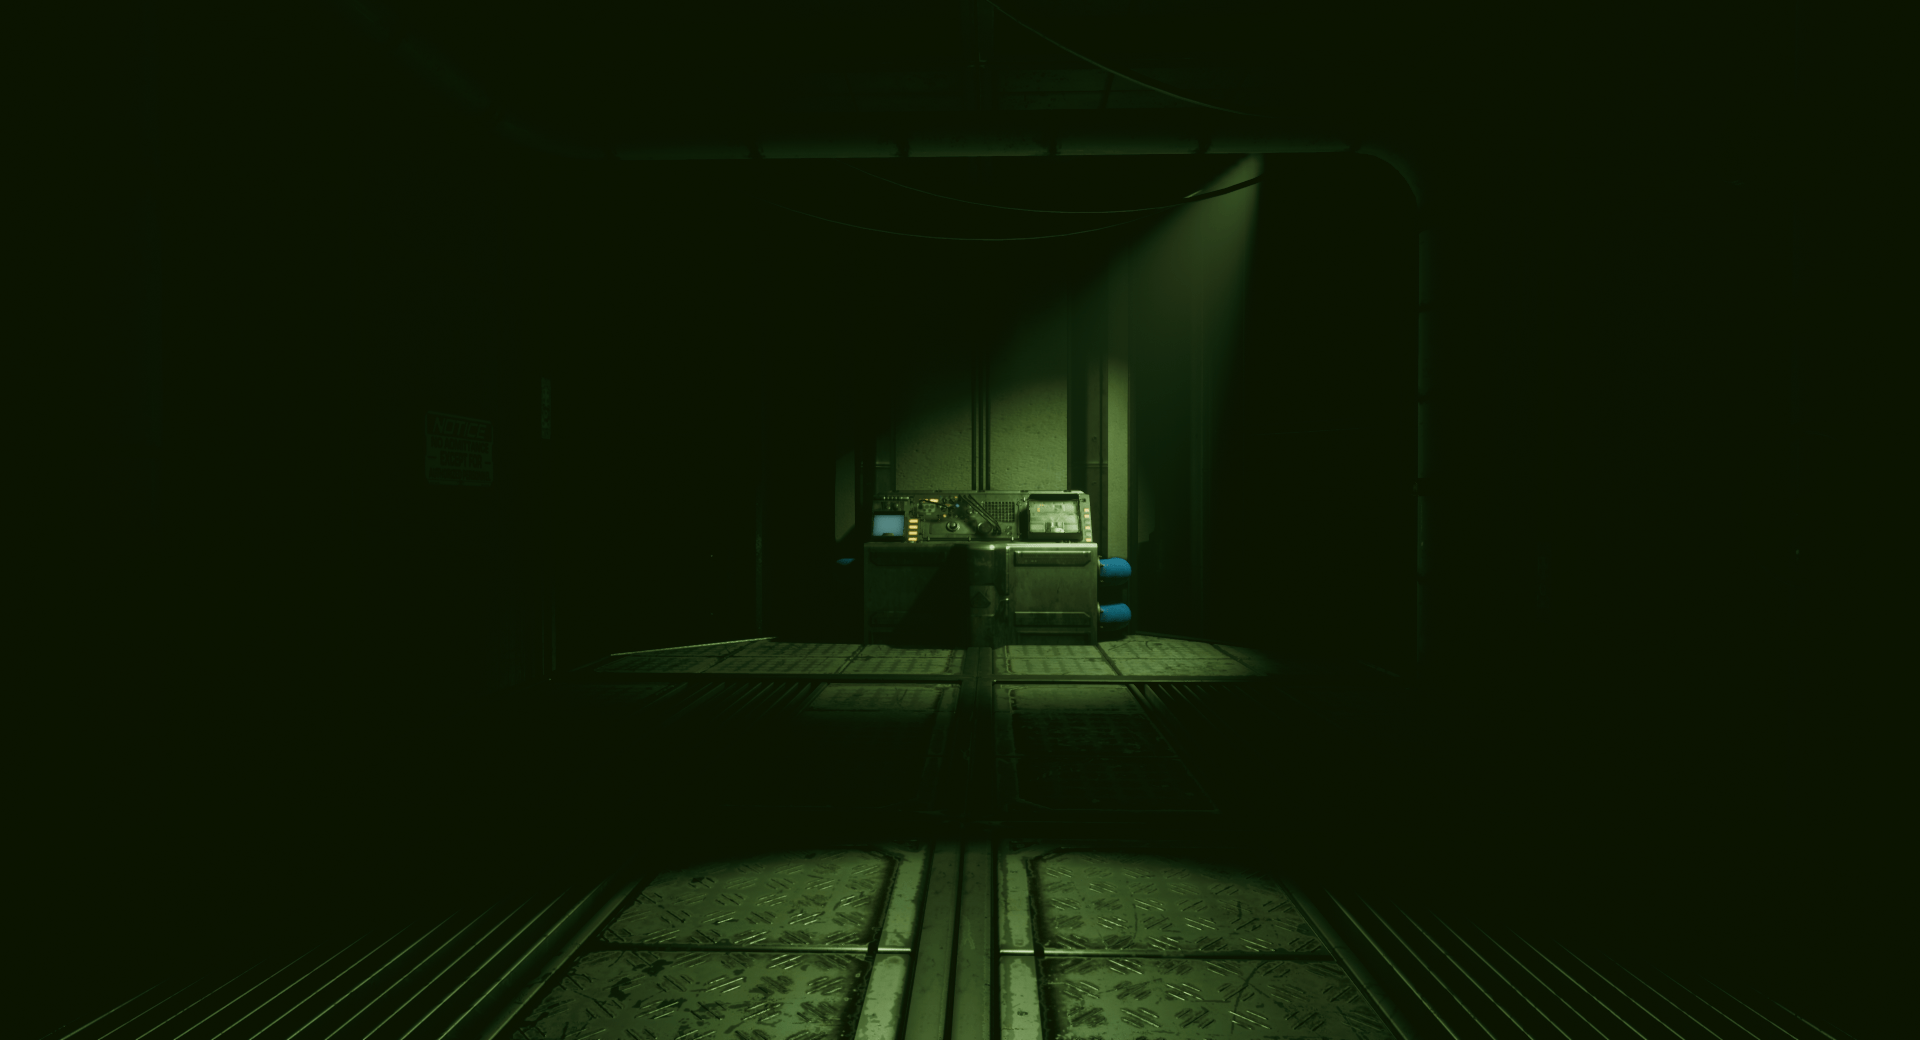
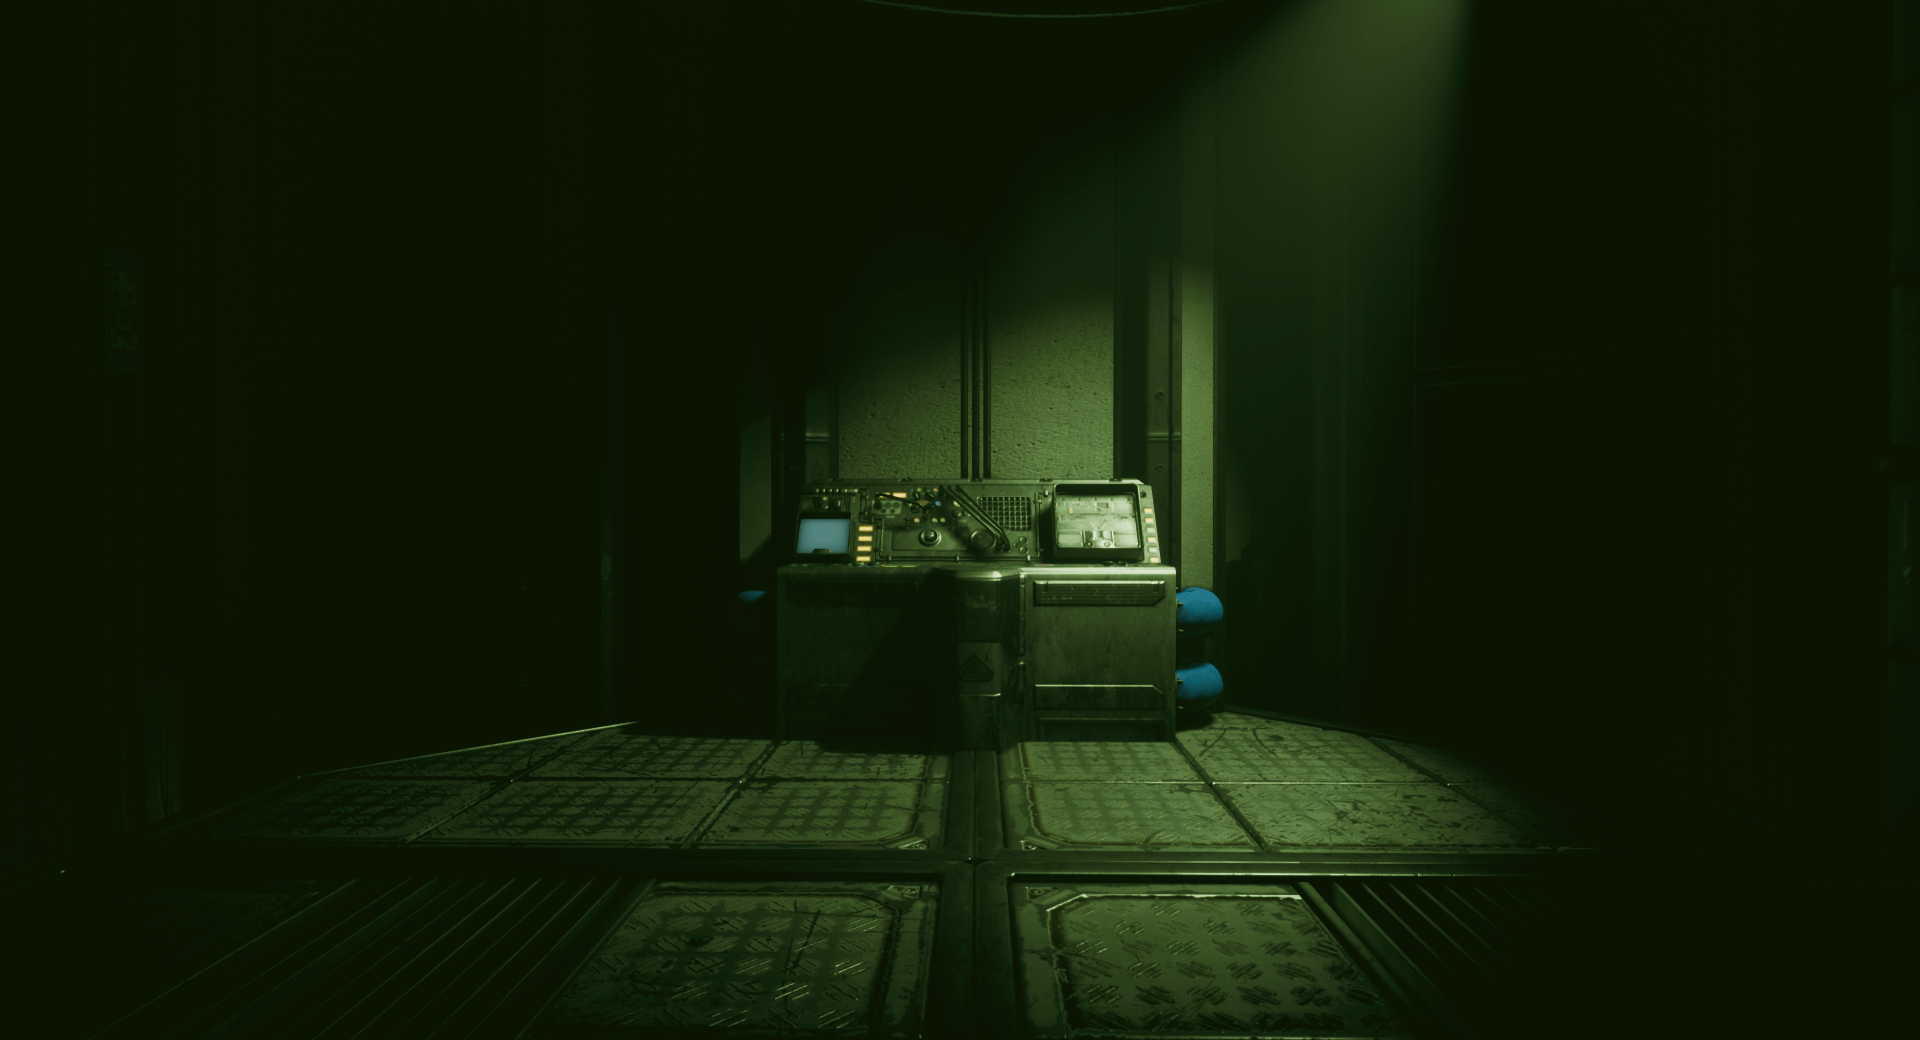
The Solution
Learning from CGMasterAcademy on The Art of Lighting for Games course and FIEA’s Level Design classes has taught me valuable, in-depth techniques on how to light video games and the pipeline and process of how to think like a Lighting Artist. My skills have increased over the course and while I was working on my Masters’s degree. Here is my progress over the weeks for the Action RPG Lighting.
I was responsible for all stages from concept to completion of lighting.
I designed and documented the mood and feel of the environment.
I went through the Lighting Artist Pipeline and removed lights from the file to put in my own.
I calibrated the sun to fit the time of day.
I added appropriate fill lights, spotlights, and fog.
I created a color gradient for the post-processing.
Worked with characters and limited camera perspective.
Sequencer Videoplay:
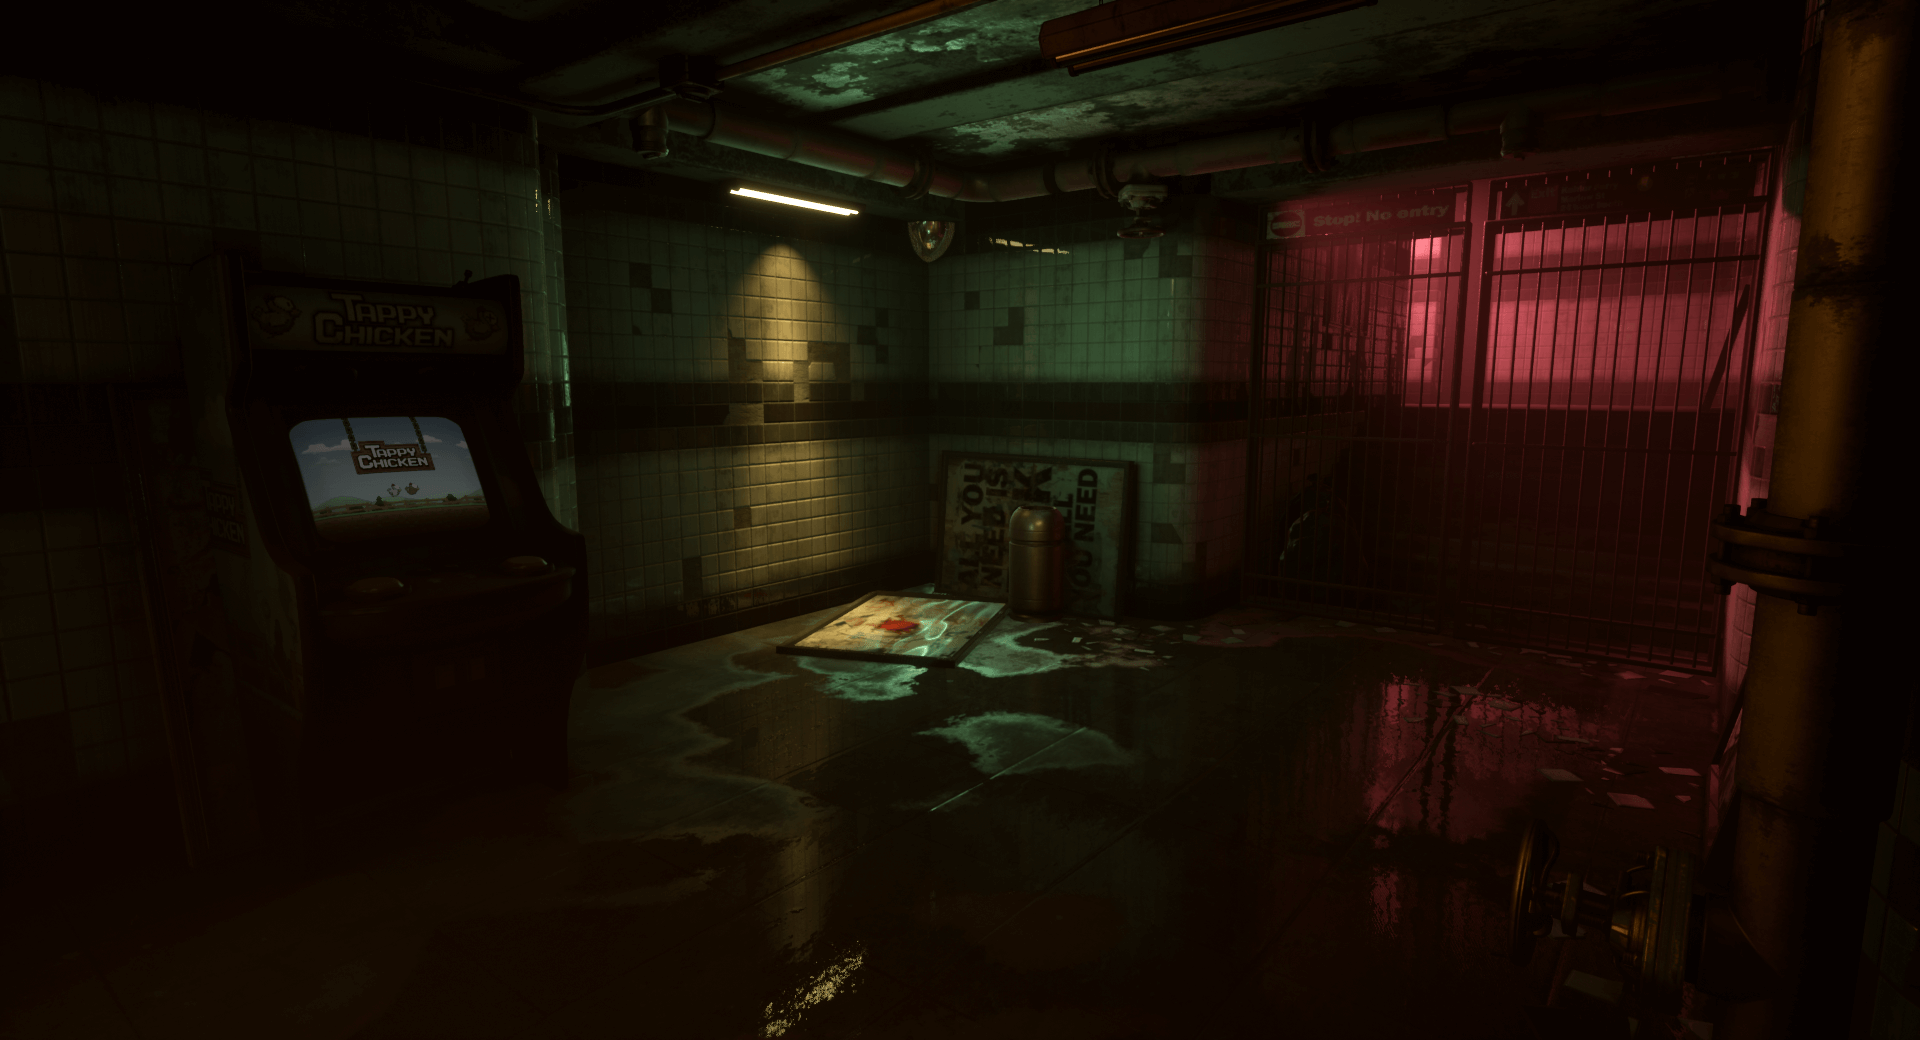
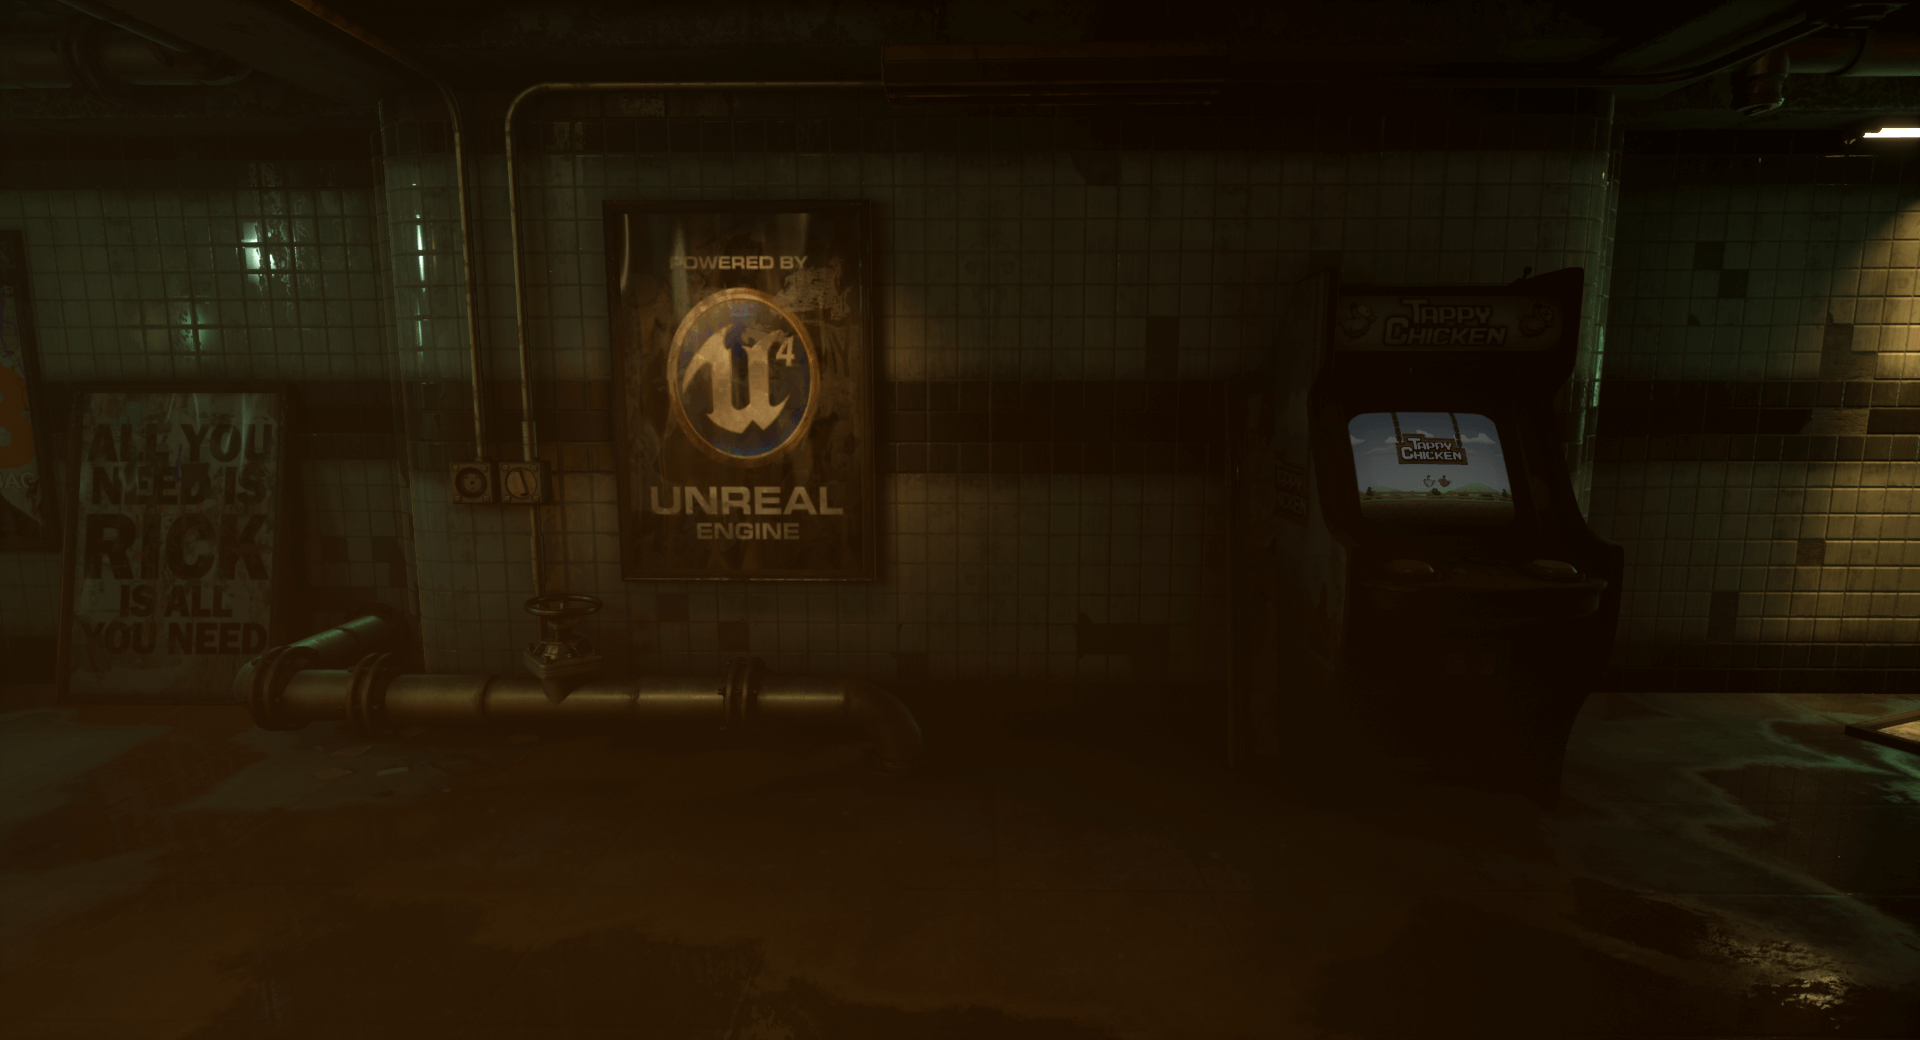
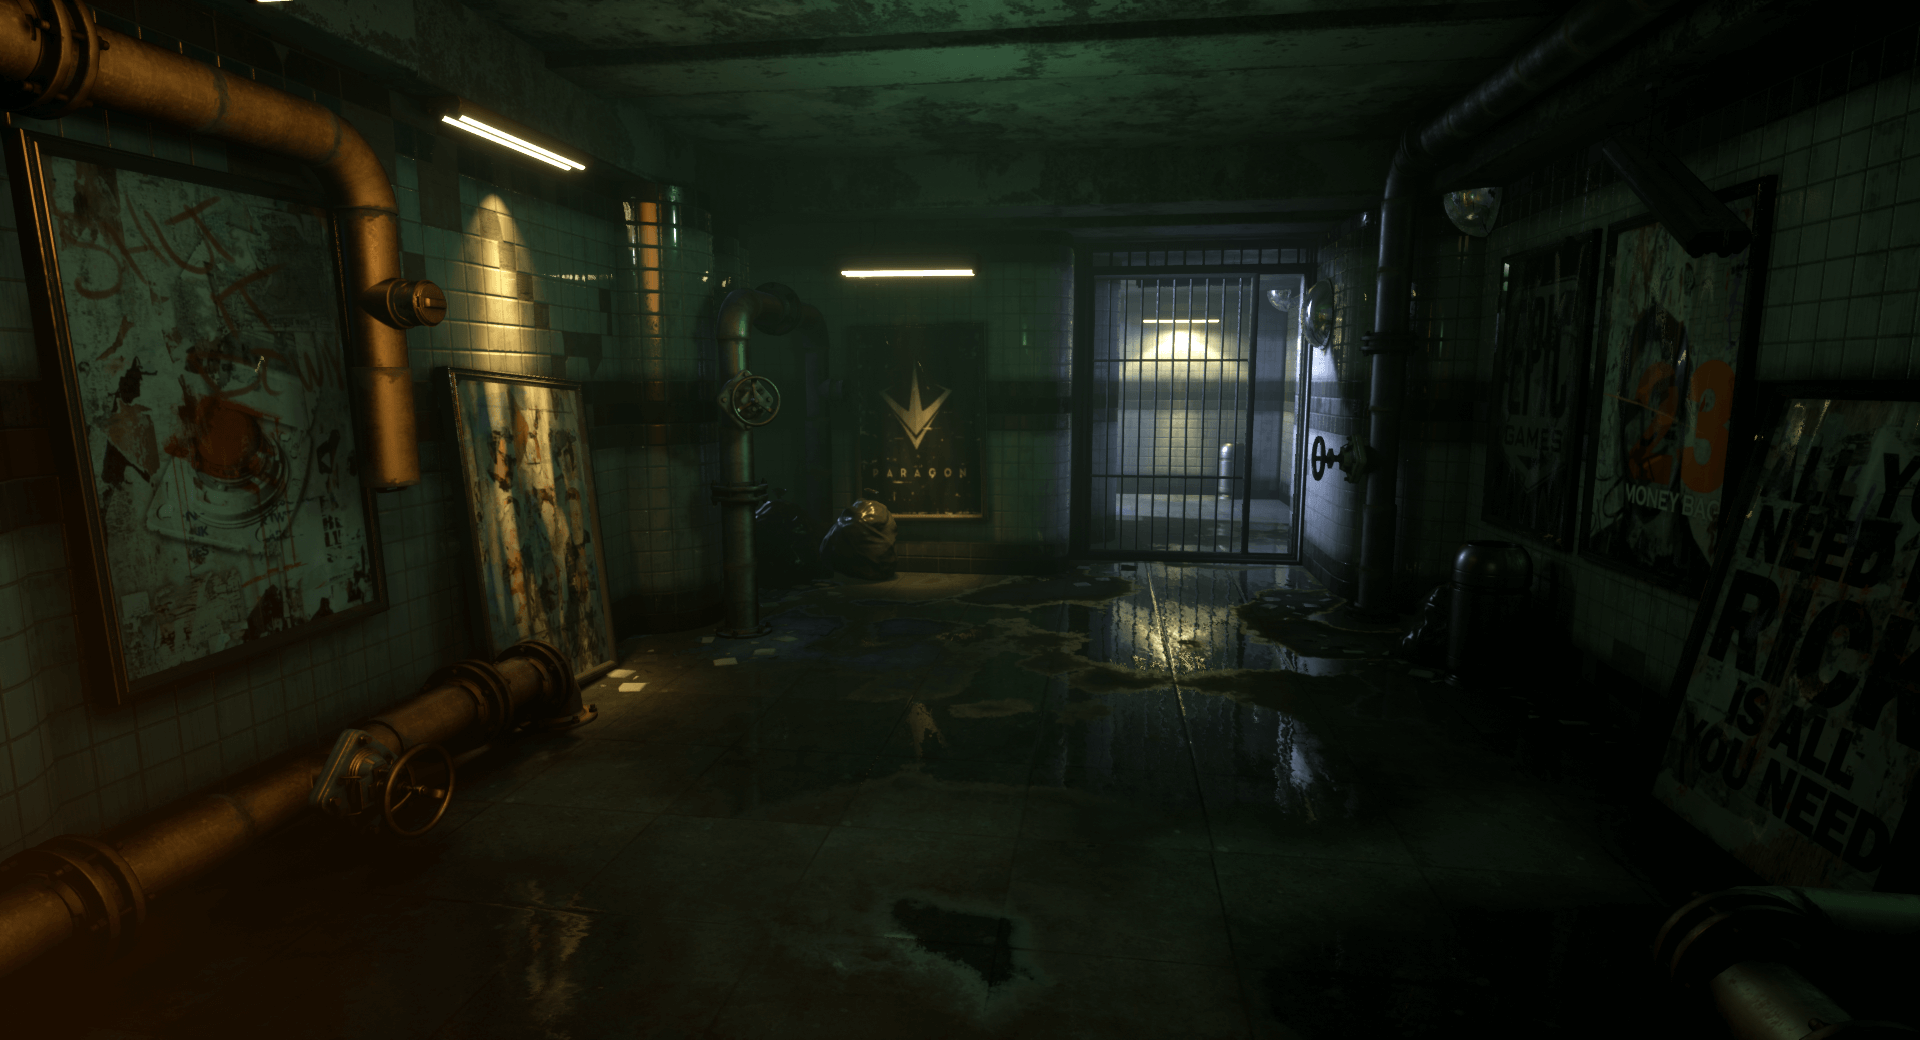
Environment Image Gallery:
Character Image Gallery:
My Process-
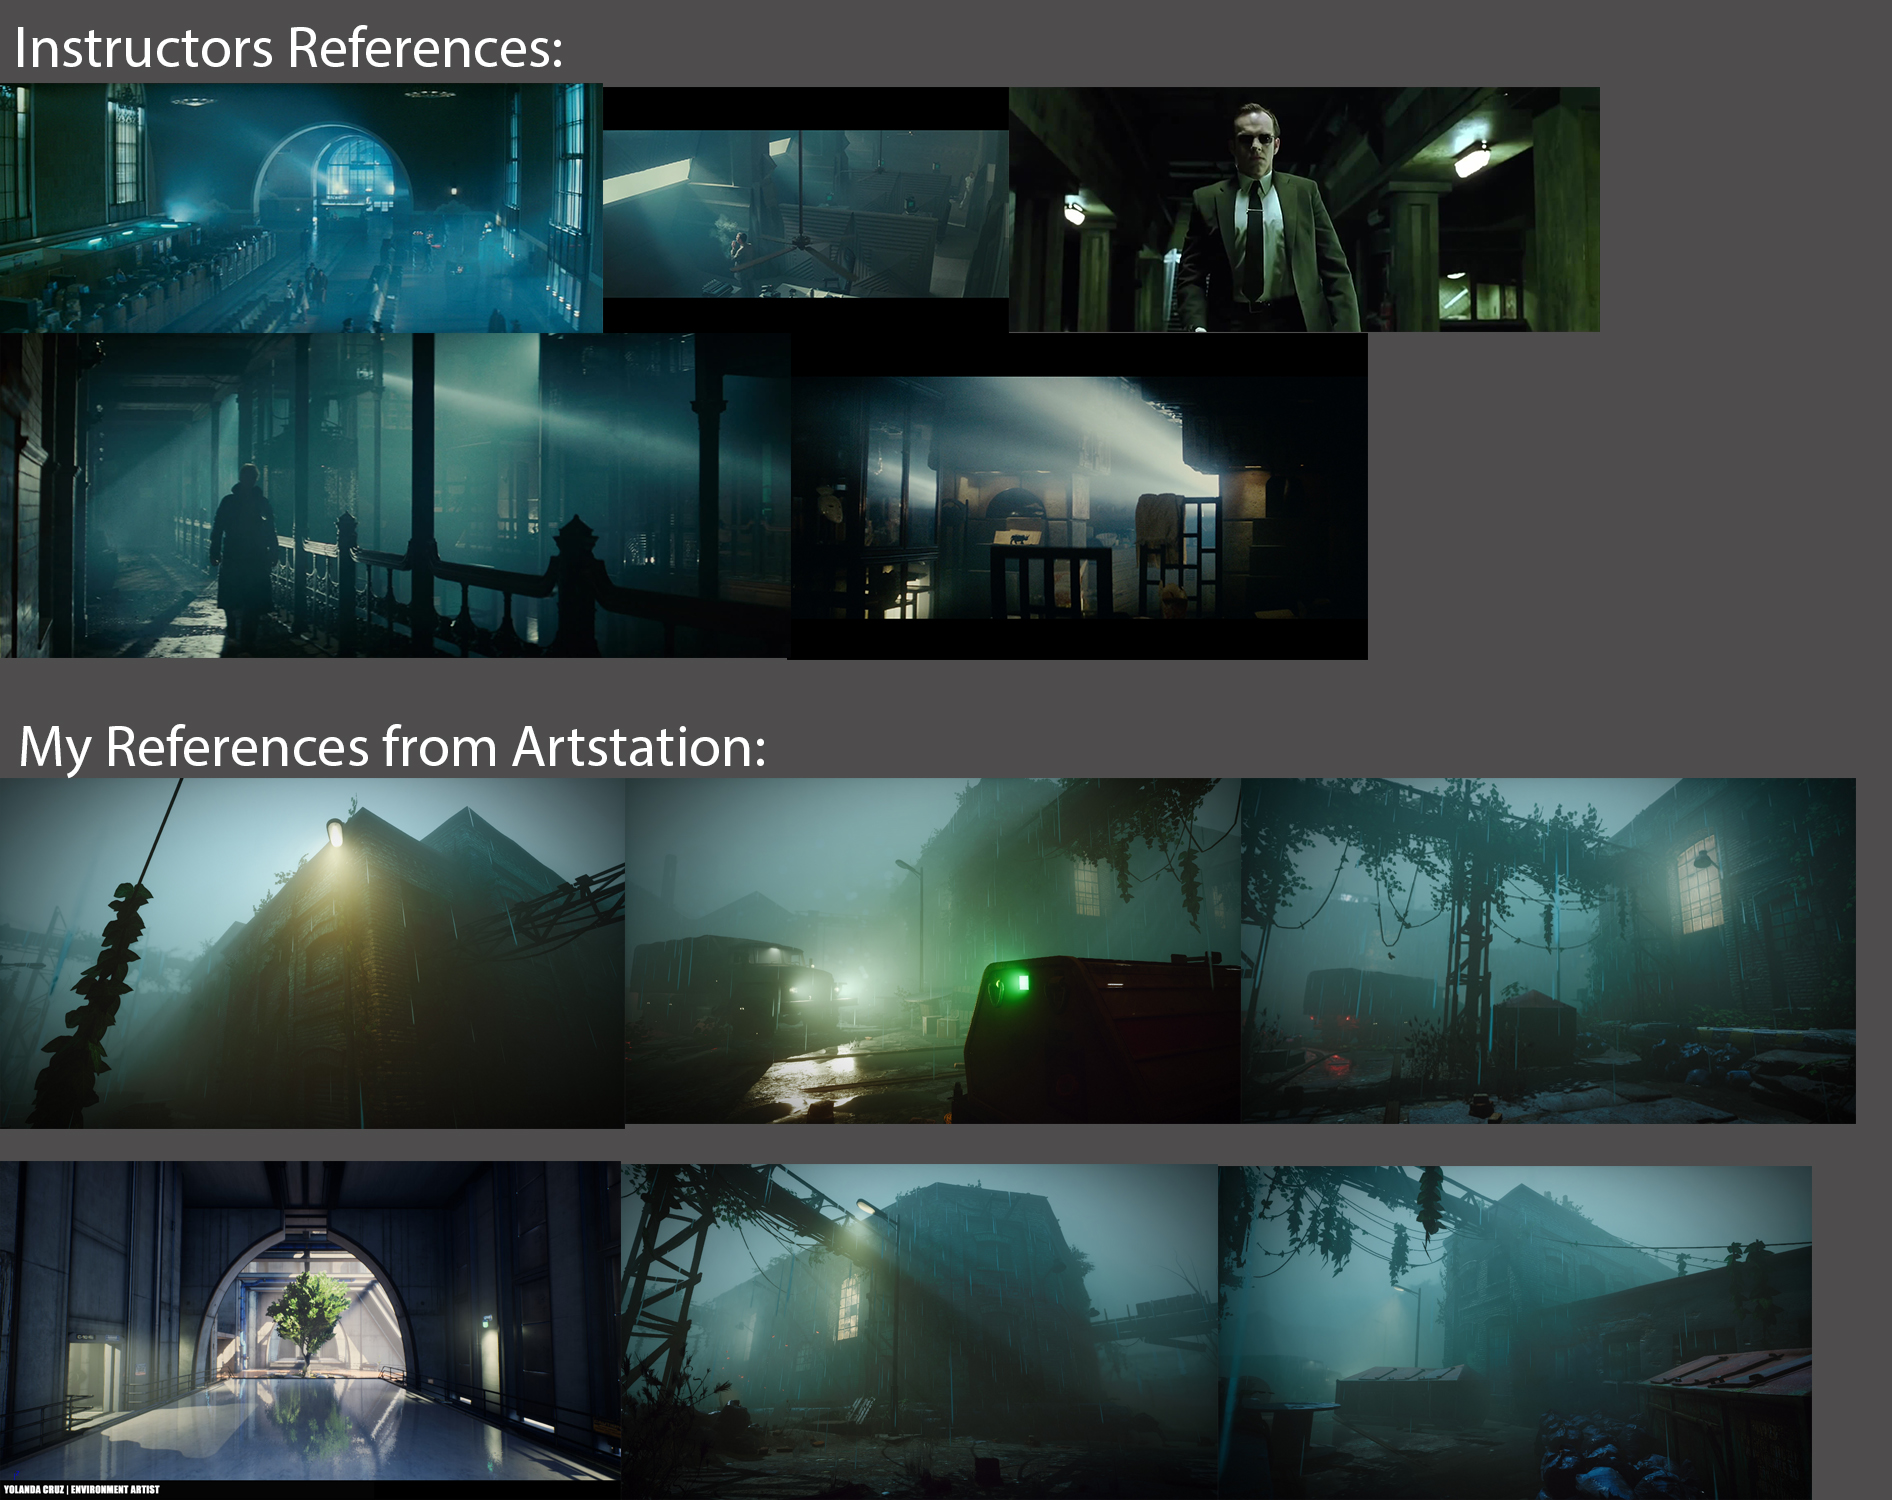
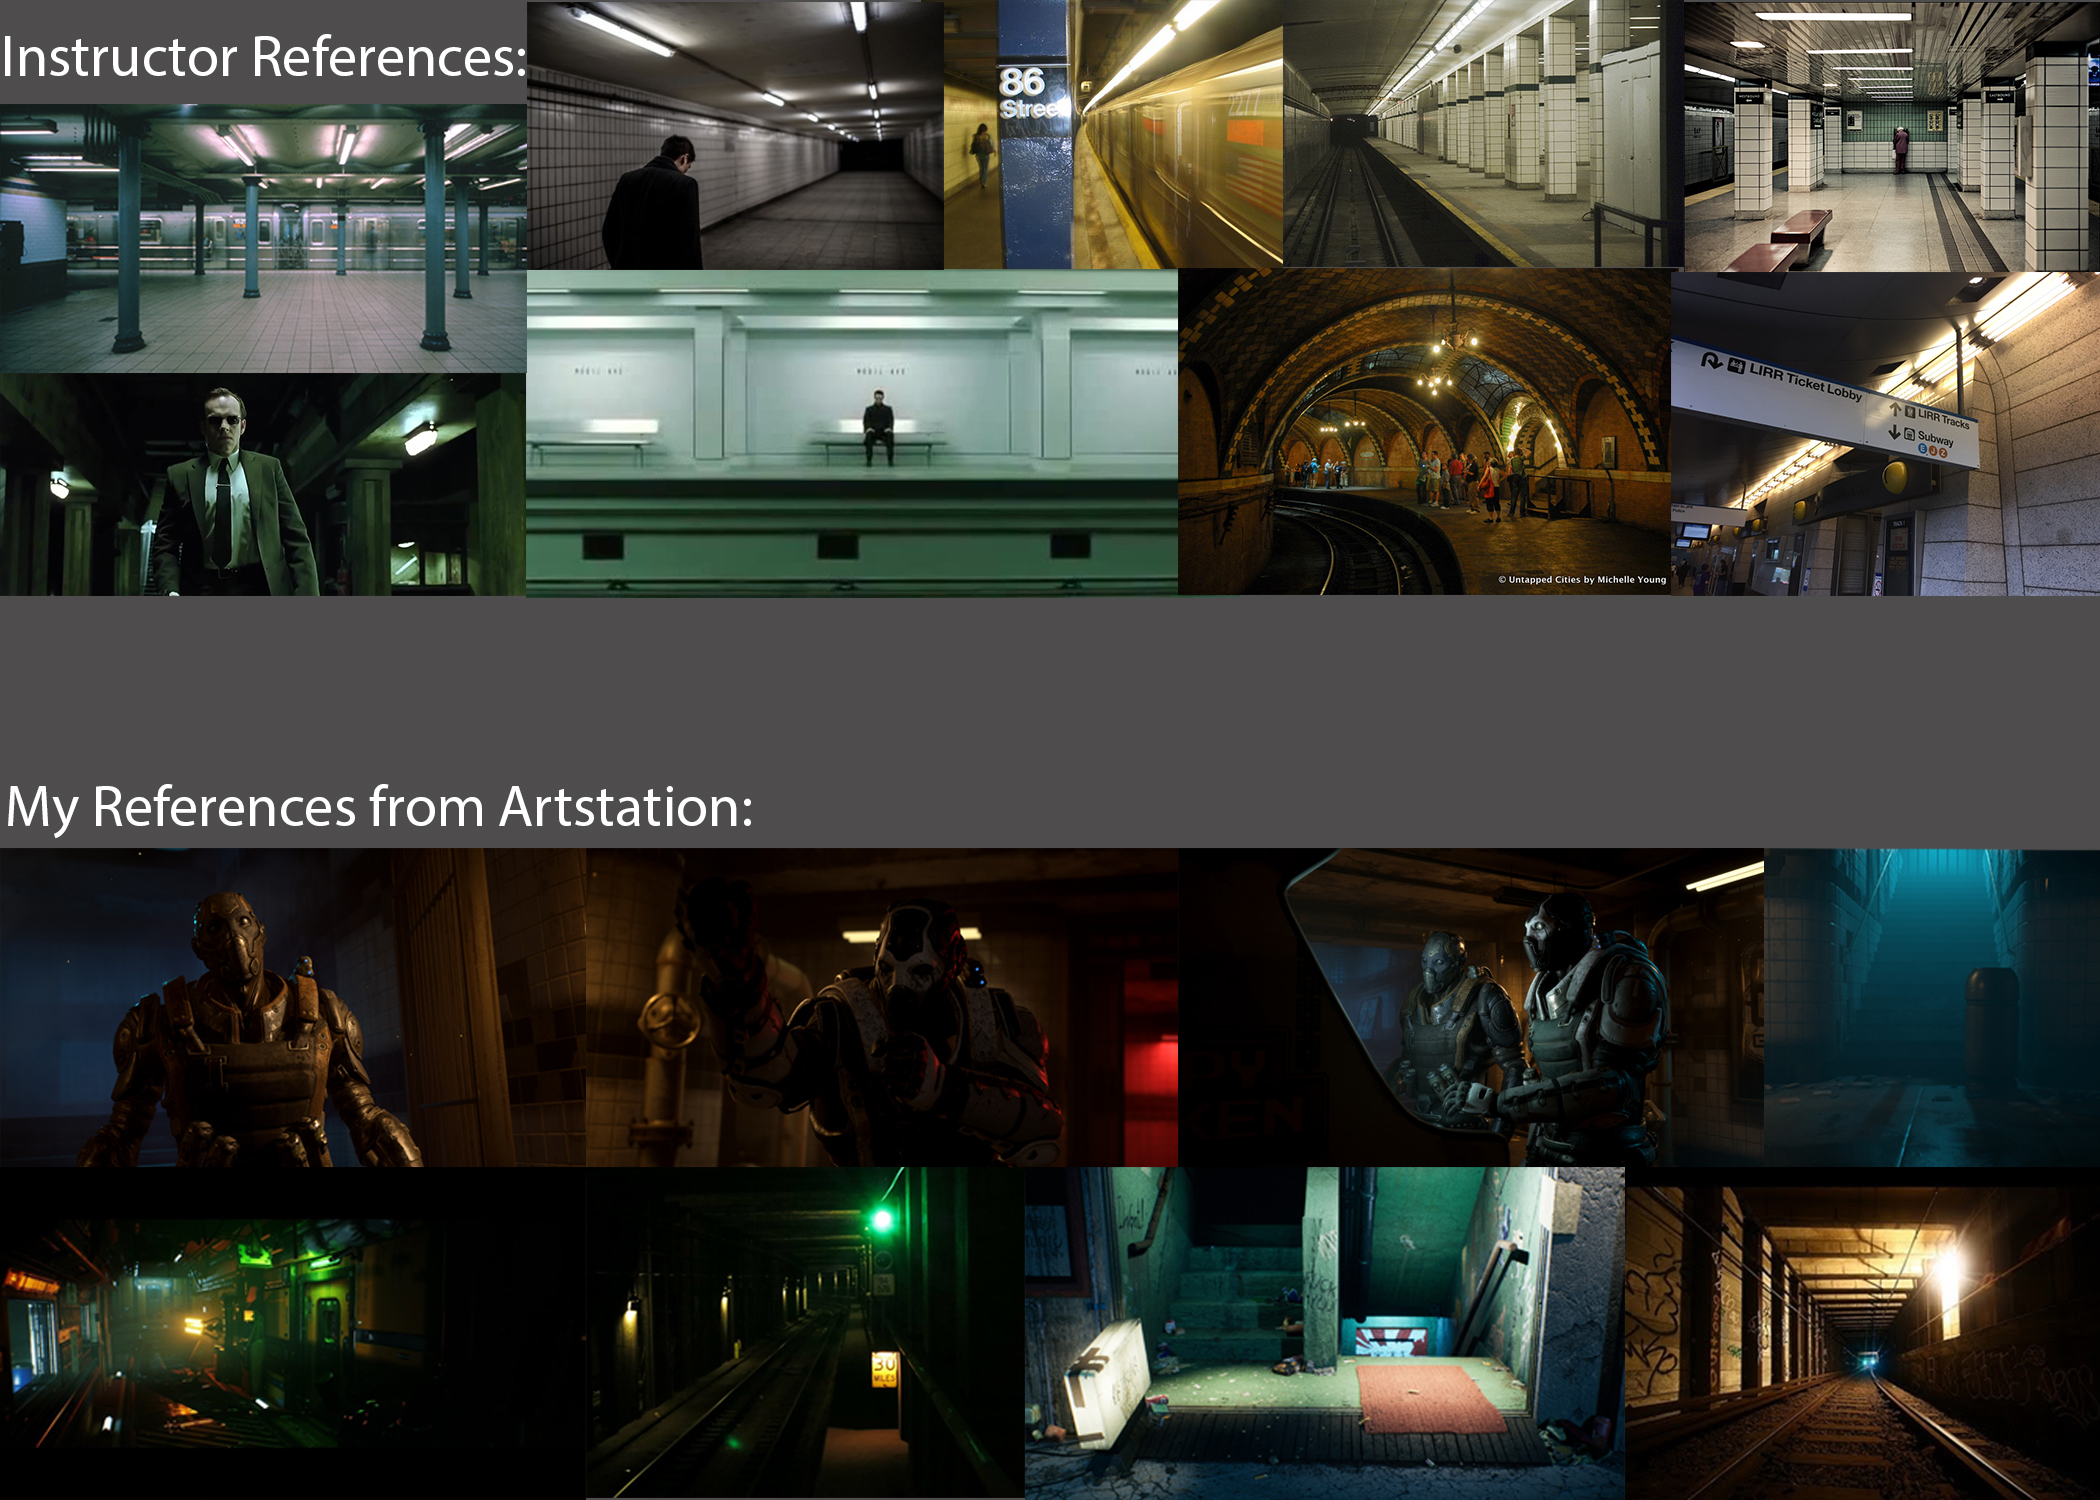
References:
Before starting the lighting of any scene I create a reference mood board, so I have an idea of the look and feel of the scene I want to try and capture in the chosen environment.
This helps me determine a few things like the desired temperature of the lights, mood, feel of the environment, Sky Sphere adjustments, and Sun Calibration. Also the importance of effective gameplay guidance and path for the player.
Choosing an Asset Pack:
The majority of the time I have the asset pack in mind or I go through epic Store’s free Asset packs. I download the asset pack and make sure everything is updated. An important thing that I do once the asset pack is loaded is turn off auto exposure. I keep in mind that this is for Gameplay purposes, and that I will need to make sure that the player needs to be able to see all areas of the map. I also check my computer screen’s brightness and adjust it to 100% while I am working with lighting.
Remove Lights:
I then stripped out all of the point lights, spotlights, directional light, sky light, fog, reflections, post-processing, and light mass importance volumes from the entire level. I changed the given sky sphere with a more suitable HDRI for the night scene I wanted and made a custom-made sky sphere in Autodek Maya.
I then started by dropping in a directional light and connecting it to the sky sphere. Here I calibrated the HDRI to fit the night sky by using the Sunny 16 rule and fixed the exposure in Photoshop and then I reimported the HDRI. I manipulated the color, angle, and intensity of the directional light to give a more night environment. For an outdoor scene like this, I set it to moveable.
Once I have achieved the directional light and angle I am going for the scene, I add in the skylight. I match the skylight and directional light and color with the appropriate night settings.
Adding back in Lights:
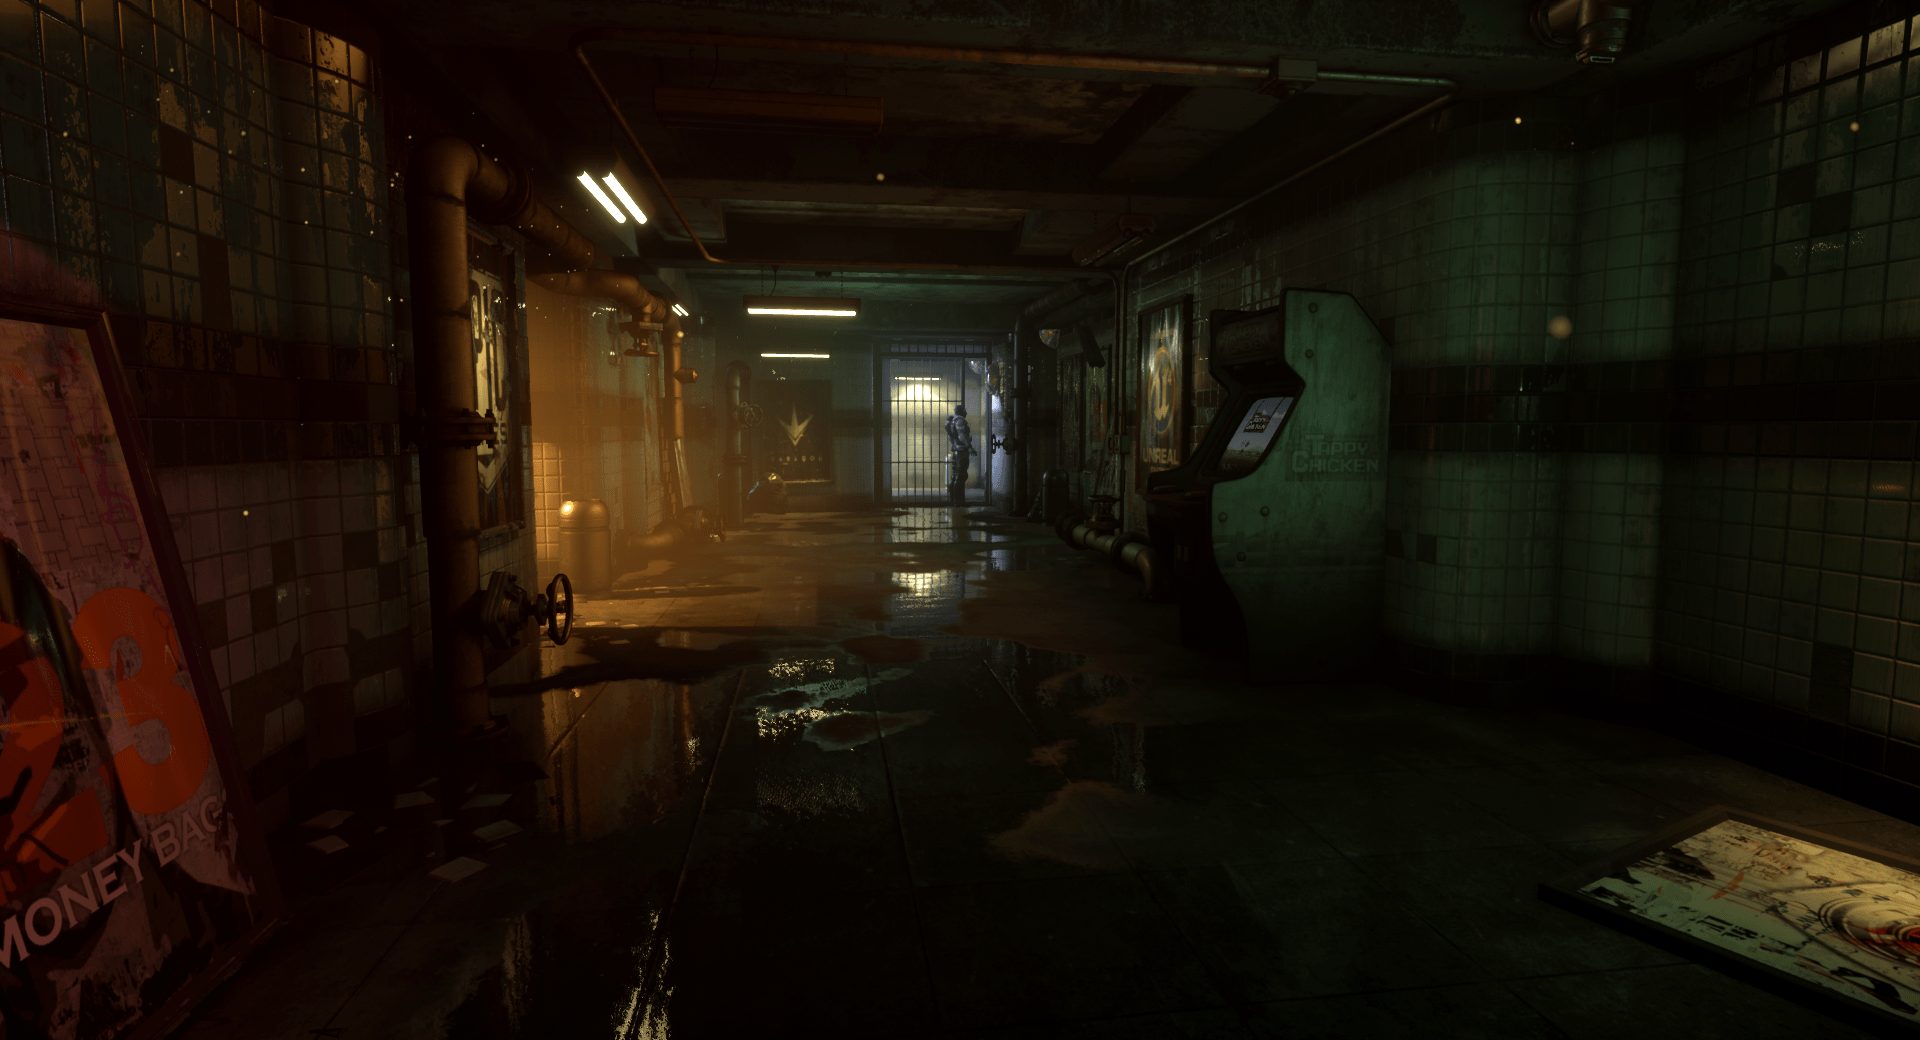
I then start on adding point lights and spotlights as needed. For example, the light fixtures were given spotlights set to real-world lumens lighting of a subway light. The point lights were added to fill areas of the subway to give dark shadow pockets of light.
I included a light mass importance volume around the playable scene in order to build lighting so I may test the level as I proceeded.
I also add reflection spheres around the map to enhance the reflections in certain darker areas.
Adding Fog:
I have added the exponential height fog. I have spent a lot of time working with this feature. I made changes to the many settings like the color of exponential height fog, density/extinction scale of fog, start and view distance, volumetric fog settings, and scattering distribution. Once I was satisfied with the settings I was able to build lighting and test the gameplay.
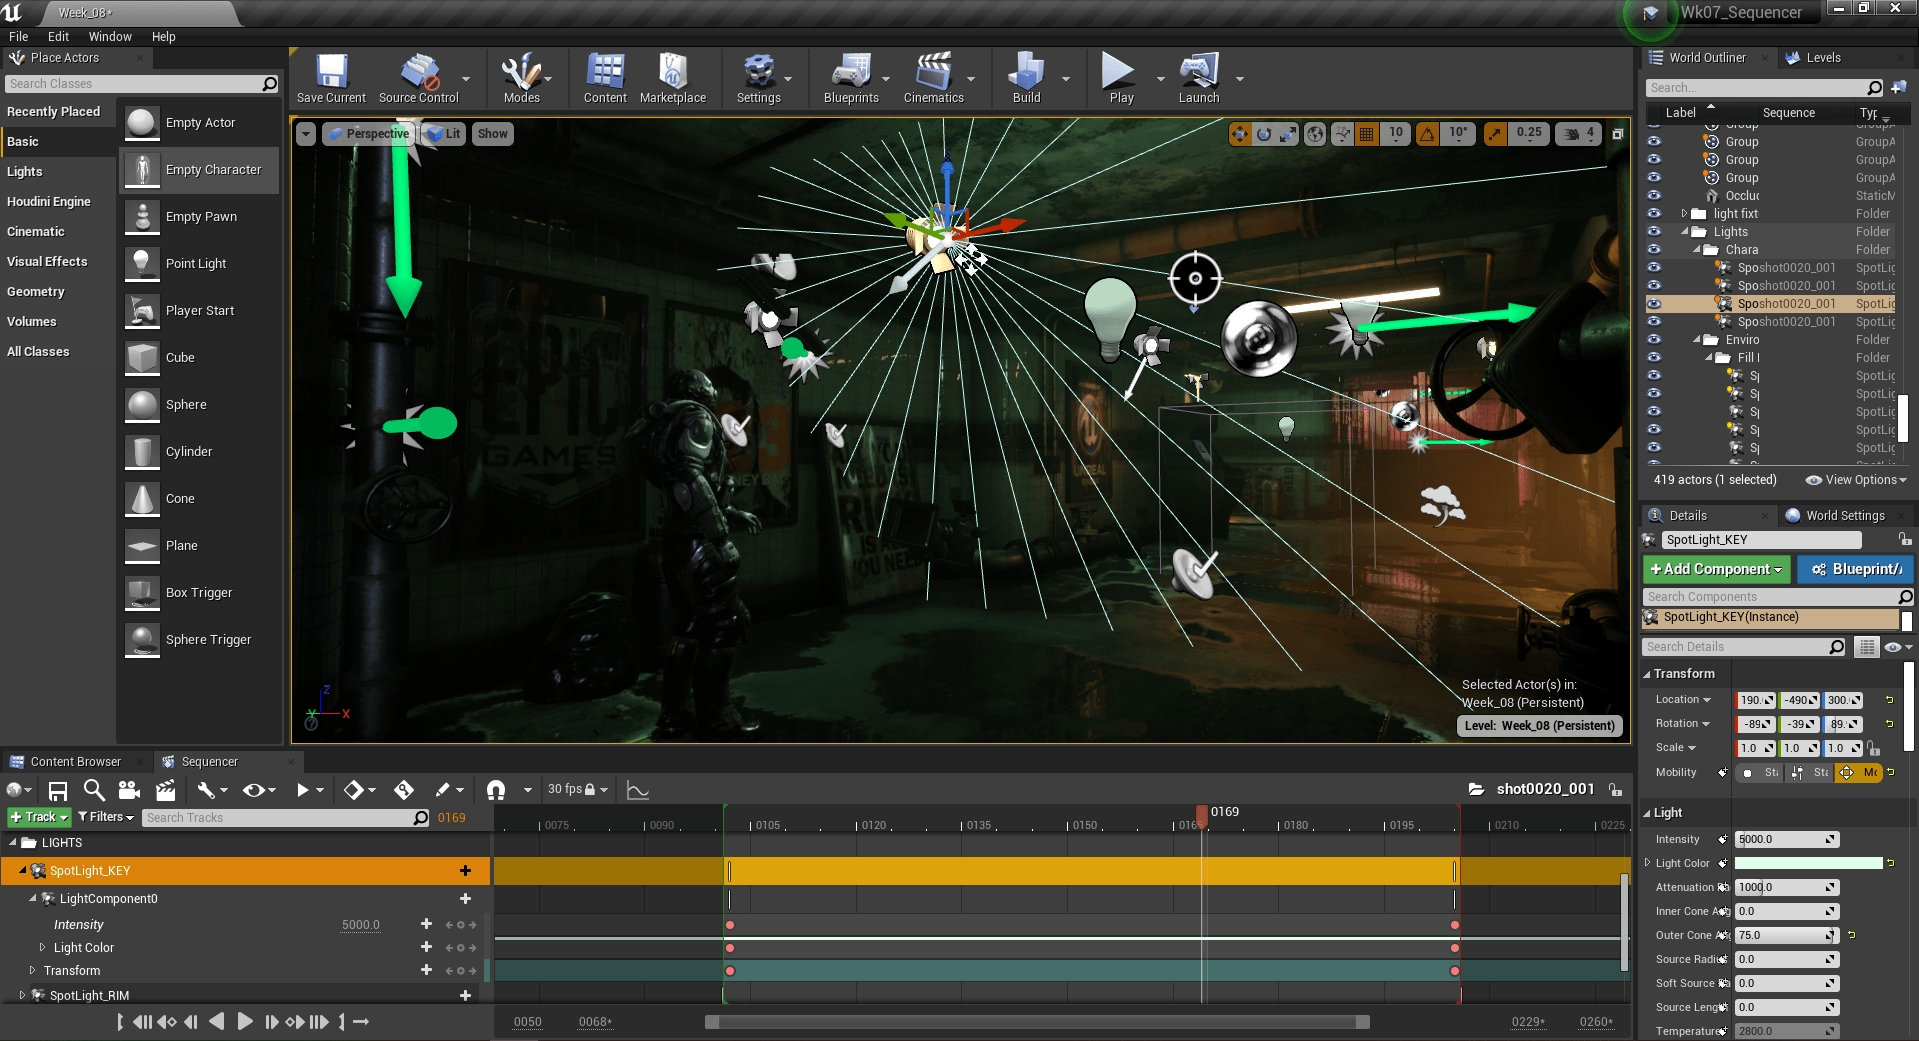
Character Lighting in Sequencer:
After I am happy with the environment lighting in my map, I will then go into the Sequencer folder to go to each scene and work in the lighting sections. I can focus on each scene’s lights and make sure it is matching the rest of the environment. Sometimes certain scenes will get their own enhanced lighting intensity and directions. There was much testing involved.
I was trying to go with dark vibe character readability and integration into the scene, as well as contrast. I stayed on task trying to lead the viewer’s eye to the important aspects of each shot. With more time I would have added more lights in certain areas of the scene. I tried to take it slow for each character to have their own Key and Rim lighting depending on the scene being used. I had to test the scene many times in slow motion and then review it at regular run time.
Post Processing And Final Touches:
Lastly, I added a post-process volume where I set it to unbound to cover the entire map, and then take 4 screenshots of the area. I then go into Photoshop, where I put all 4 photos together in a layer, and add a color look-up table (CLUT). I then changed the exposure, added curves values, and added contrast and color. Once I am satisfied by the overall look of the pictures, I crop out the CLUT and save it. I make sure that my new CLUT, once imported, is set to “Color Look-Up Table”. I then put my CLUT in my Post-Process Volume called “Color Gradient”.
Finally, I enter the post-process settings to further enhance the scene within the engine itself. Some settings I work with are the exposure settings, camera settings ( Shutter speed, ISO, and Aperture), depth of field, Image Effects, and lens flares.
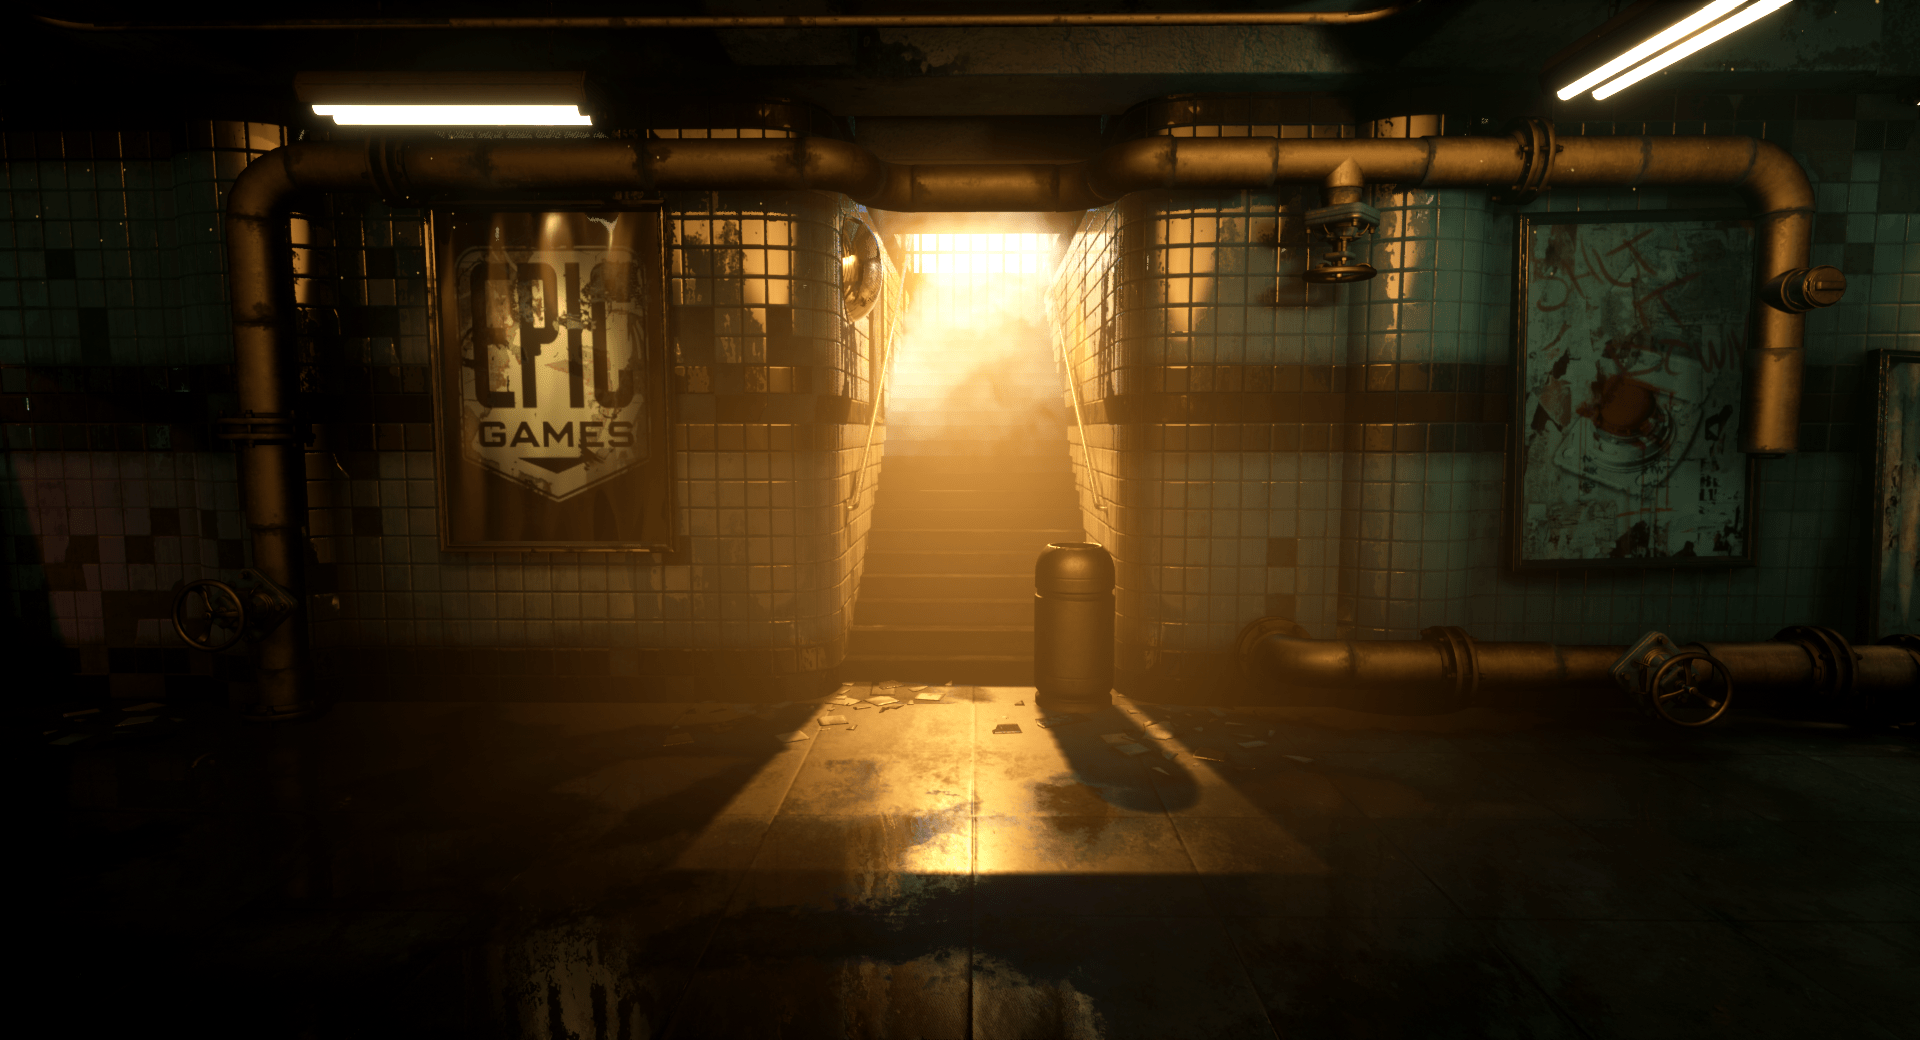
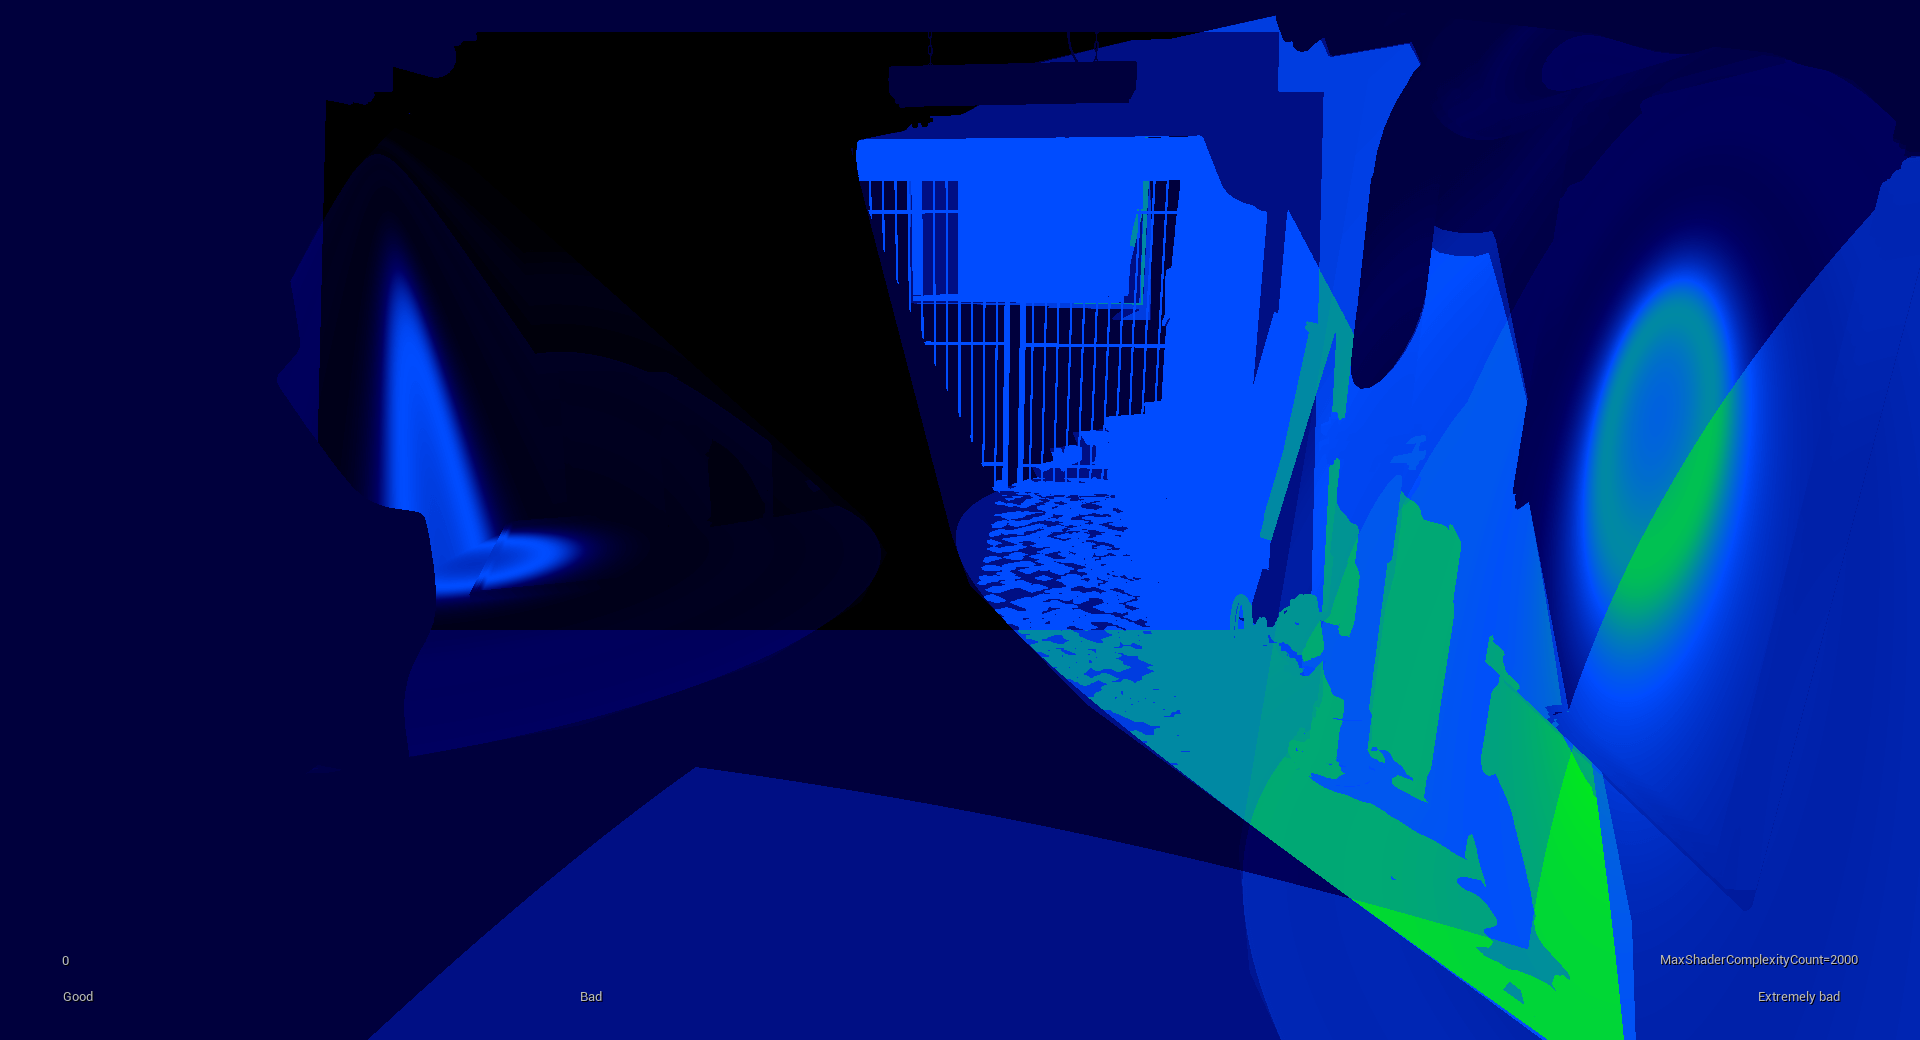
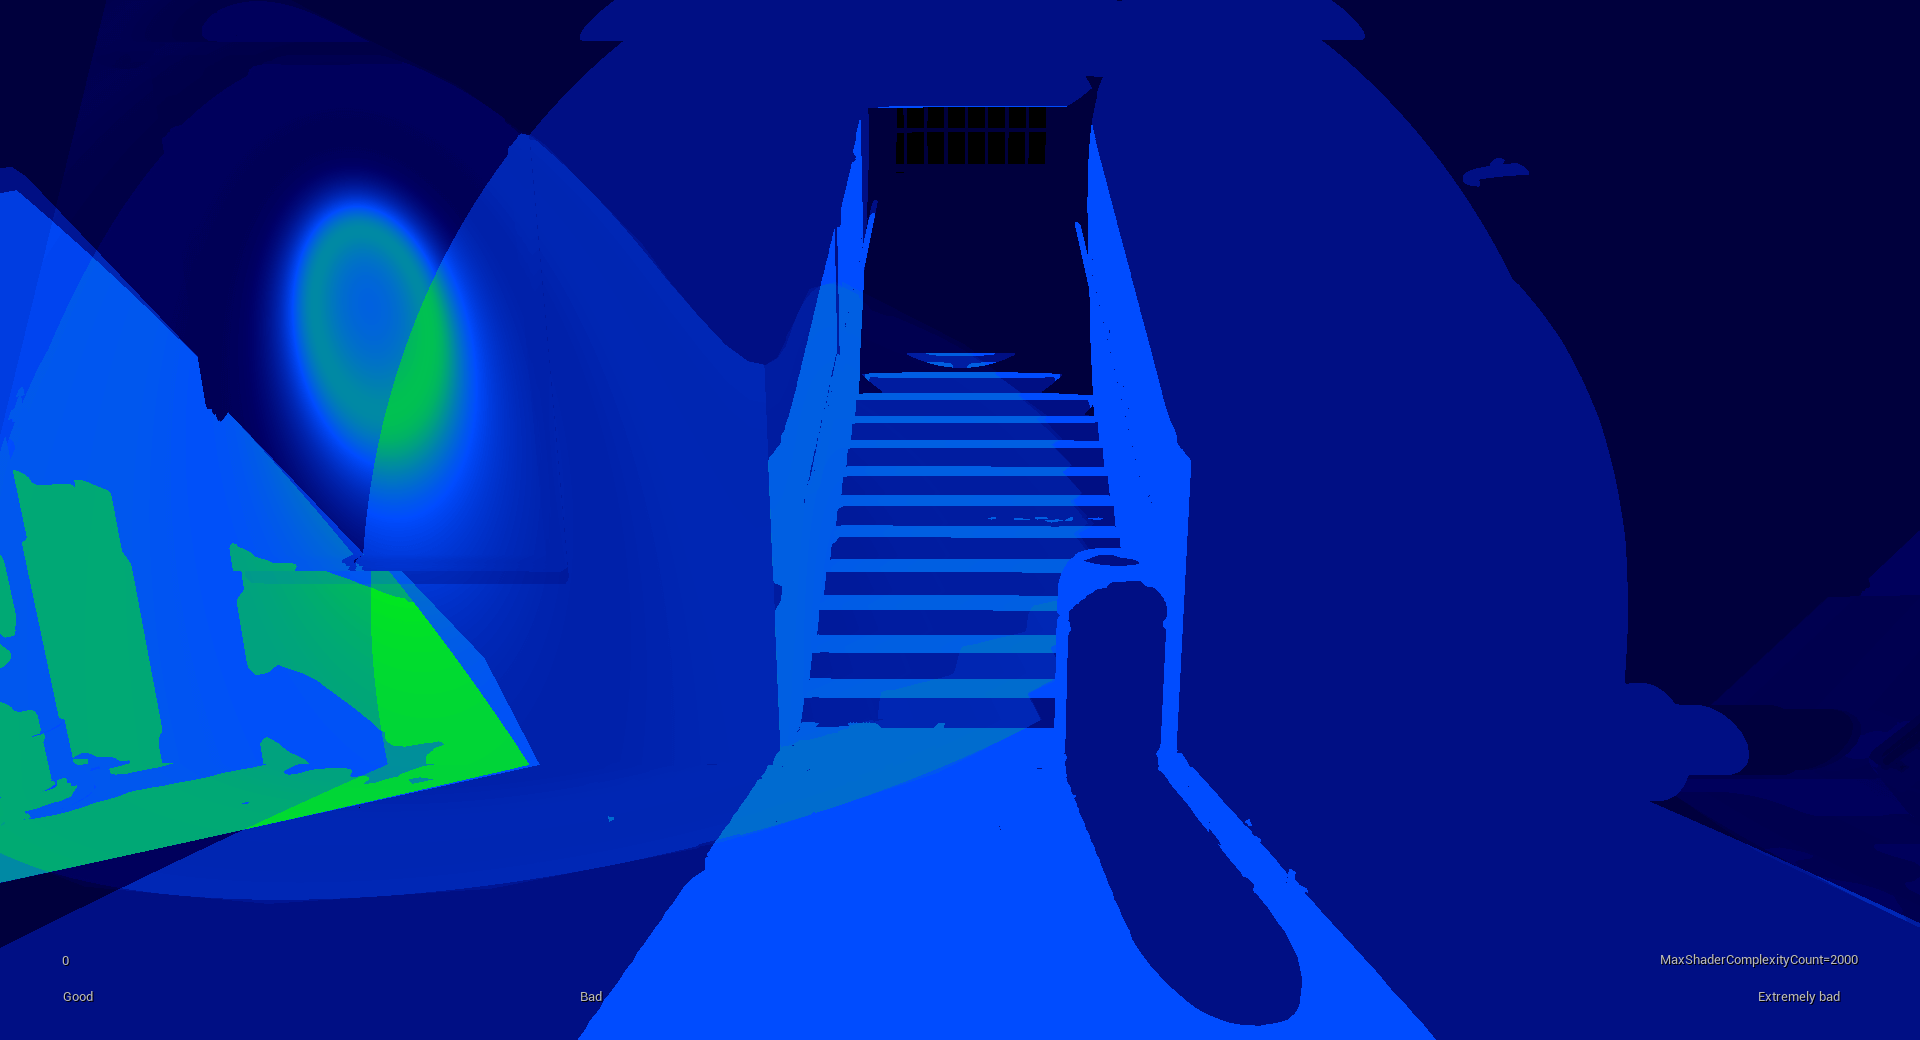
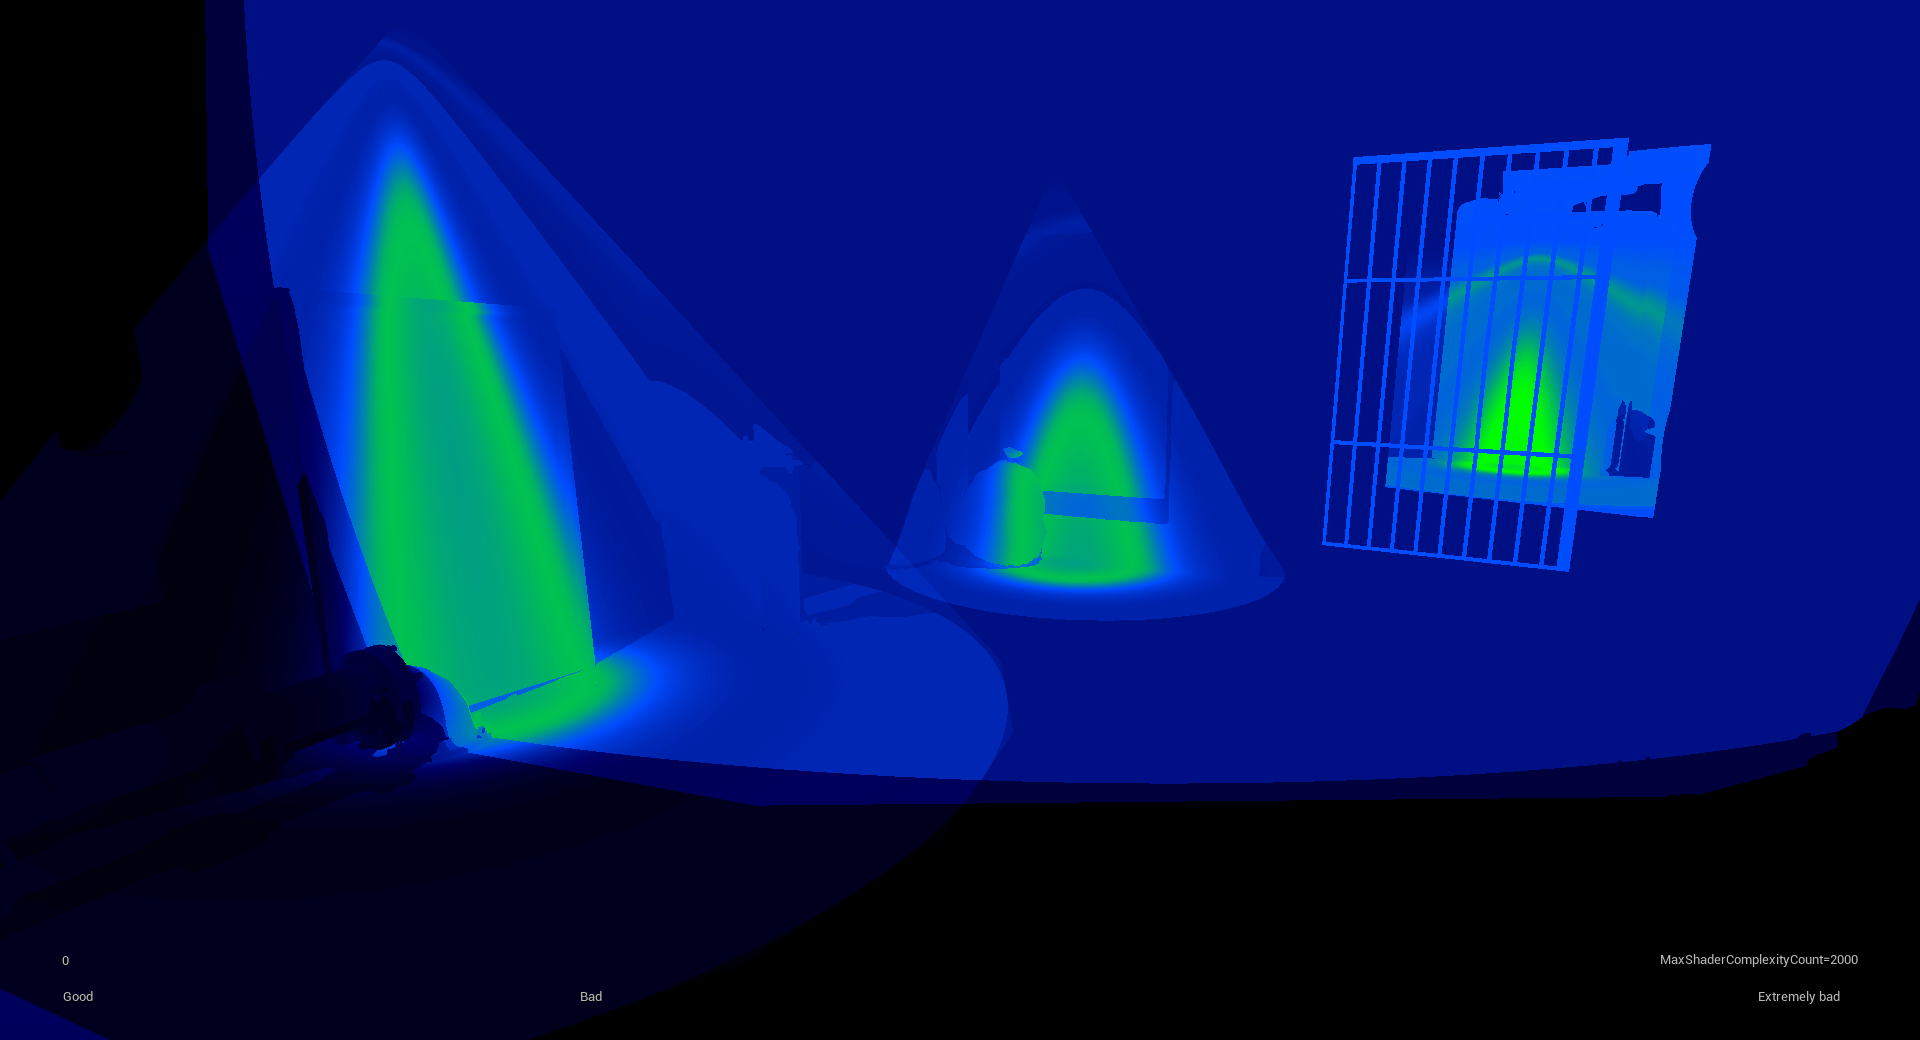
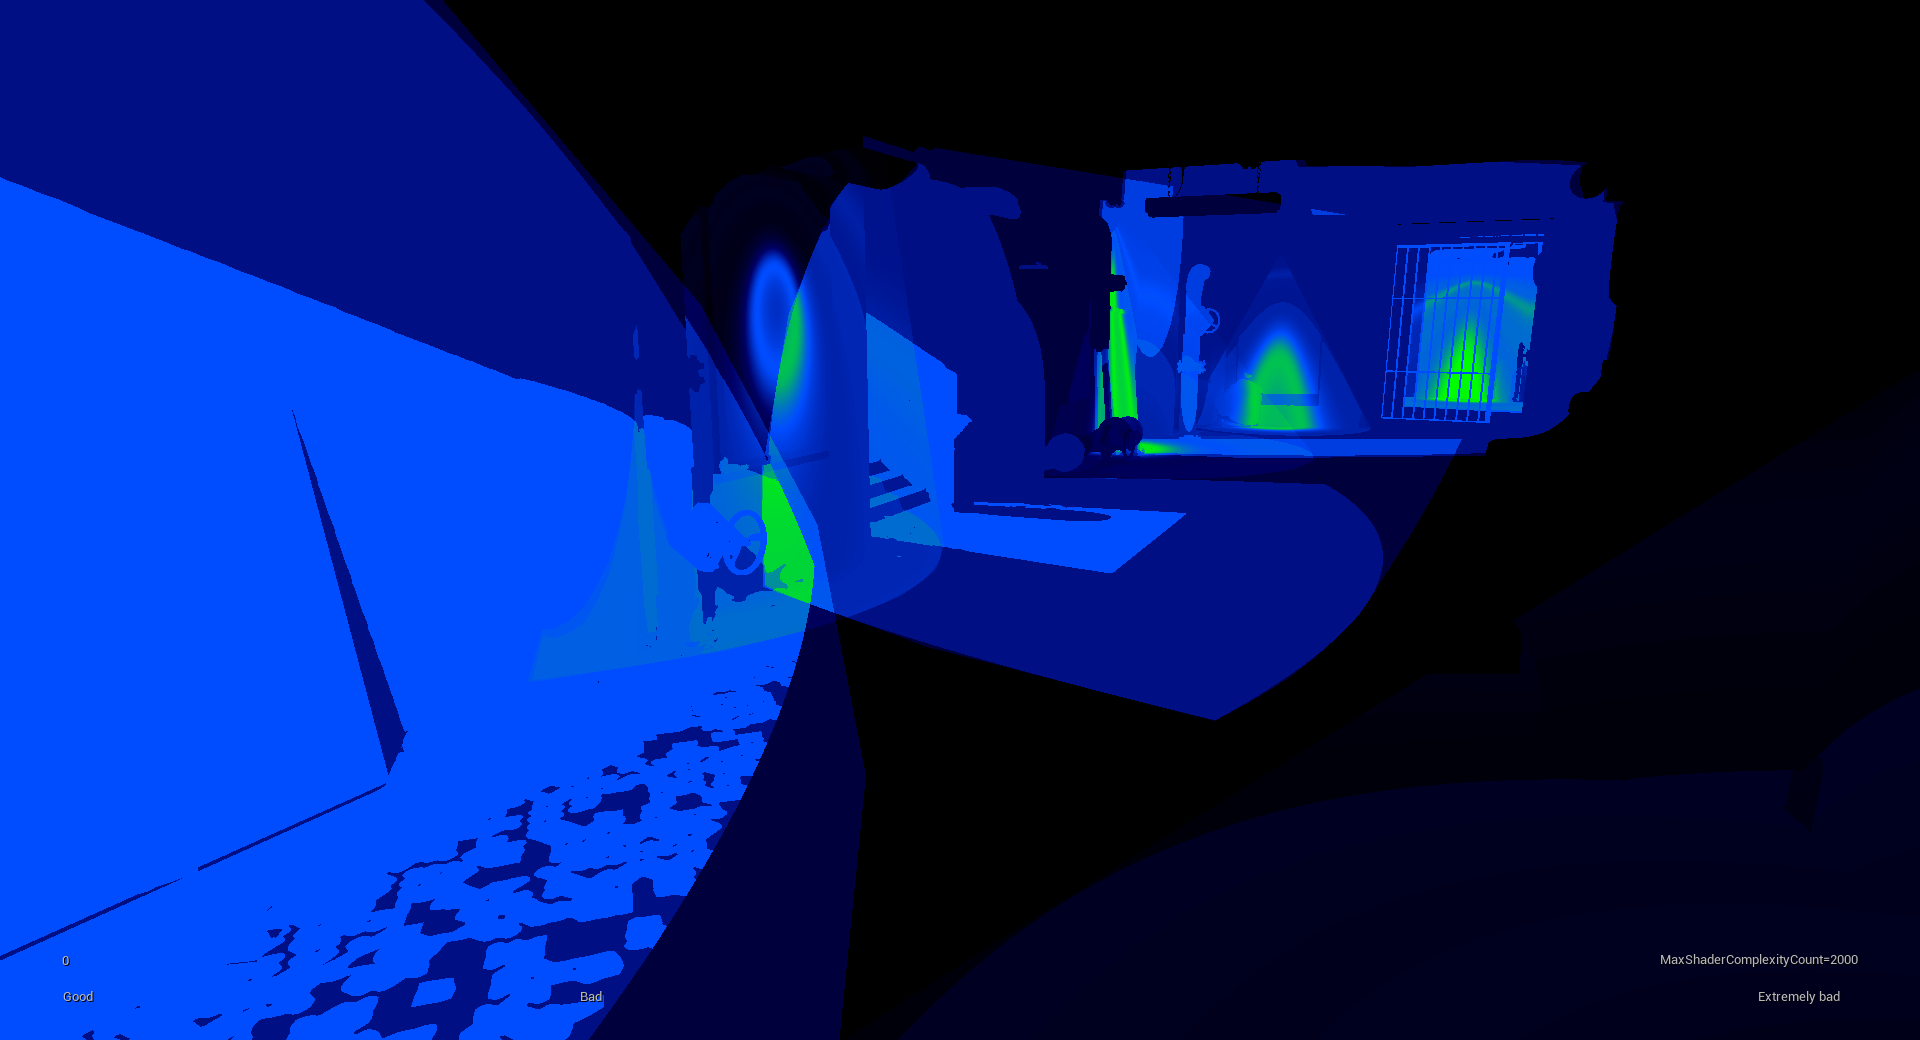
Optimization of Lighting:
To ensure the game was optimized with the lighting portion of the game, I have checked the Lightmap Complexity to make sure that I was within my light budget.
A relighting of this action RPG game. Play as a warrior who must battle shadow creatures before time is up. Don’t forget to pick up your health to keep up the battle.
Type of project:
Lighting Project
Duration:
1 Week
Software used:
Unreal Engine 4
Asset Pack:
Action RPG
Objectives
Blockout combat gameplay with local lighting.
Consider power-pickups and gameplay elements.
Gathering references
Setting up the sun direction, color, and intensity.
Setting up the Sky light (LBL)
Setting up the Sky dome.
Setting up simple reflections.
Setting up Lightmass Importance volume.
Adding Fog, Color Gradient, and Post-Processing Volume.
Optimization with Primary VS Static Lights.
Gameplay:
Image Gallery:
Process:
If you would like to know my detailed Lighting Process please click on my Subway Sequencer Portfolio piece.
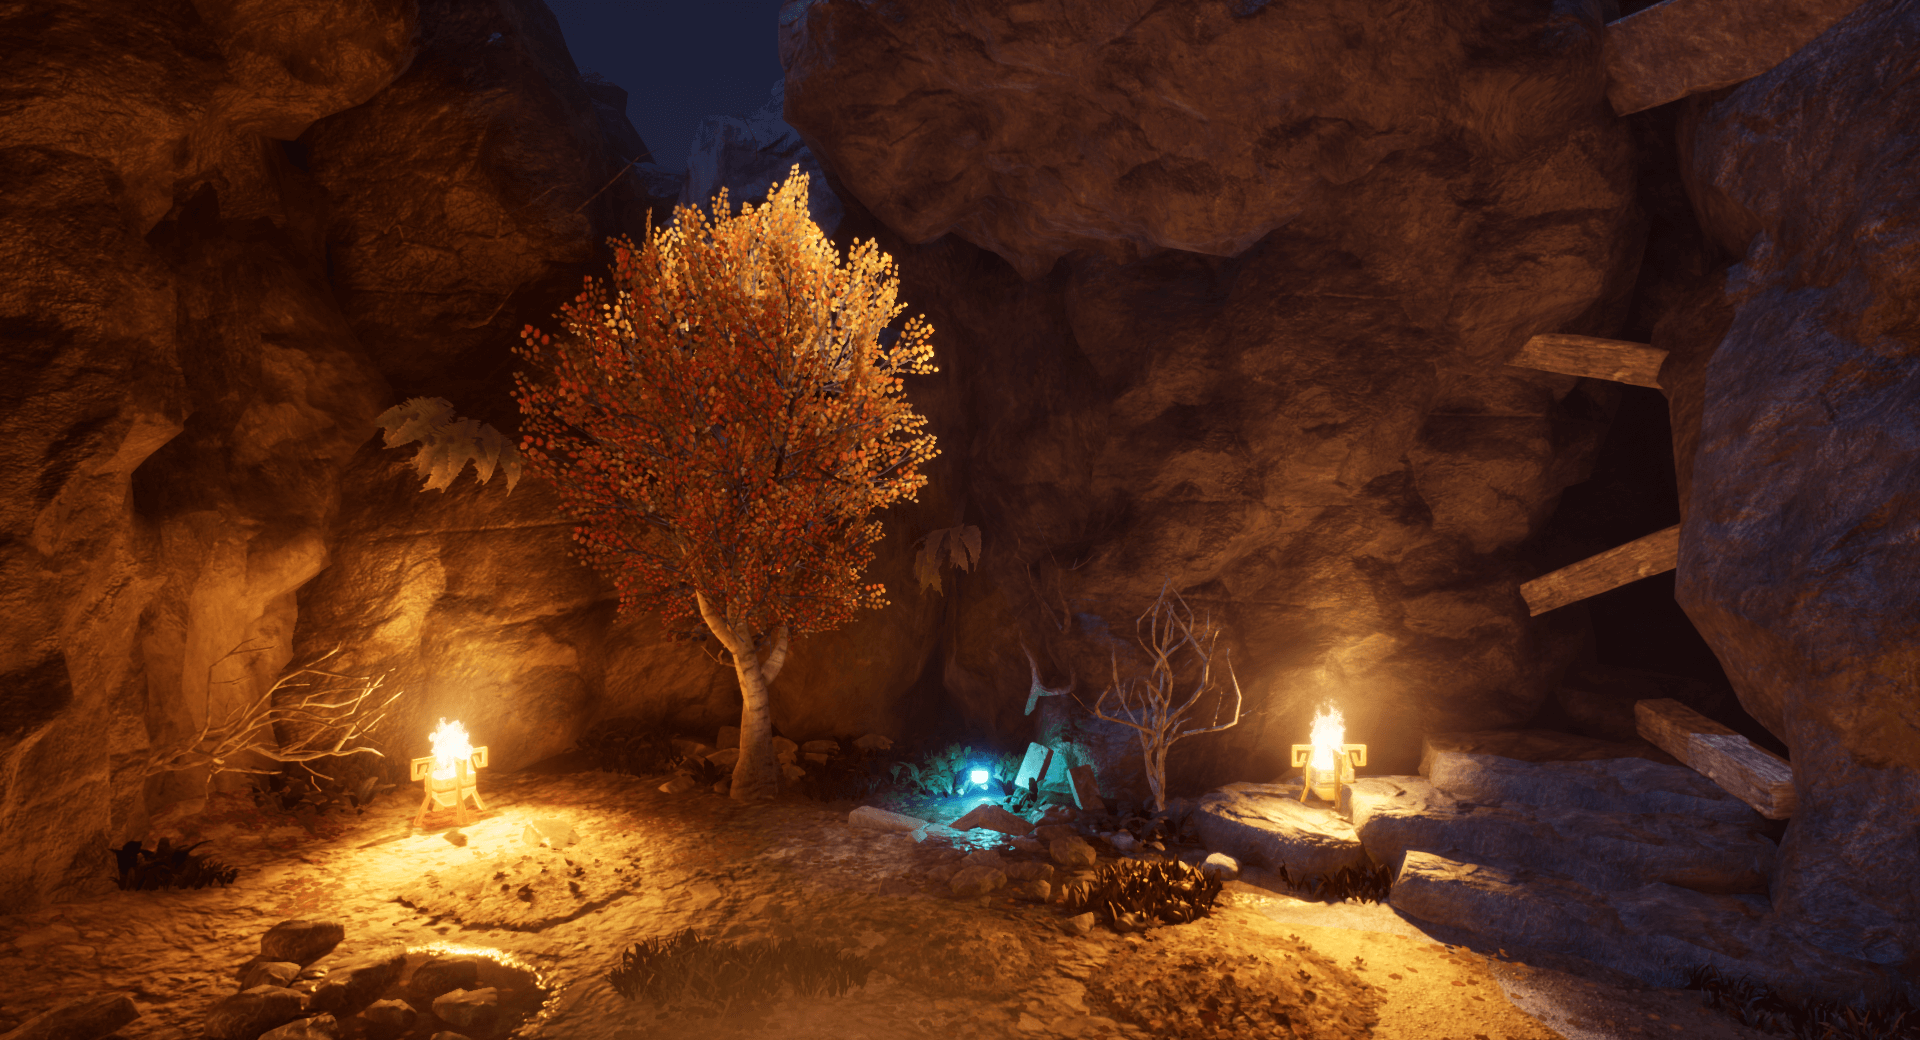
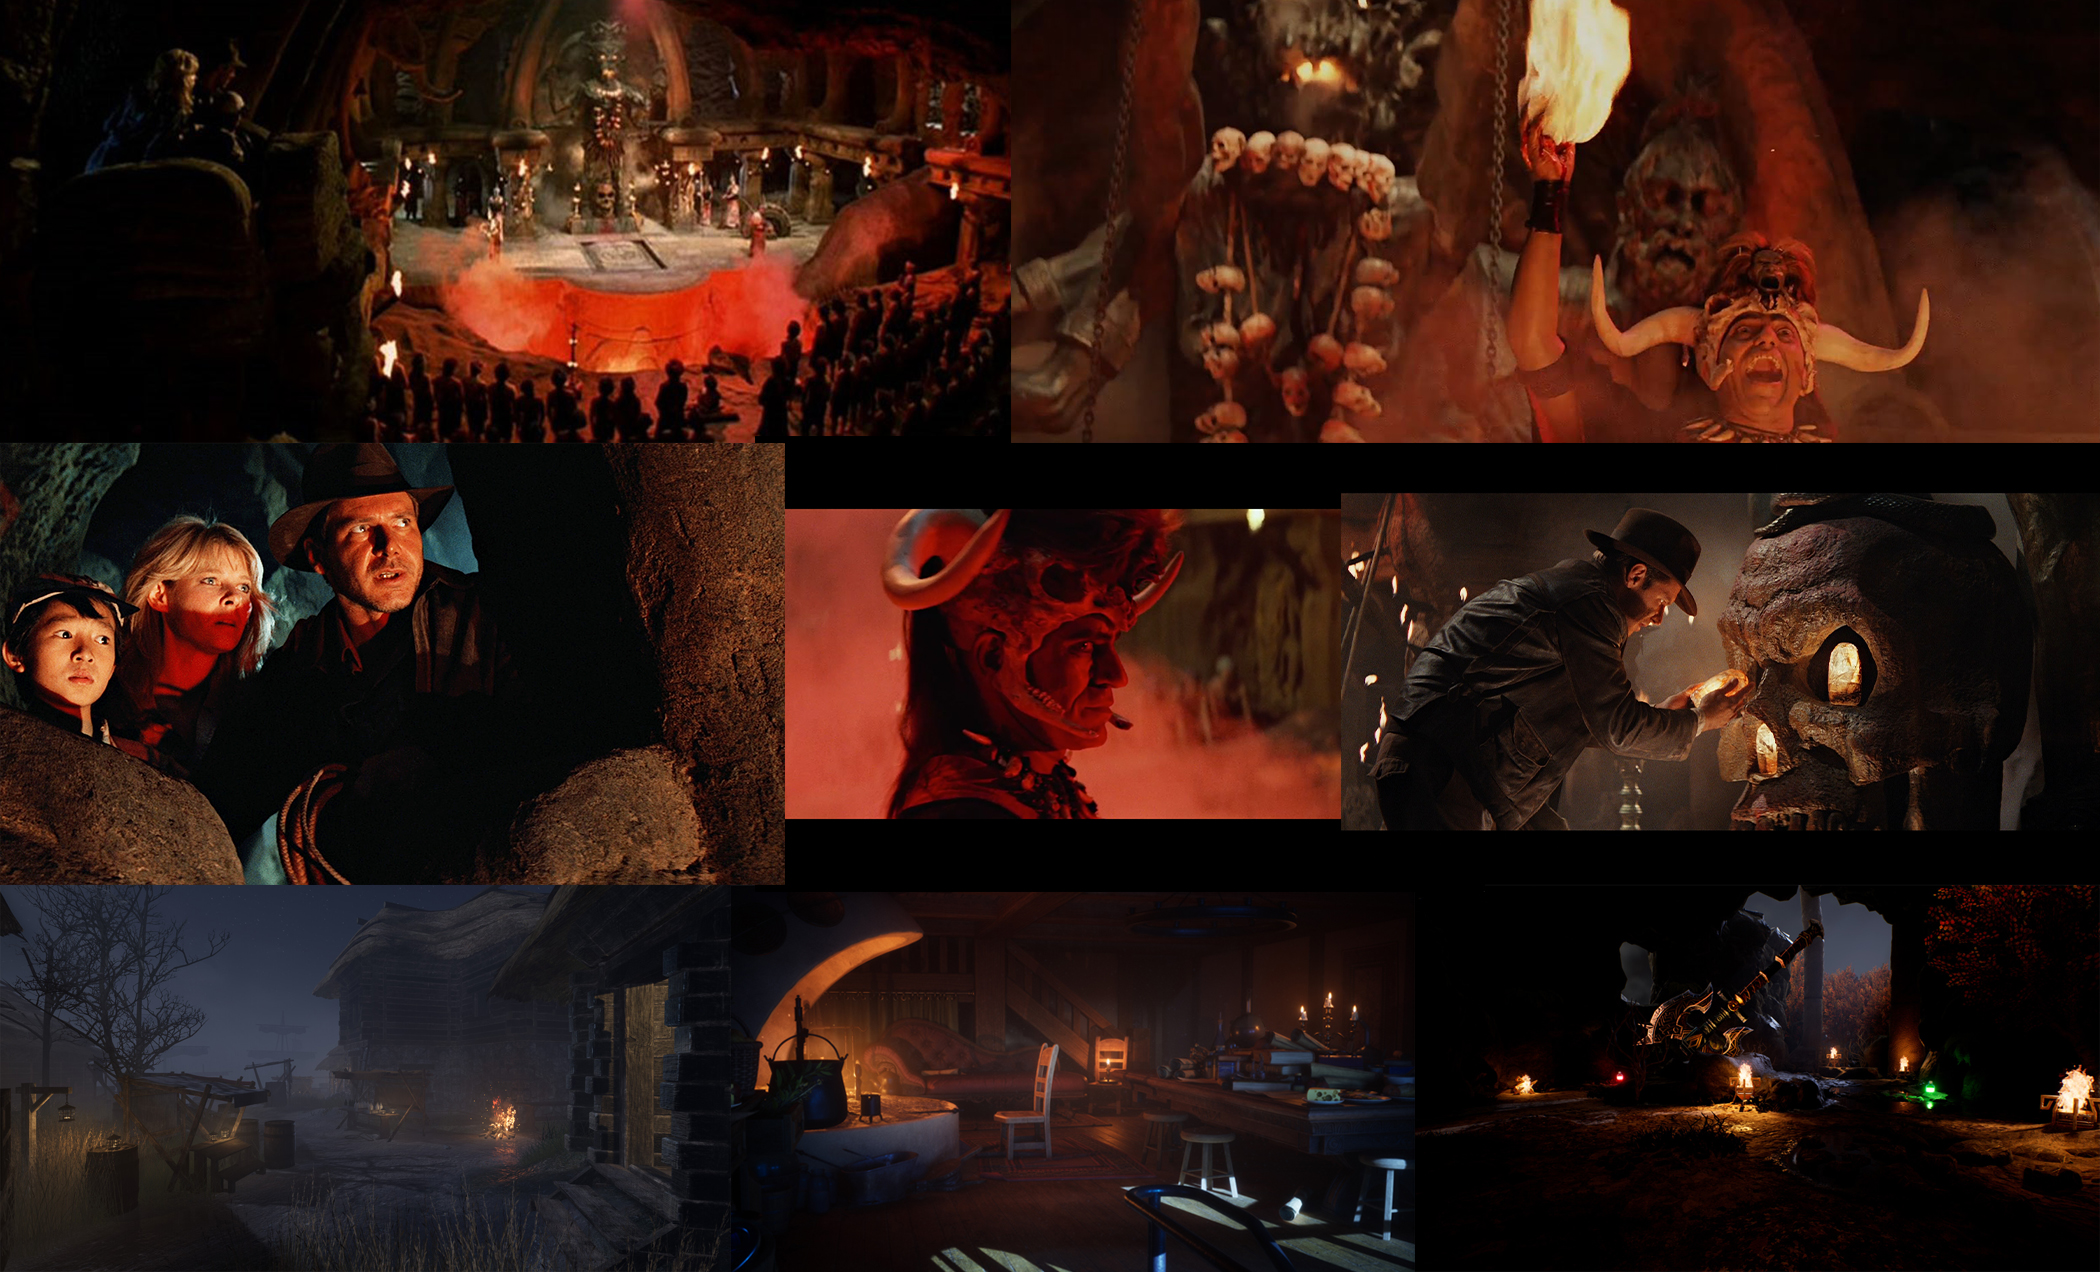
I wanted a very dark mood for nighttime scenes that I felt would integrate seamlessly with the rest of the game. I researched various games and movies to see how firelight would play on a character’s body in movement.
Special Challenges:
Lighting Items:
Working with pickup items that glow, was a very interesting process. I had to go into the Blueprints of the item and attach a point light to each item and fix the color of the light and make it available for me to work on the intensity and attenuation radius, and volumetric scattering.
It was very easy to adjust once the base color was chosen and to test out during gameplay.
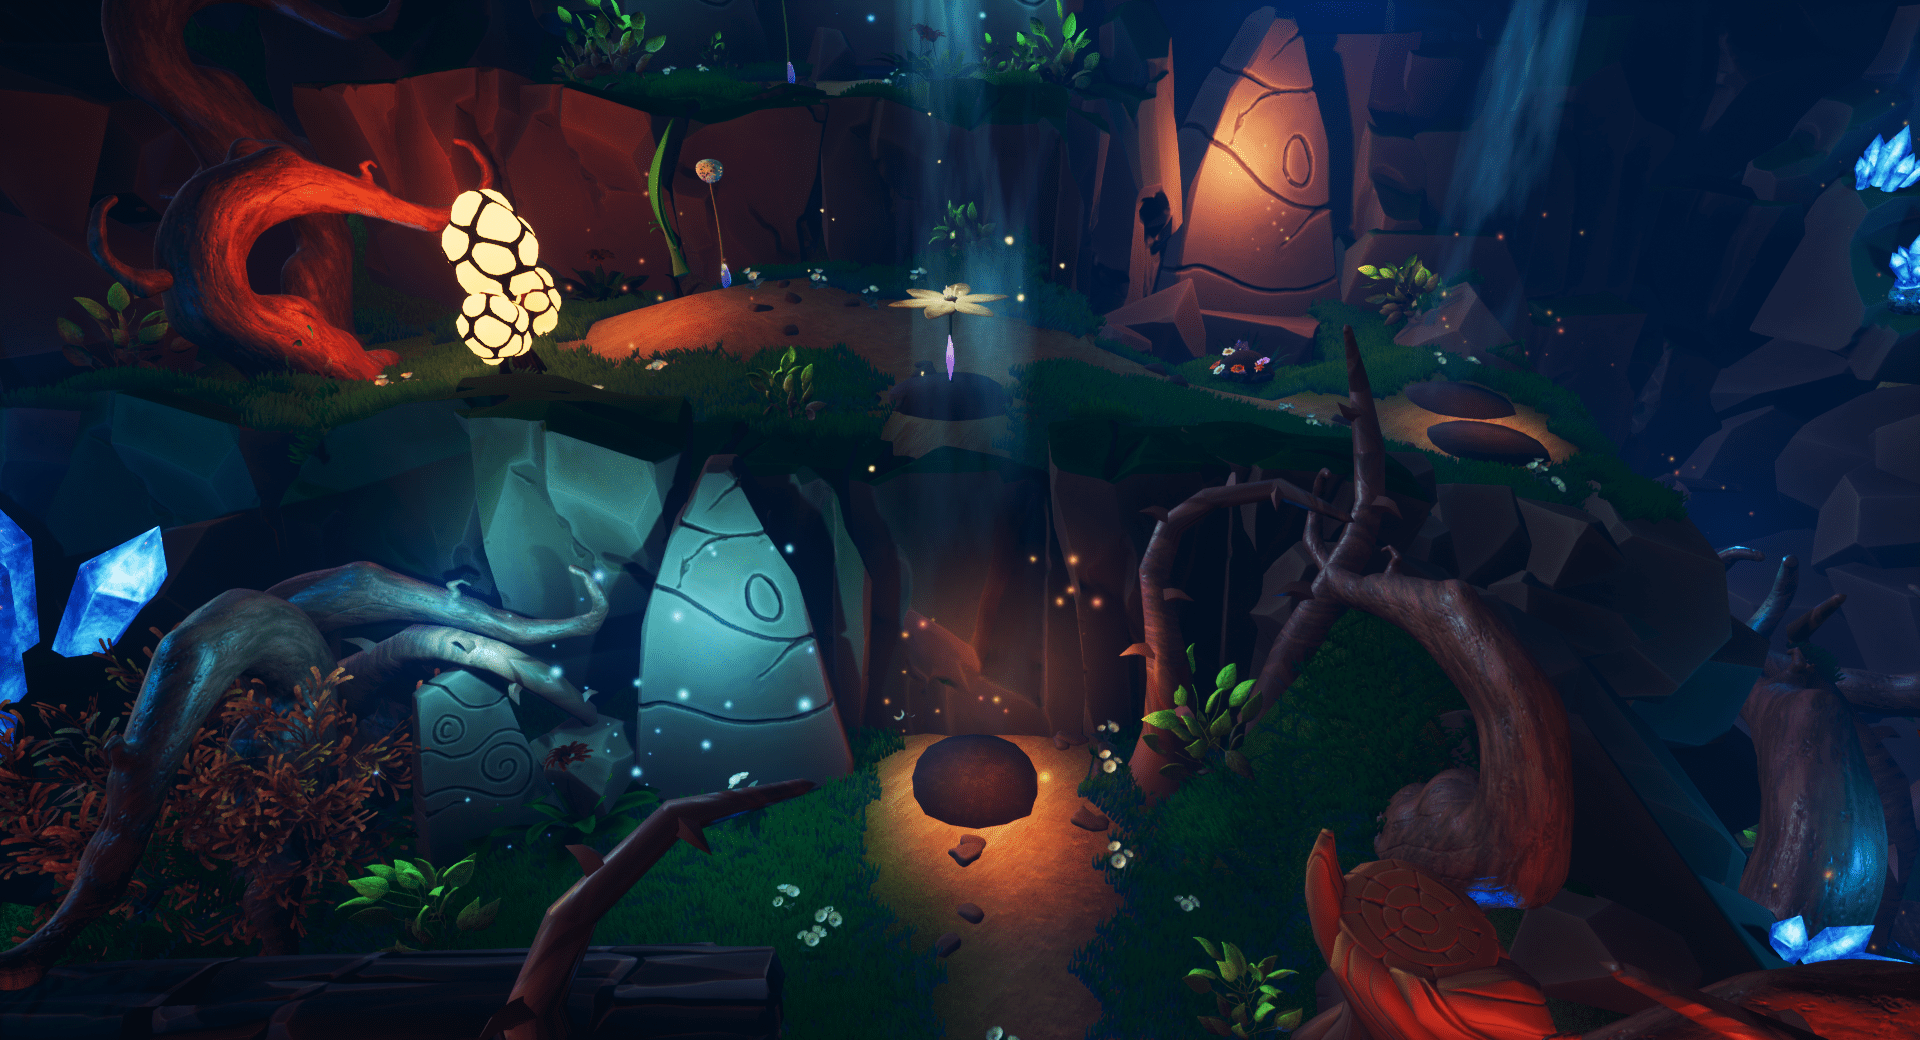
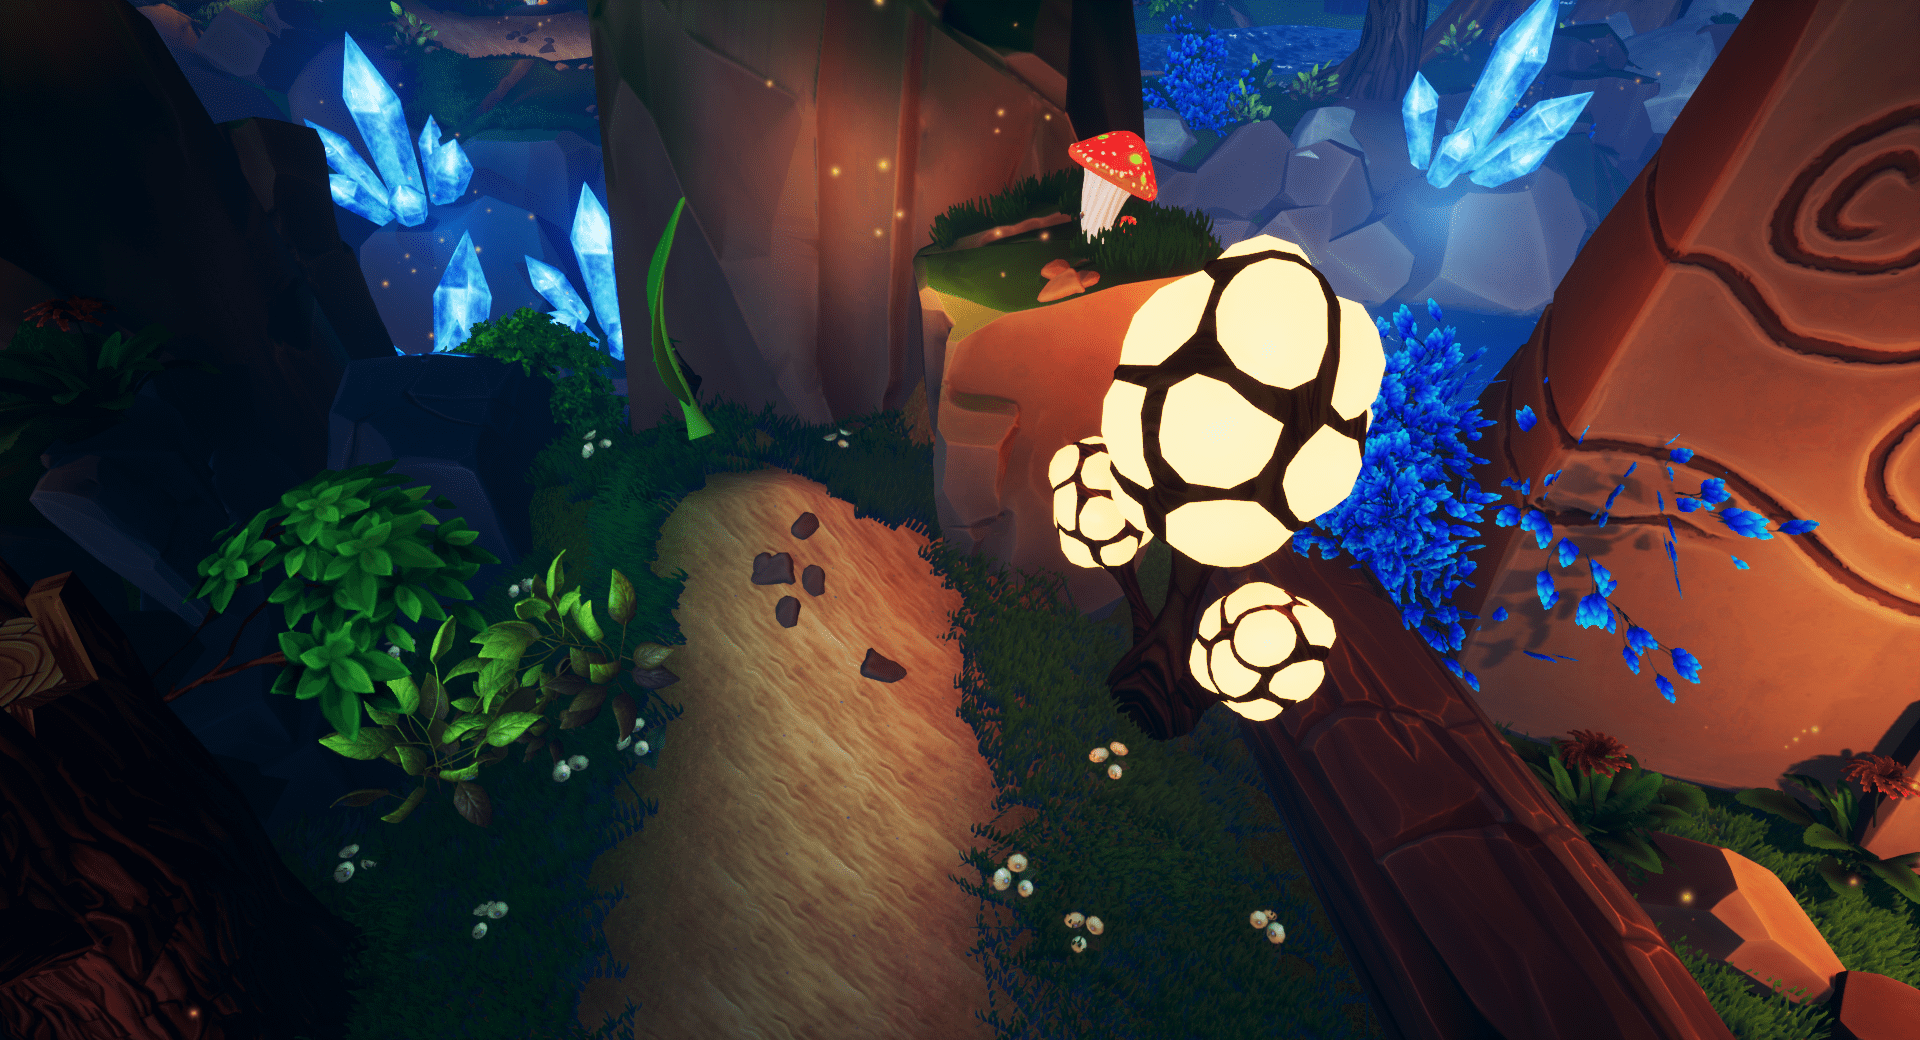
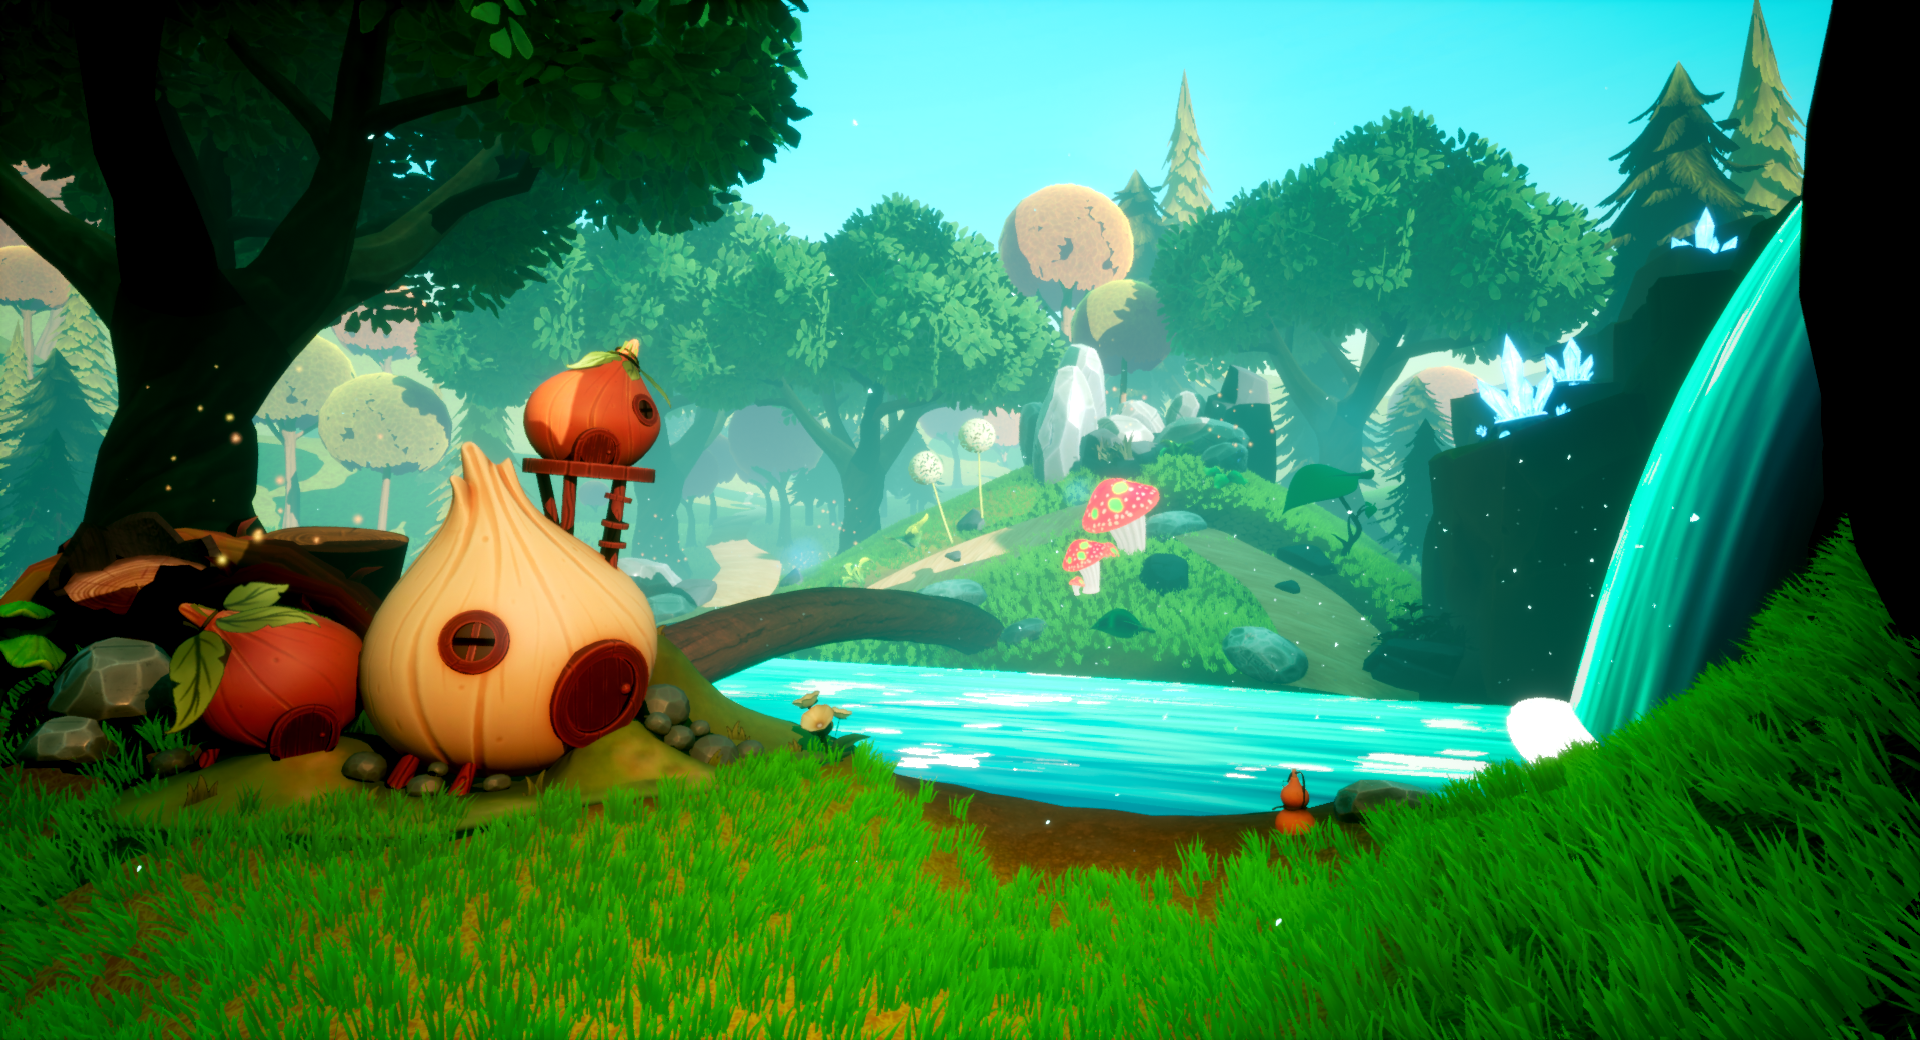
Join forces with a friend or family member in this exciting co-operative puzzle-platformer game. Both players are not just important, but vital – each with a unique role to fulfill. Through working together, combining their abilities, and having each other’s backs players make their way through carefully crafted puzzles. By getting to understand the inner workings of their environment and hopefully exploring their world, both players will make great discoveries. With its accessible controls, it is easy to pick up new players and is perfect for introducing people to gaming!
The goal of this level is to create a wide-linear puzzle sequence that takes place in a magical forest at nighttime. I wanted to script multiple puzzle encounters that challenge the players to work together to overcome obstacles. This drives the players to work together to get to the end of the cave area in order to progress to the next level.
Responsibilities:
I was responsible for creating the Keepers of the Trees main menu, which was inspired by the vision vignette designed by our Art Lead, Austin Labarbera.
I also designed the secret level – an alternate route to explore with more puzzles to solve – through all stages from concept to completion and lighting.
Designed, implemented and documented action blocks that integrated the mechanics of the game in different combinations to make the game fun and intuitive.
Created diagrams to better illustrate the plan for the secret level and the main menu in order to achieve better communication with other team members.
Worked on the secret level lighting to match and blend with Sam’s night level.
Helped with bug tracking and reporting it to our Programmers and Technical Designers.
Documented and recorded playtesting, gave feedback and iterated on the level and main menu.
Gameplay Video:
Our Game
If you would like to play our game for fun, it is free to play now on Steam:
Below is a list of the games mechanics and interactions that take place within the secret level. They are displayed in order of interaction to get a better understanding of the main idea behind the secret level of the game, and the action blocks designed.
Growth Zone - Dirt Patches:
Specific areas in the level. Only here, players can grow plants.
Mushrooms:
Used as a jump pad to jump onto higher ledges.
Brambles:
Environmental hazards. When a player touches it, they will launch backwards.
Beanstalks:
Used to climb up to higher areas, or across gaps. Can grow towards light sources, can grow in any direction, not just straight up.
Dandelions:
Players can use it to float across large gaps.
Grabbable Leaves:
Players can grab the tip of the leaves, creating platforms for their partner to hop on to reach higher ledges.
Star Flowers:
Is a flower that magically grows and emits light that helps beanstalks grow towards it.
Preproduction and Early Stages of Production - Action Blocks:
During Preproduction and the early stages of production, one of my main responsibilities was to help come up with different in-engine action blocks that combined the game’s mechanics into fun, and easy traversal puzzles for the players to solve. From a design perspective, the main challenge of this process was designing puzzles that required players to work together but also find solutions in different ways. I tried to make sure that I avoided having one of the players staying idle for over 10 seconds.
Pen to Paper: Clear documentation of each action block was also a very important part of the process. It helped the entire team better understand the intent behind each design. It was also easier for the leads to pick and choose which puzzles we would be able to implement into the game.
Top View
A Top View of potential Mechanics Map.
Side View:
A Side View of potential Mechanics Map.
Production: Concept to Whitebox Work Flow:
Step 1: Progression, Flow and Conveyance Diagram During this phase I took sole responsibilities of the Secret Level from start to finish. I had to keep in mind the requirements of the puzzle platformer mechanics and must haves. I also had to keep within the level design workflow. My main objective was to make sure that the level will properly convey the mechanics that were discussed from the drawn mechanics and reworked to make it flow with the path. My first action was to rework my paper-to-pen action block and create a diagram that makes up the level’s progression flow and how each plant is going to be used by the players. The mechanics were already introduced in level 1 and the first half of Level 2. The level was supposed to be fun and not too stressful for the players.
Another consideration I included in the diagram was that, from the design perspective, the secret level should hook the players and immerse them in the game, keeping them engaged in the flow. The puzzles shouldn’t throw them off or make them frustrated. I also wanted to make sure there was a “wow” factor while going through the level, so the players can see how magical it looks while solving the puzzles. Finally, to assure that the level was able to be completed within the tight deadlines, I kept in communication with the leads and the artists. I also continually referenced back to the first and second levels to make this level blend in seamlessly with our art style guide to better convey the look of each area.
Basic Action Block Layout of the level with mechanics first in mind:
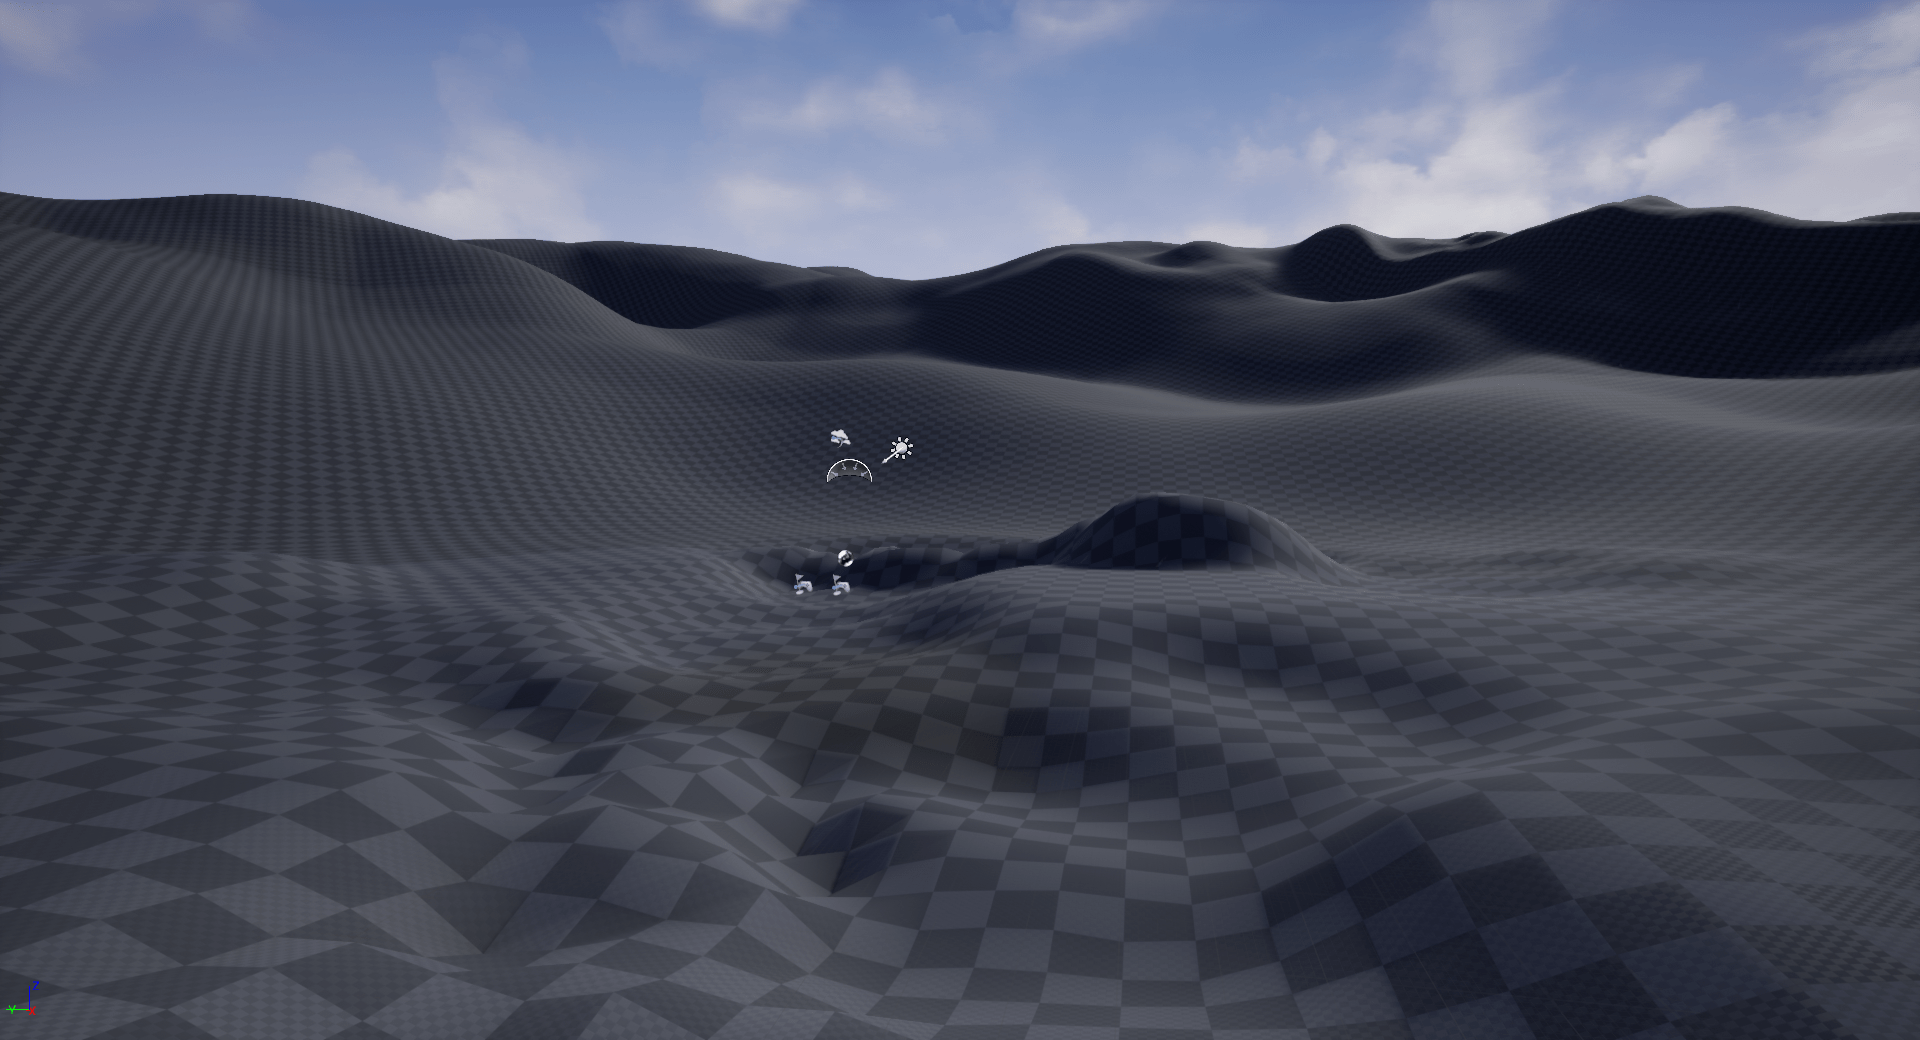
Step 2: Layout and Whitebox:
The next step was to create a basic layout of the level and start blocking out the path and mechanics. Given the size of the level, the short amount of time given, and the importance of playtesting, my teammates and I were playtesting day and night. I was interacting with every part of the level attempting to find bugs and ways to break the level before I passed it off to a team member. I wanted to make sure each area met the criteria set by the leads and the diagram displayed above. Scope was a huge factor due to time constraints, so levels had to be reduced to 5 major puzzle mechanics. I wanted to be agile and proactive, and tackle the scope and playtesting during the whiteboxing phase. This turned out to work in my favor when all of the puzzles worked and nothing broke. This helped me be more efficient with design-specific interactions and how much time and attention to detail I gave each area.
Whitebox Begining area:
This area is where the player will start off.
Whitebox Middle and End Area:
Used as the middle puzzles and the end of the level.
Whiteboxing and Playtesting:
During this stage, mechanics are still being tested and flow is being examined. Landscaping was also started around this stage, helping to form the paths and determine the feel of the surrounding forest area.
Whiteboxing and Beginning Set Dressing:
During this stage, the whiteboxing stage begins to transition into the set dressing stage while still playtesting the game to make sure the mechanics of the puzzles were still working and fun. Some of the original ideas, flow, and set dressing changed later on.
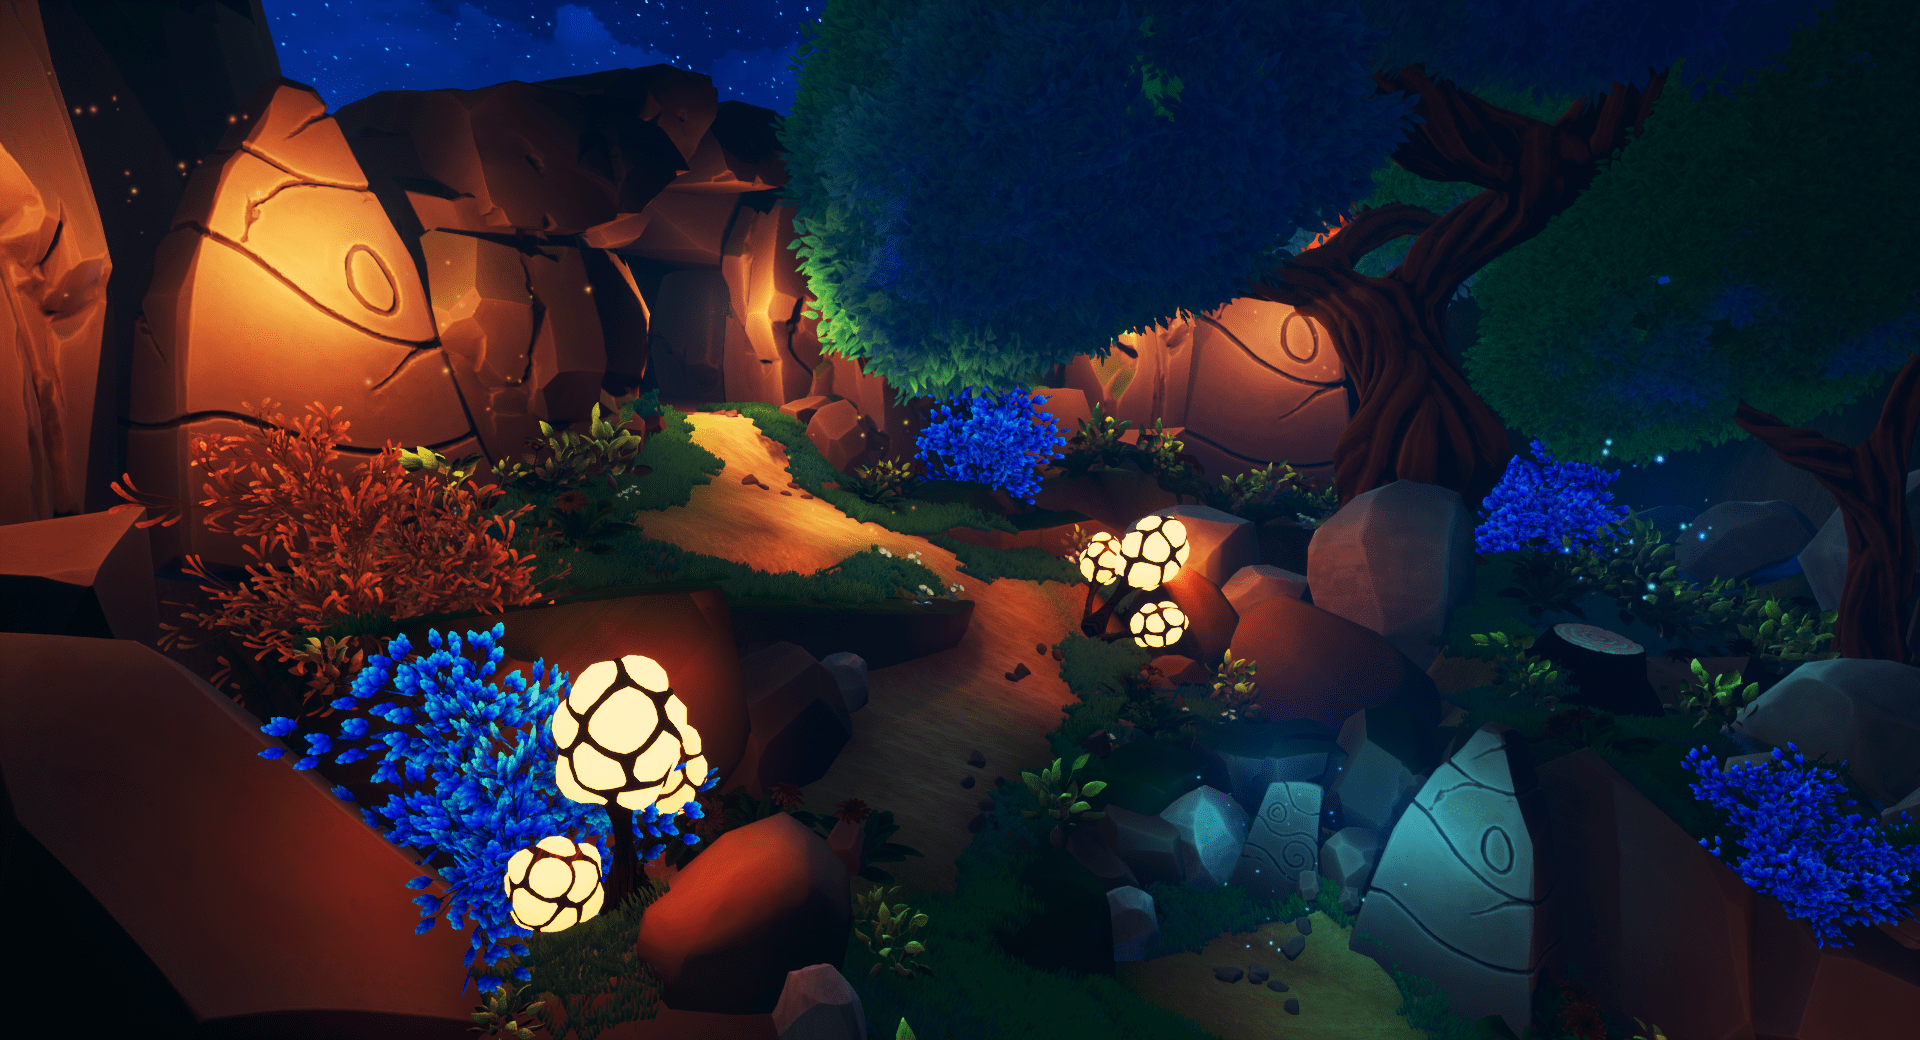
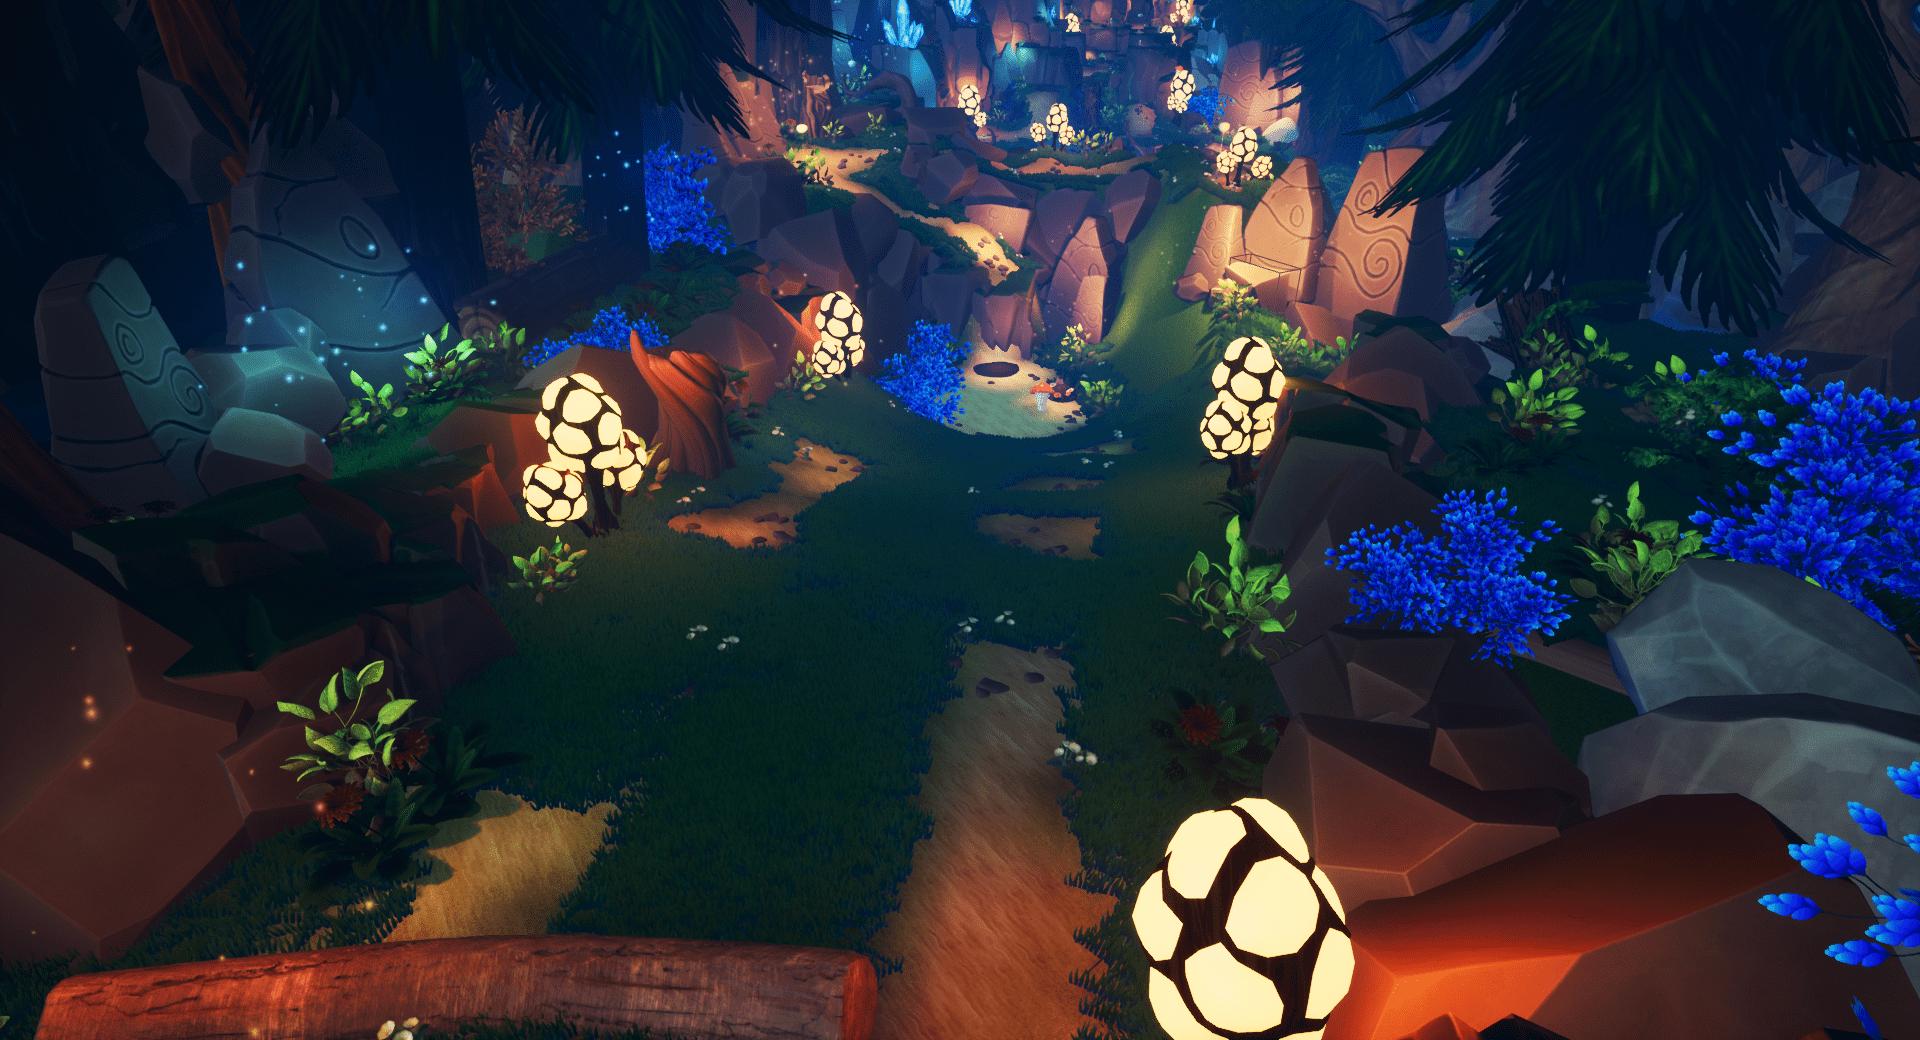
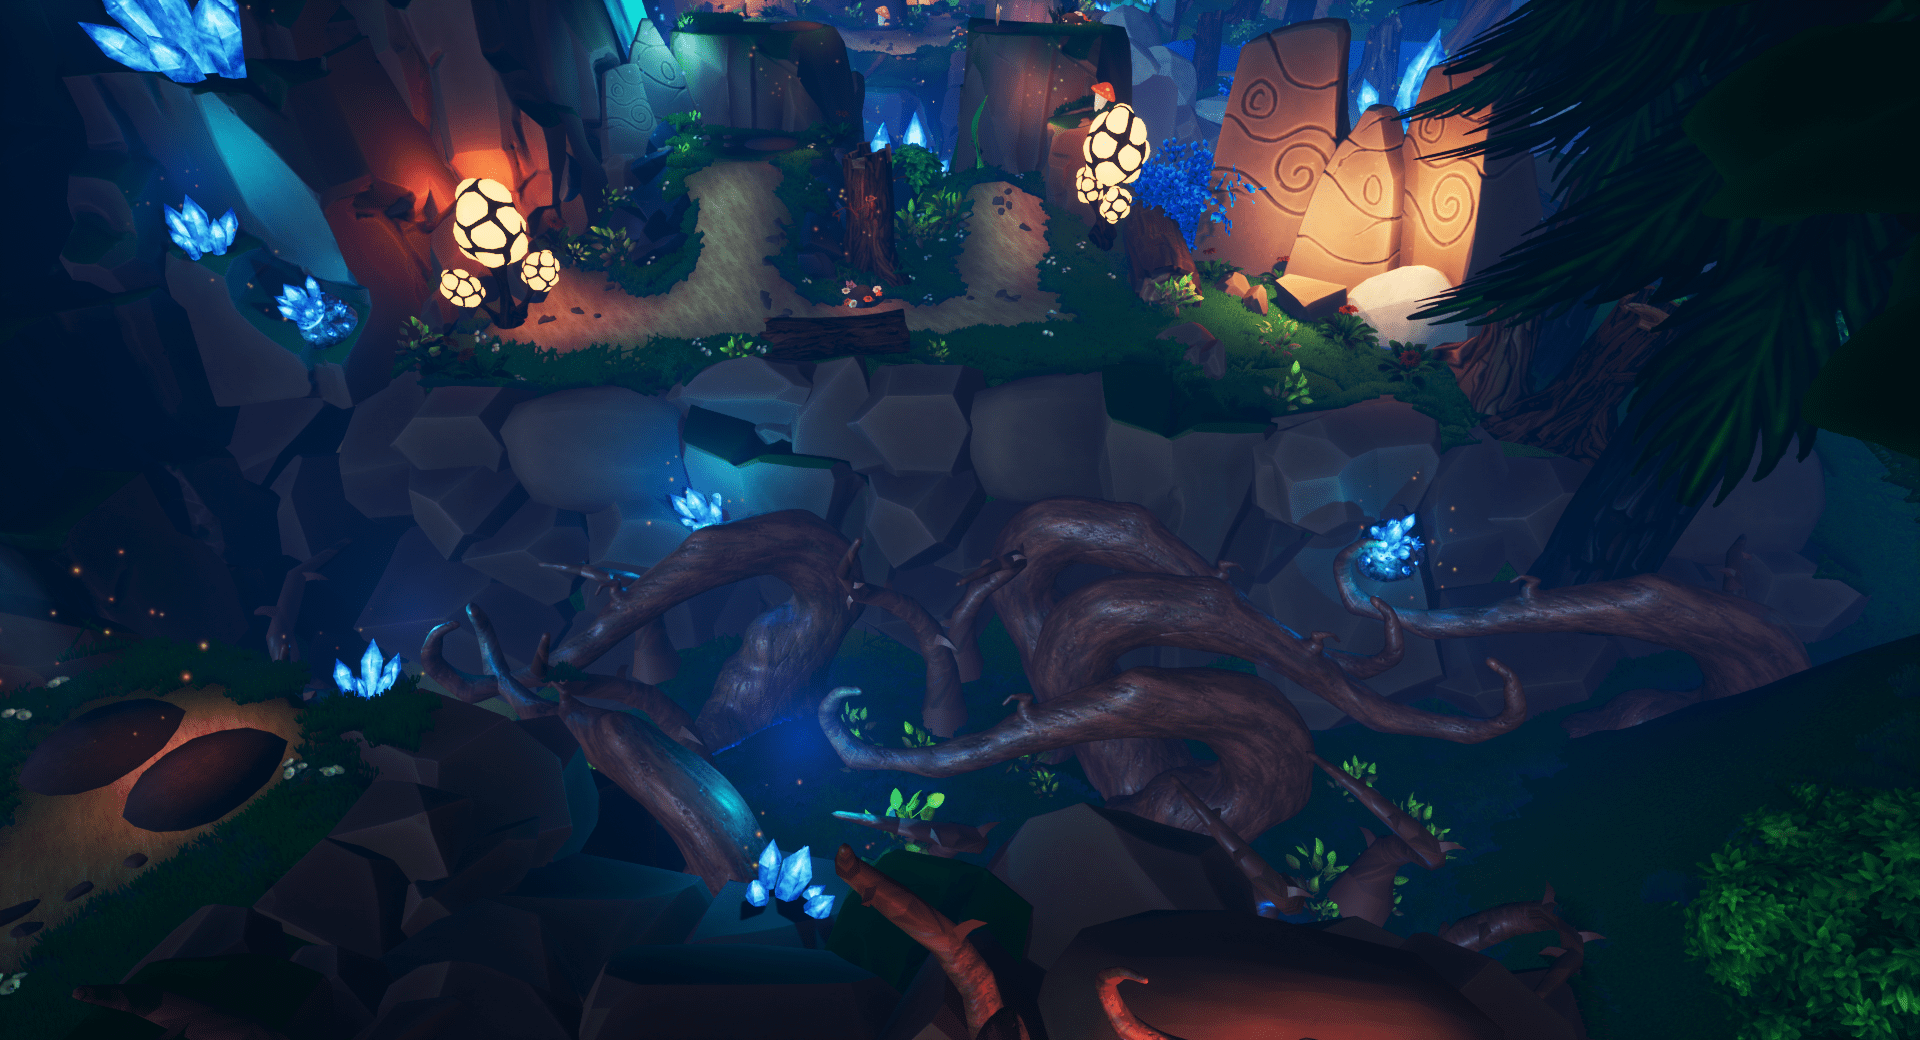
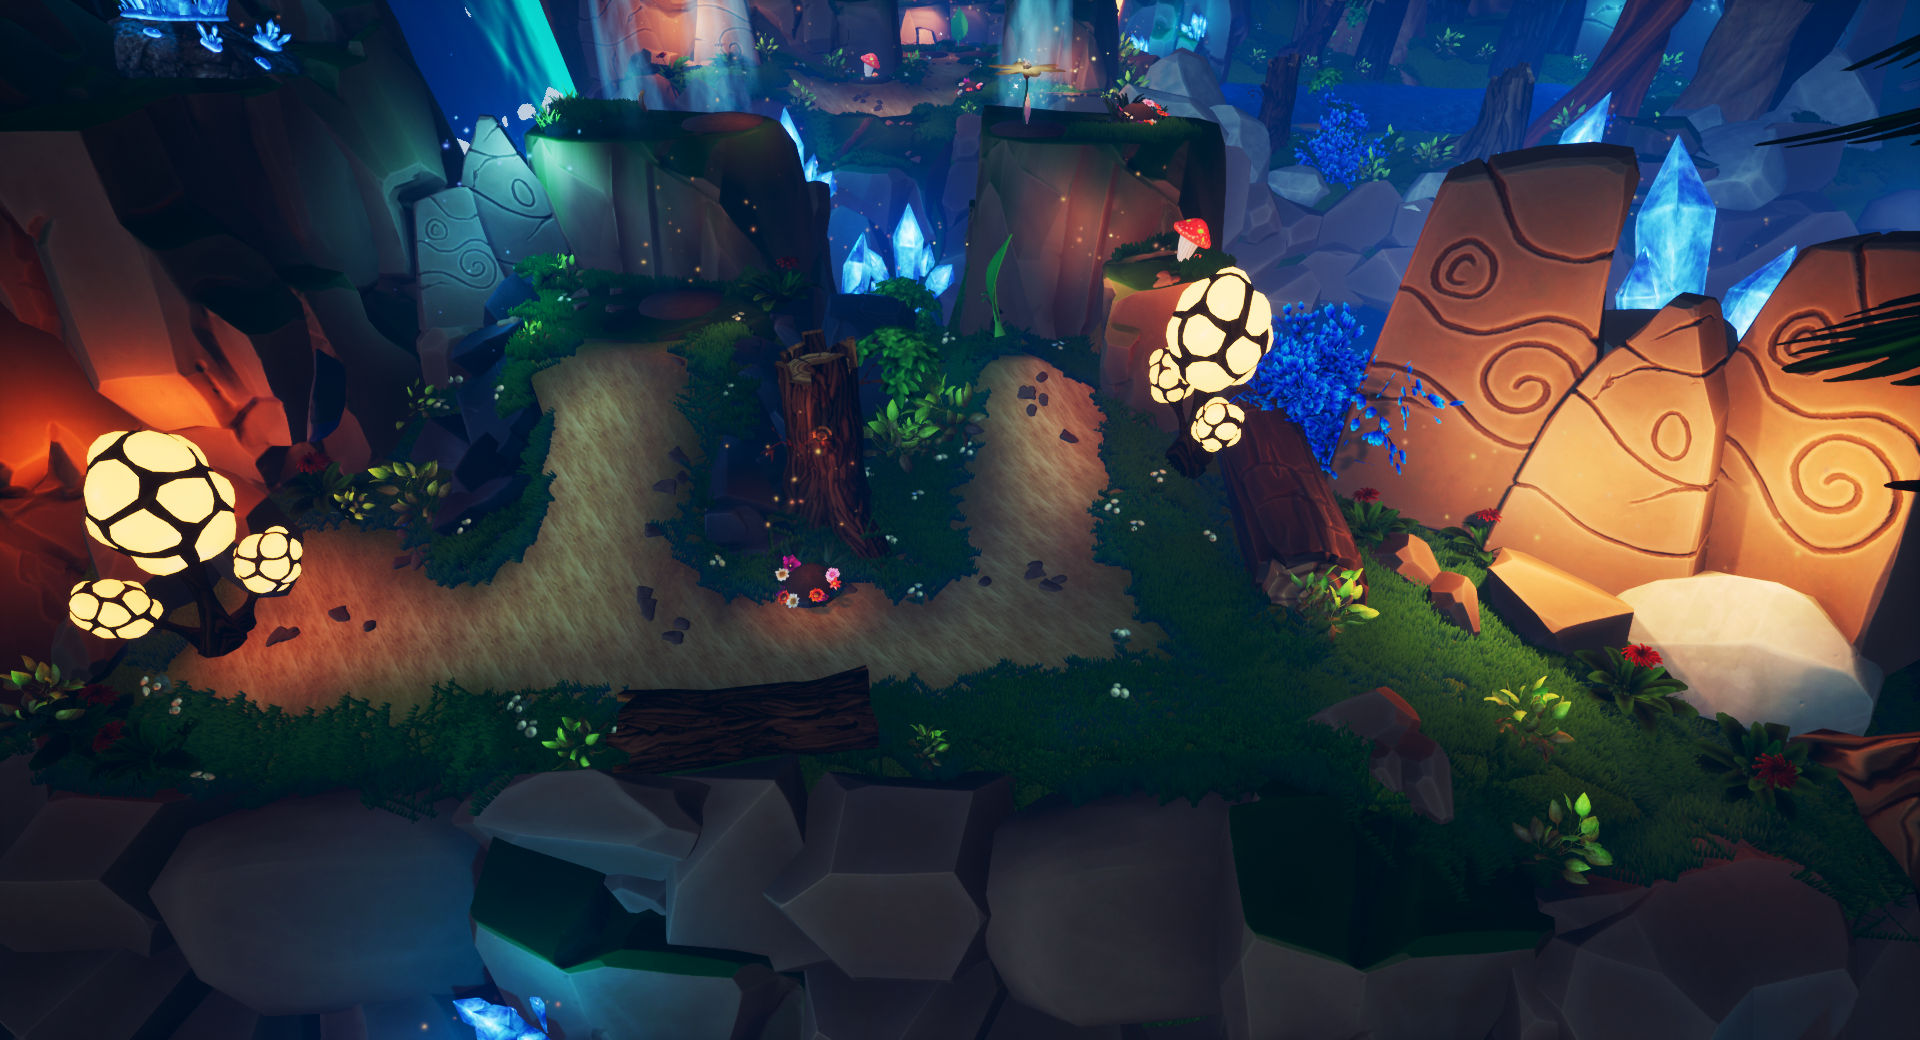
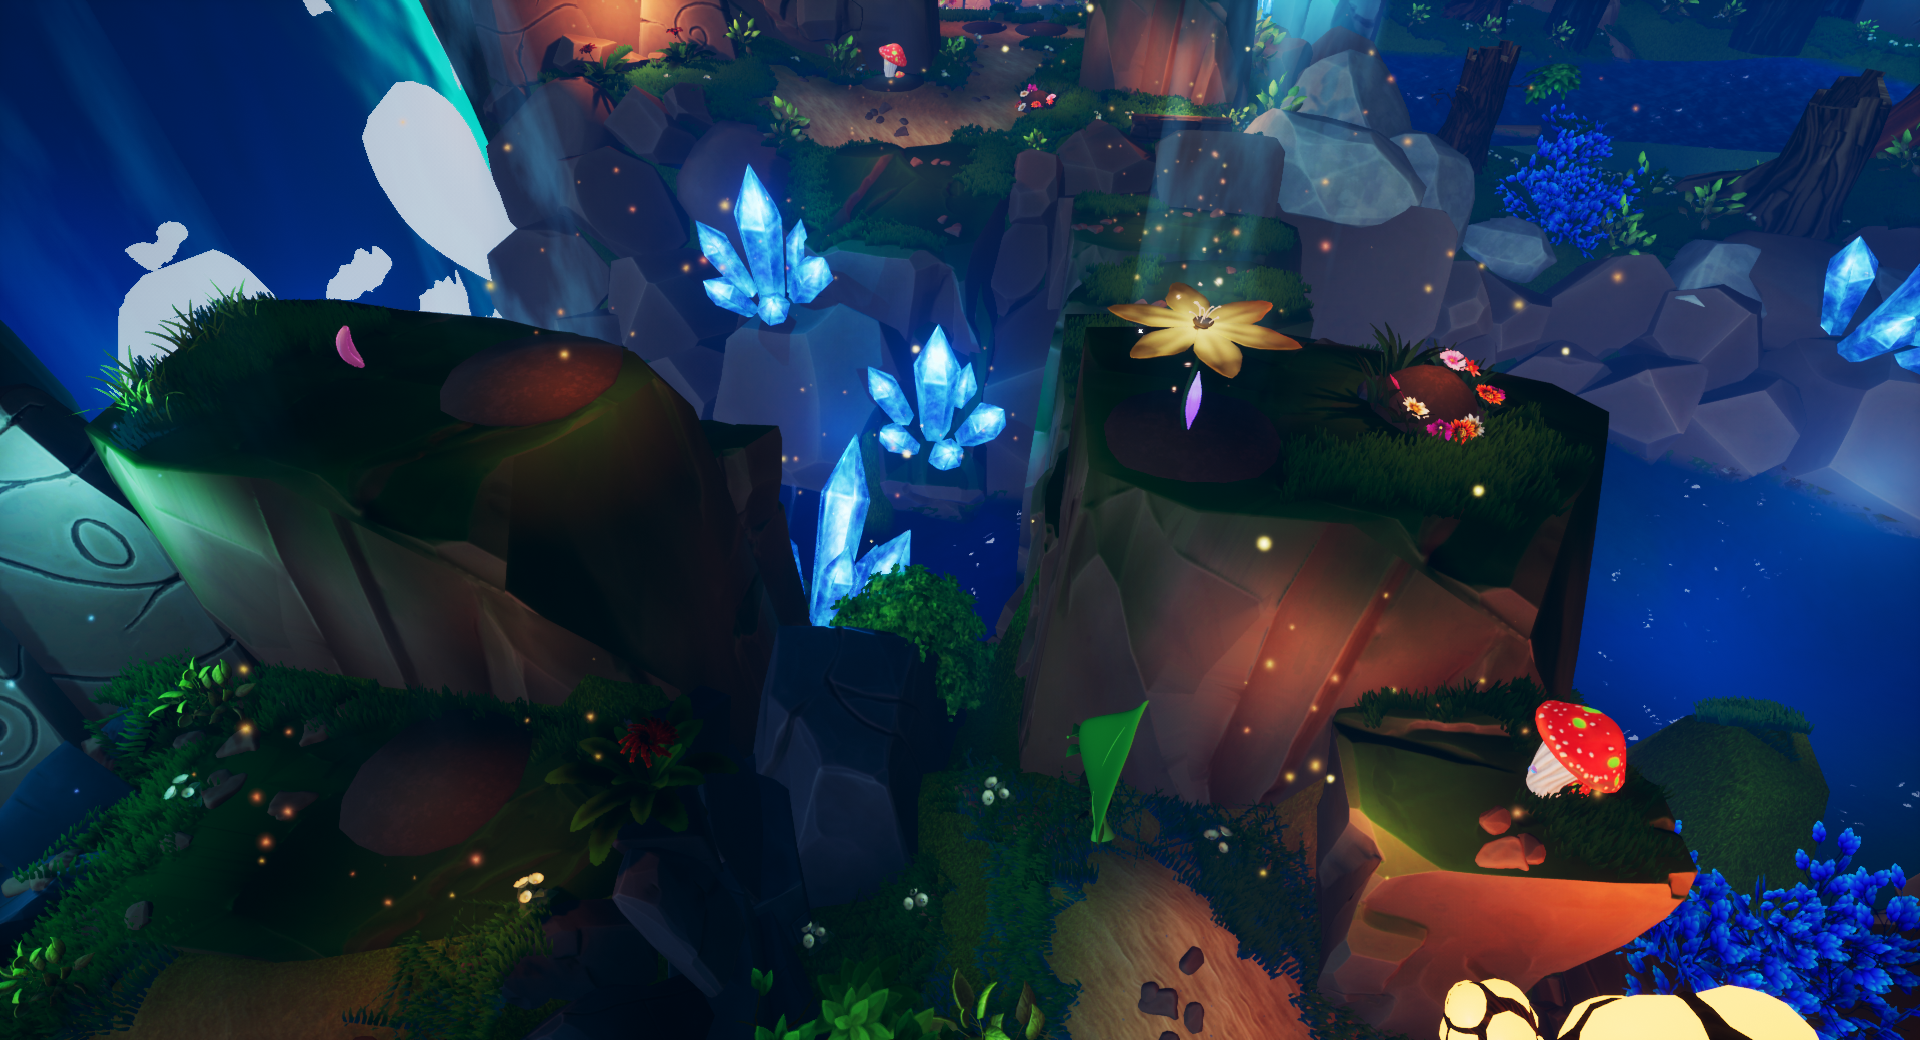
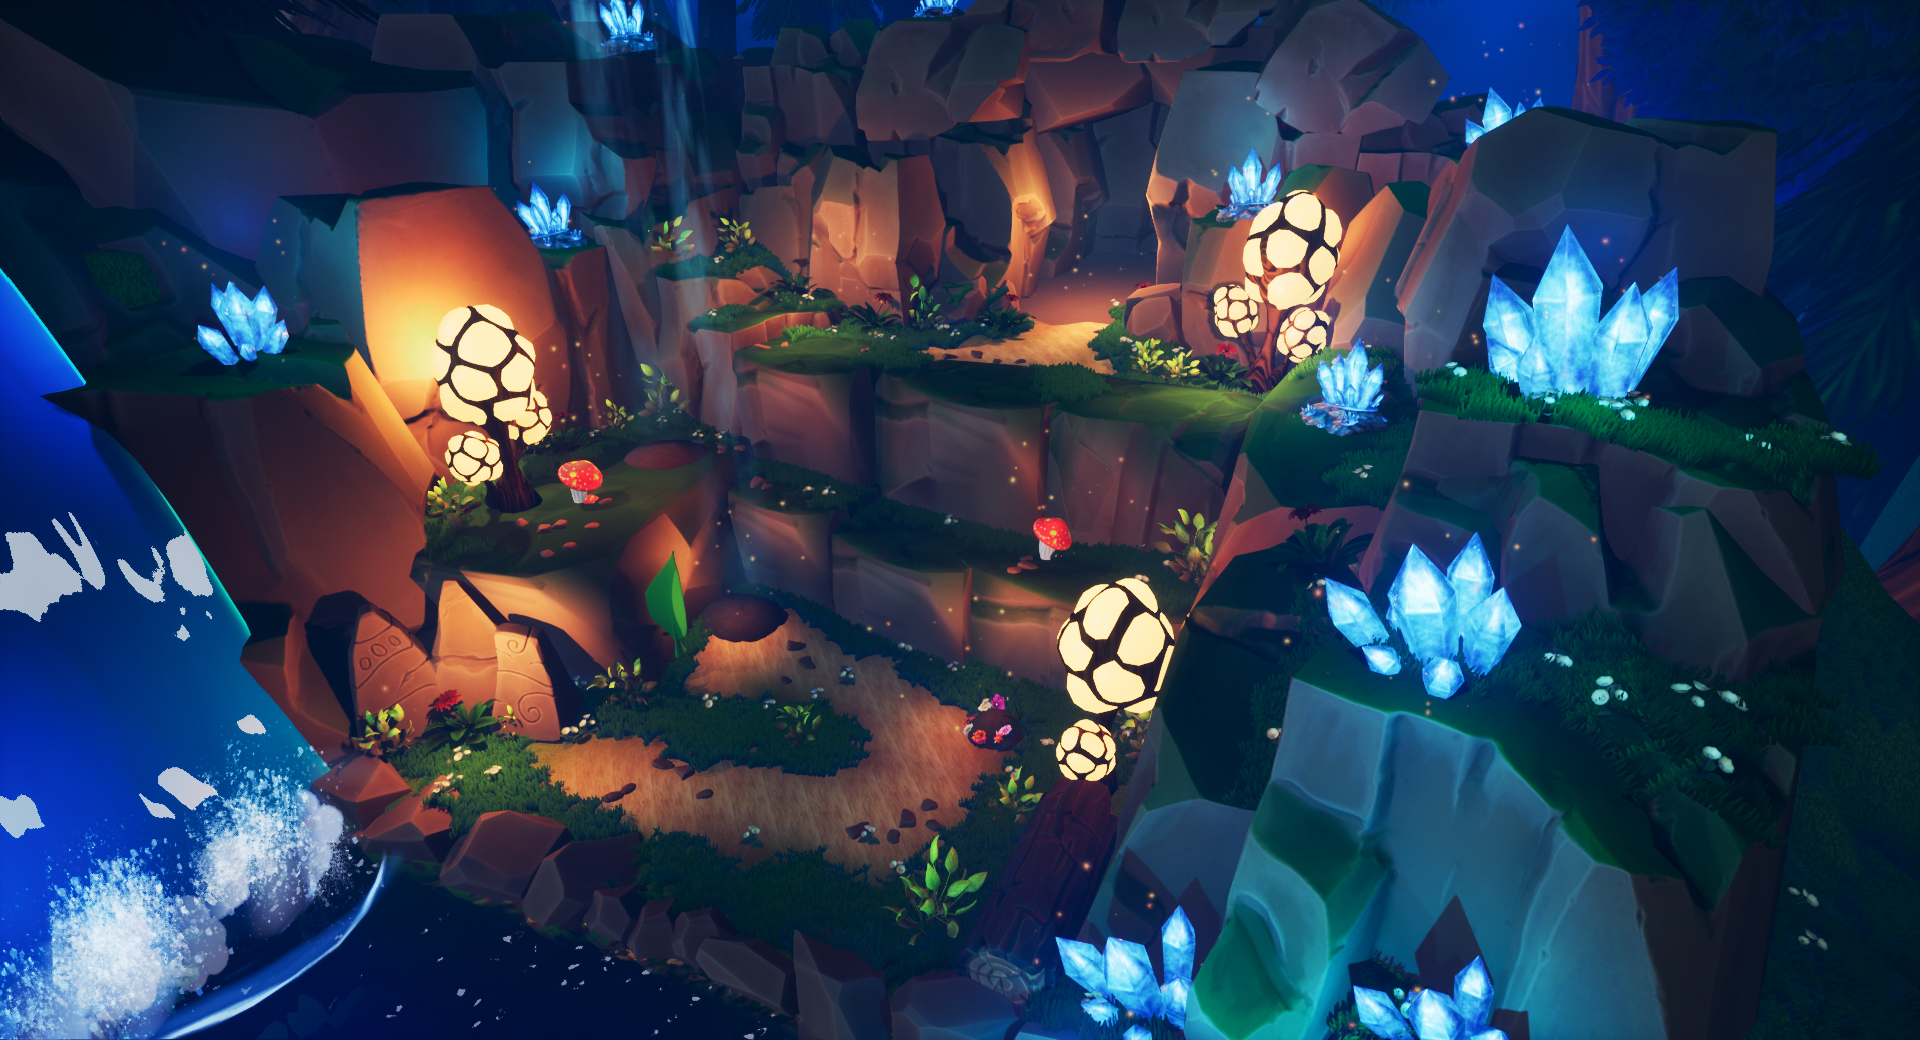
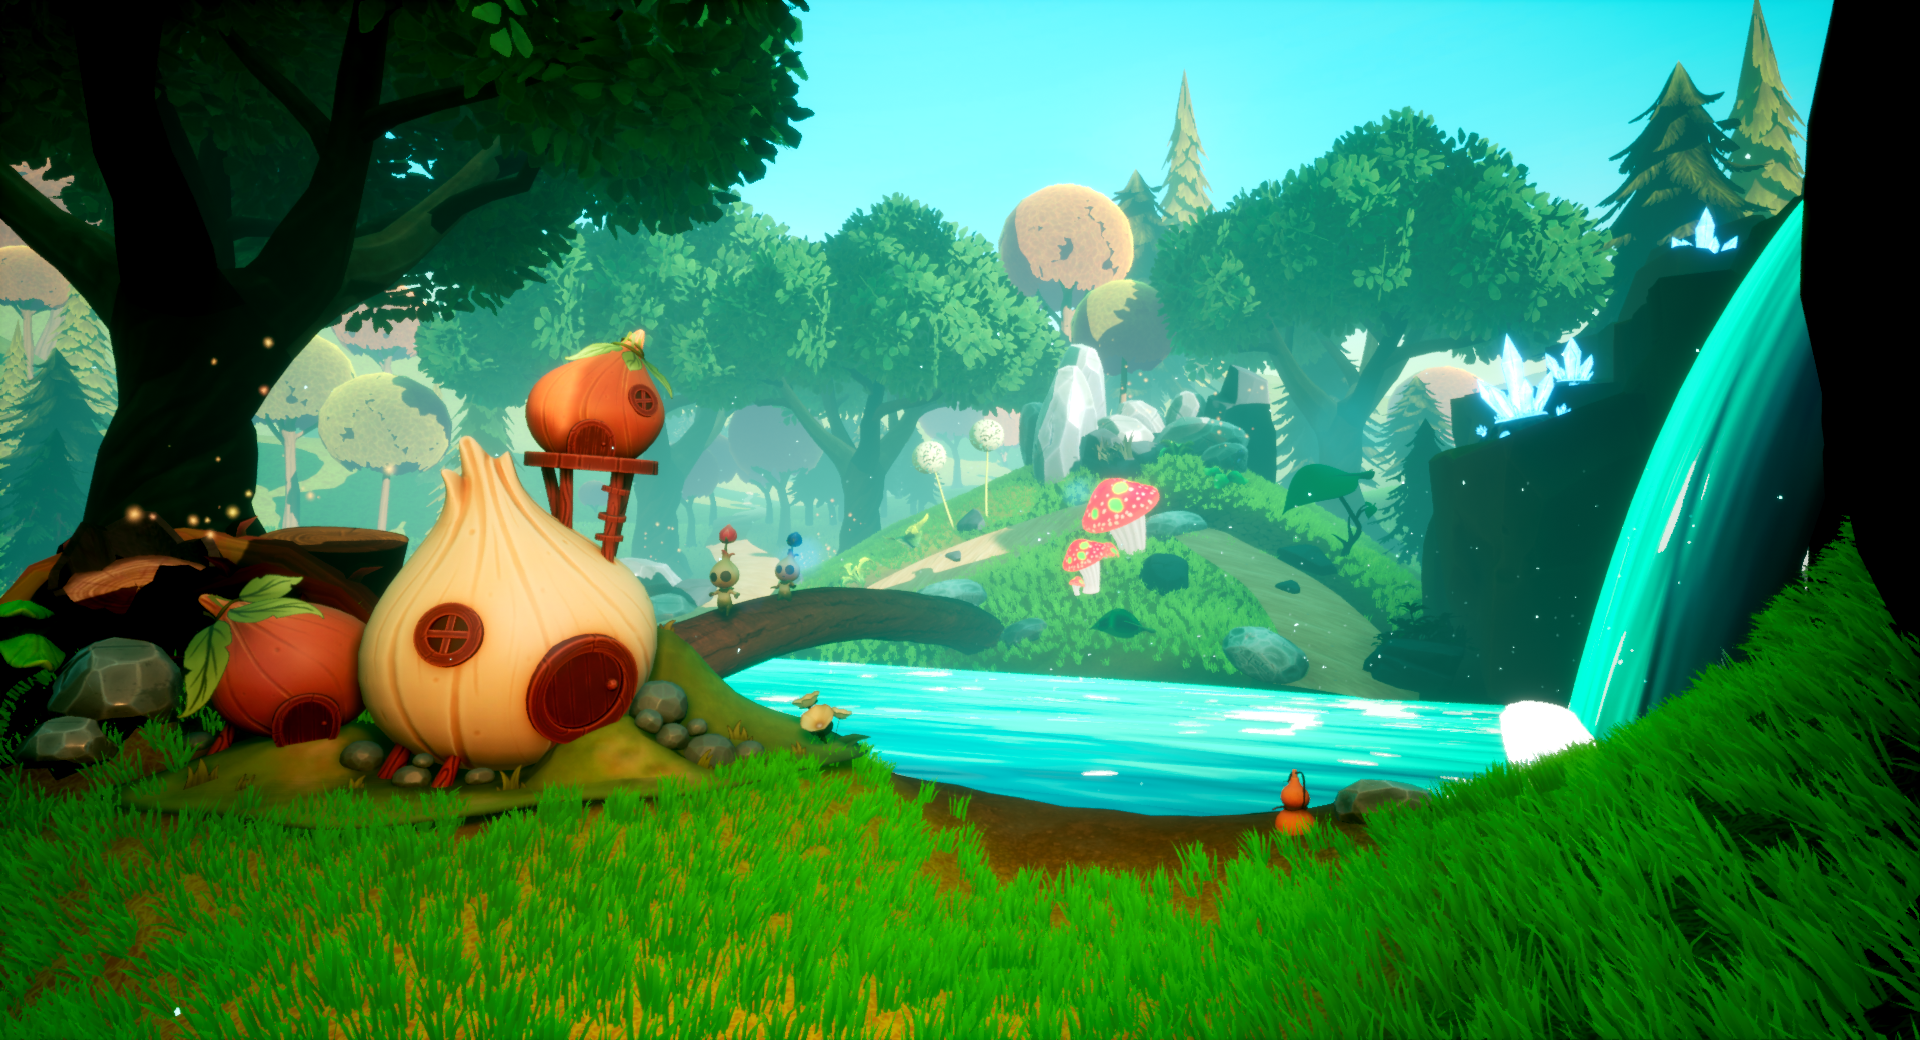
Set Dressing and Lighting:
Set Dressing Breakdown My set dressing had to be similar to level 2, the first night scene in the game, but include elements of the first level as well to ensure that the secret level blended seamlessly into the game. Major foliage of levels 1 and 2 were used so it stayed consistent. Approved rocks and trees had to be looked over so it blended with the second level and what we had in our asset packs. Nighttime crystals and rune stones were used to help guide players, along with fireflies. Blueprint lamps, created by our Project Lead and Level Designer, Sam Roberts, were also used for lighting by changing the warmth of the color value.
You can find Sam Roberts’s portfolio here: Portfolio.
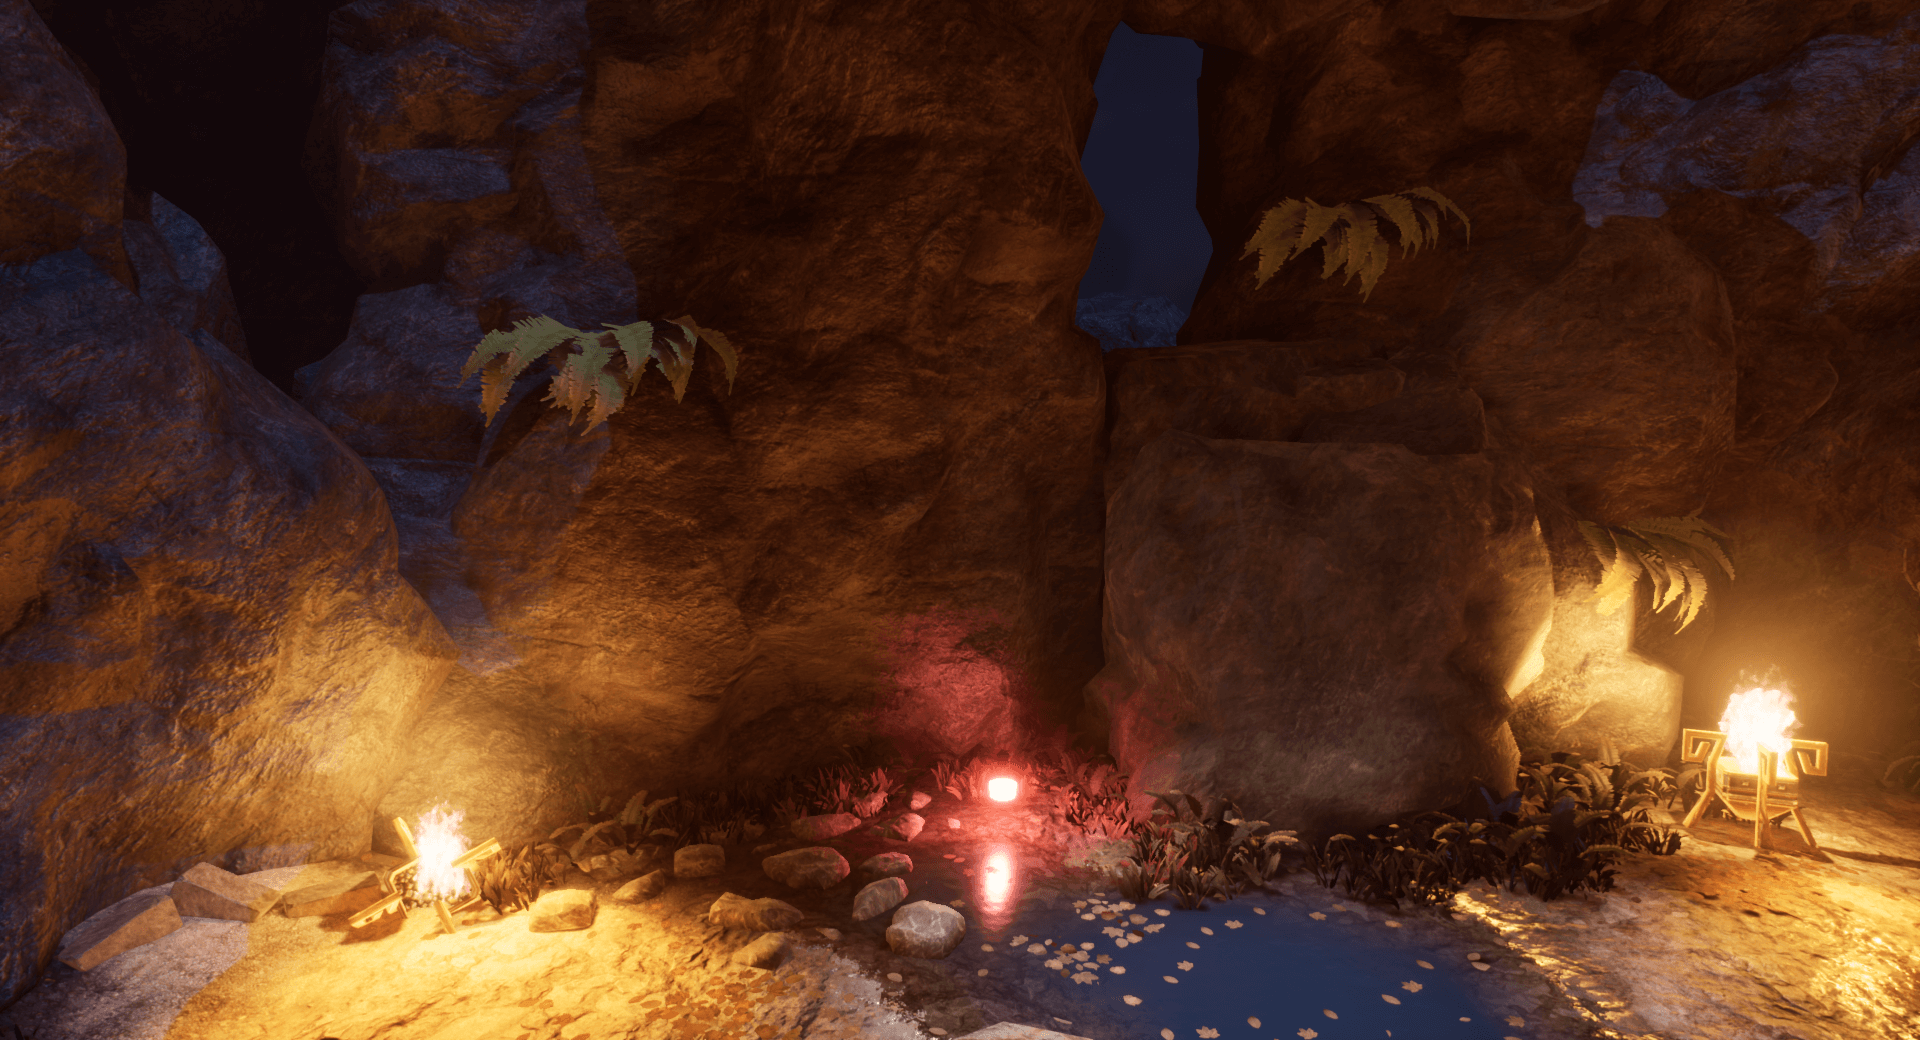
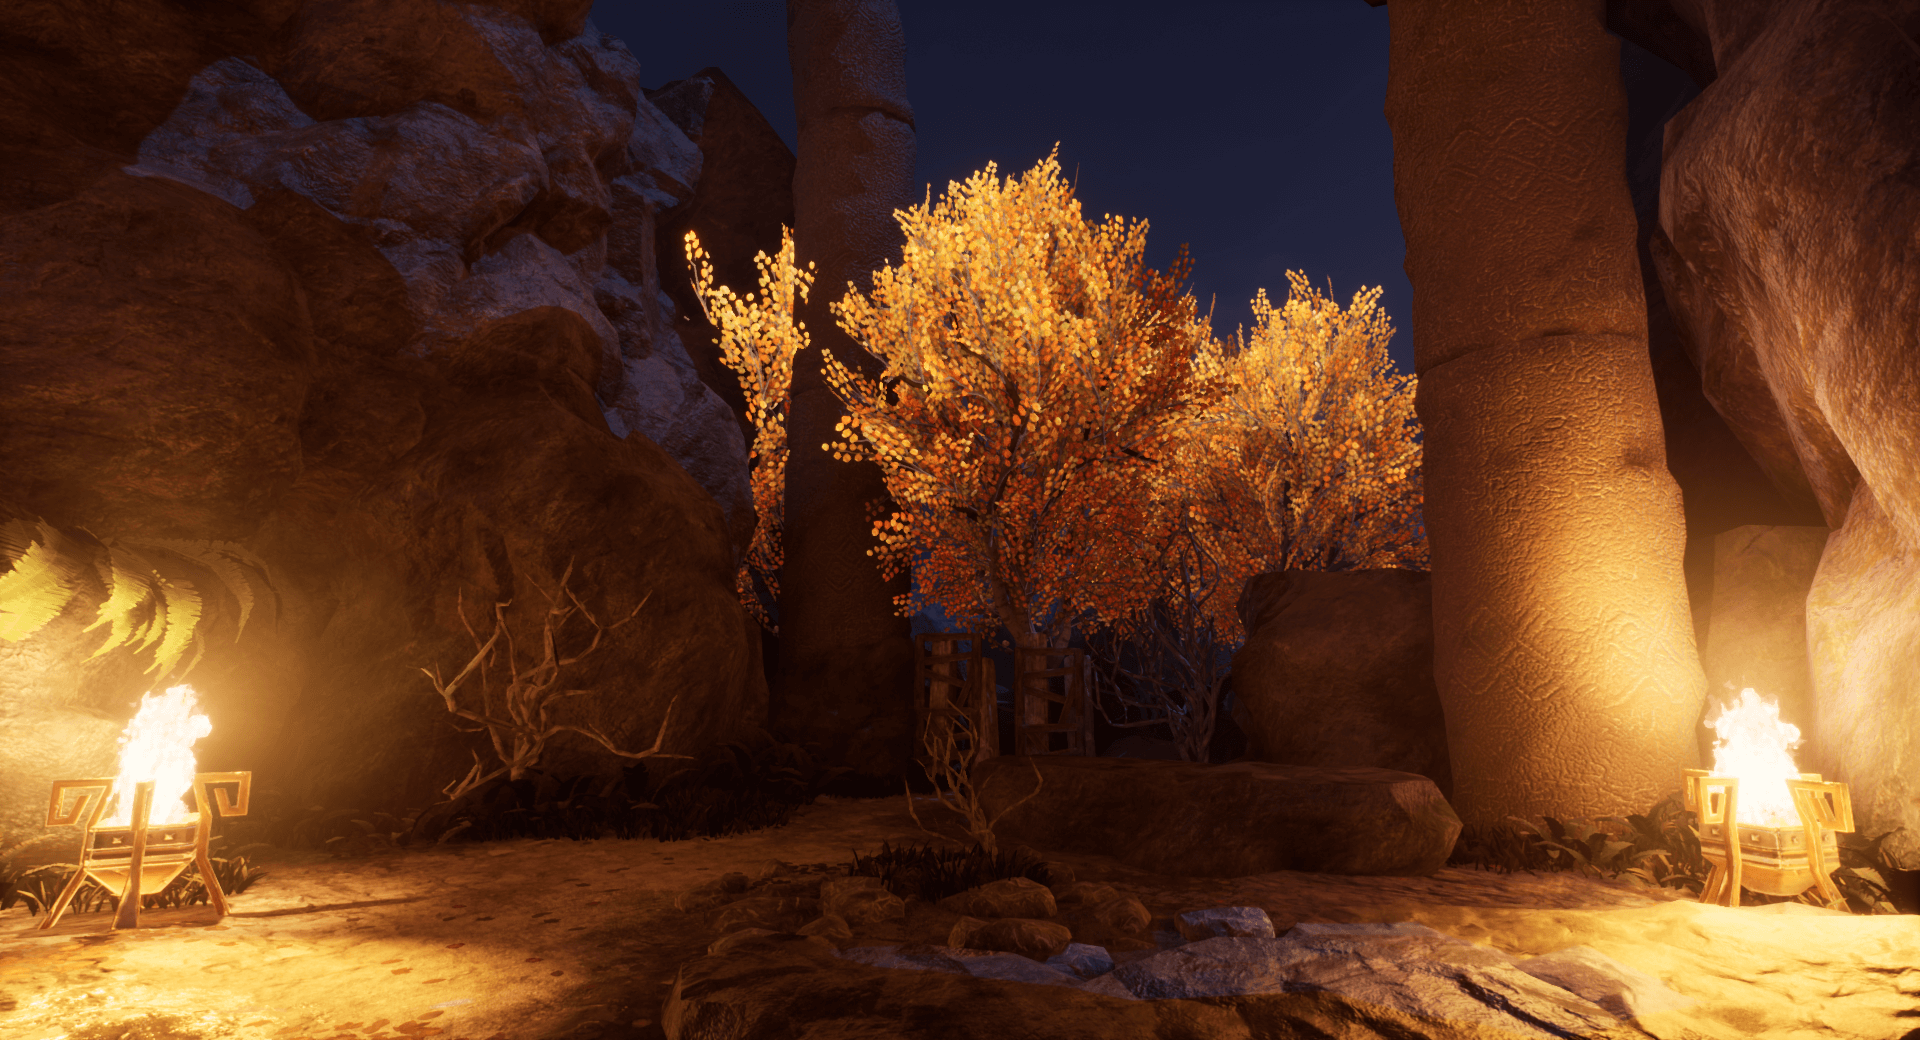
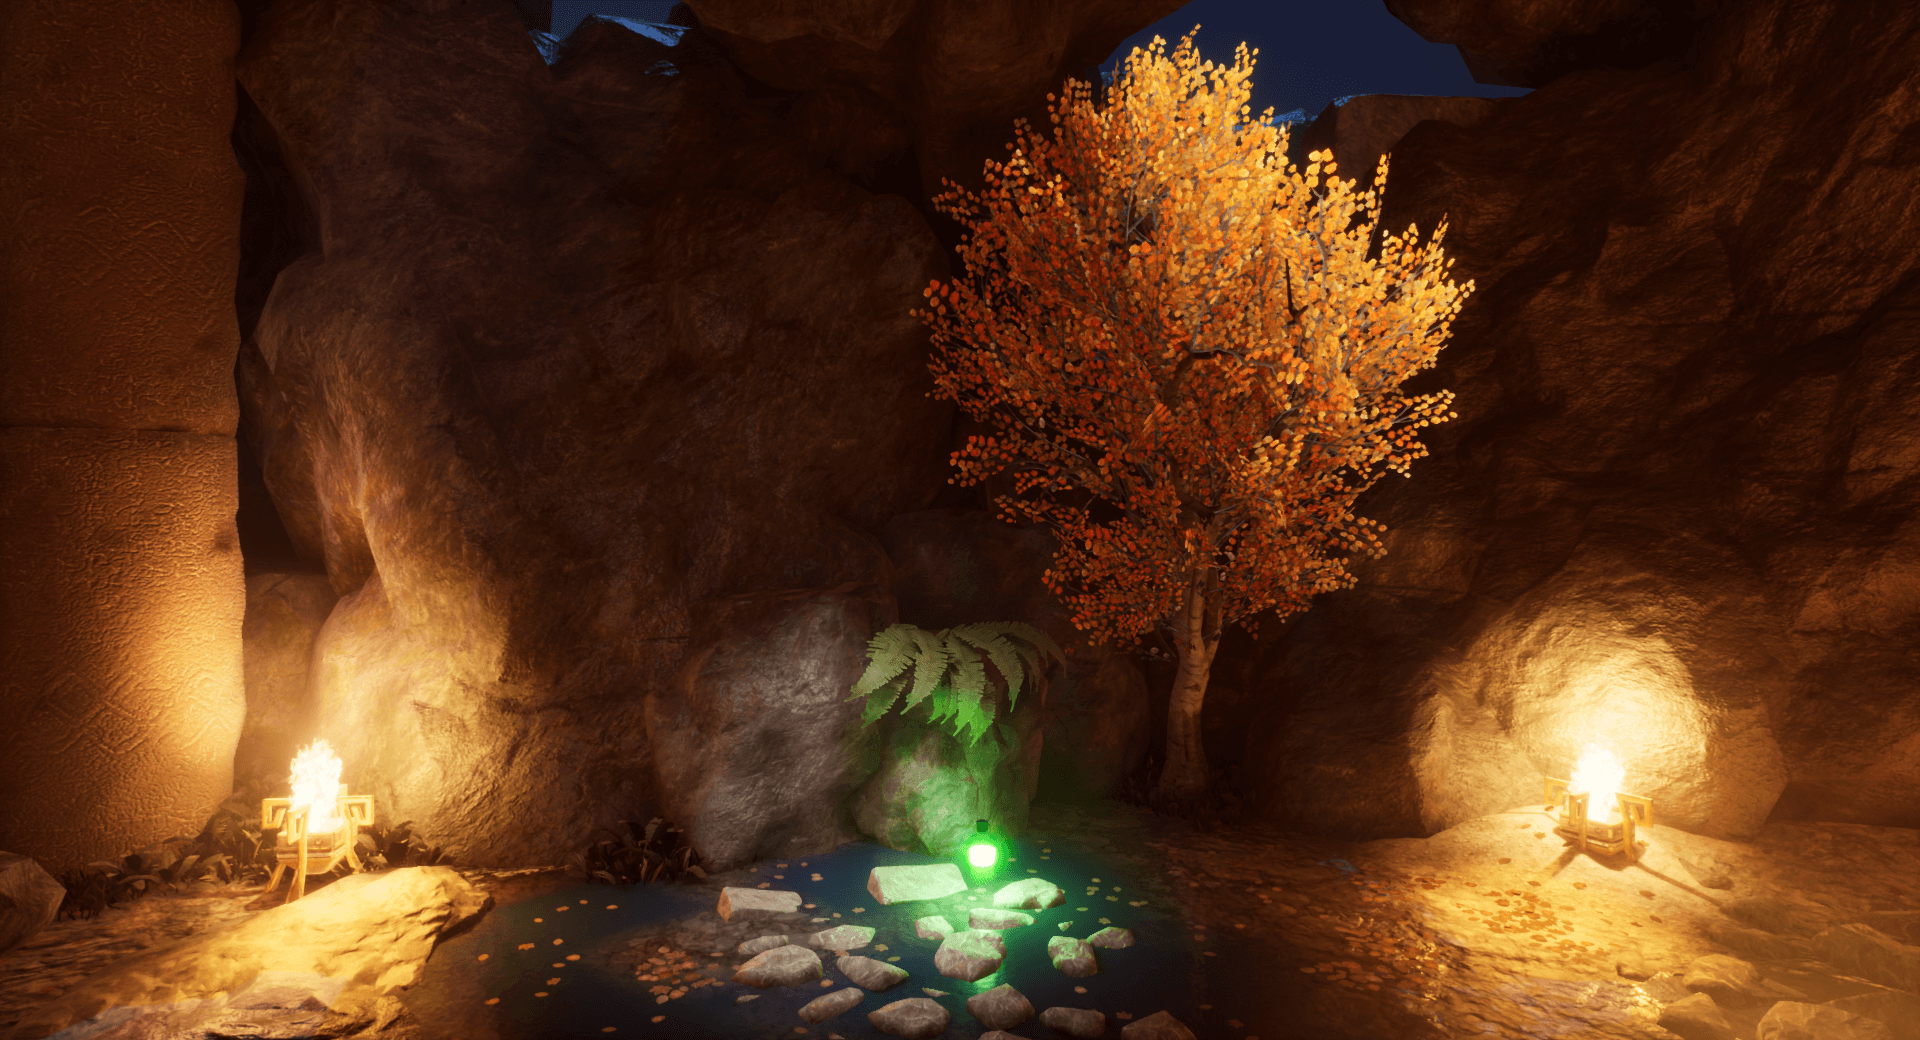
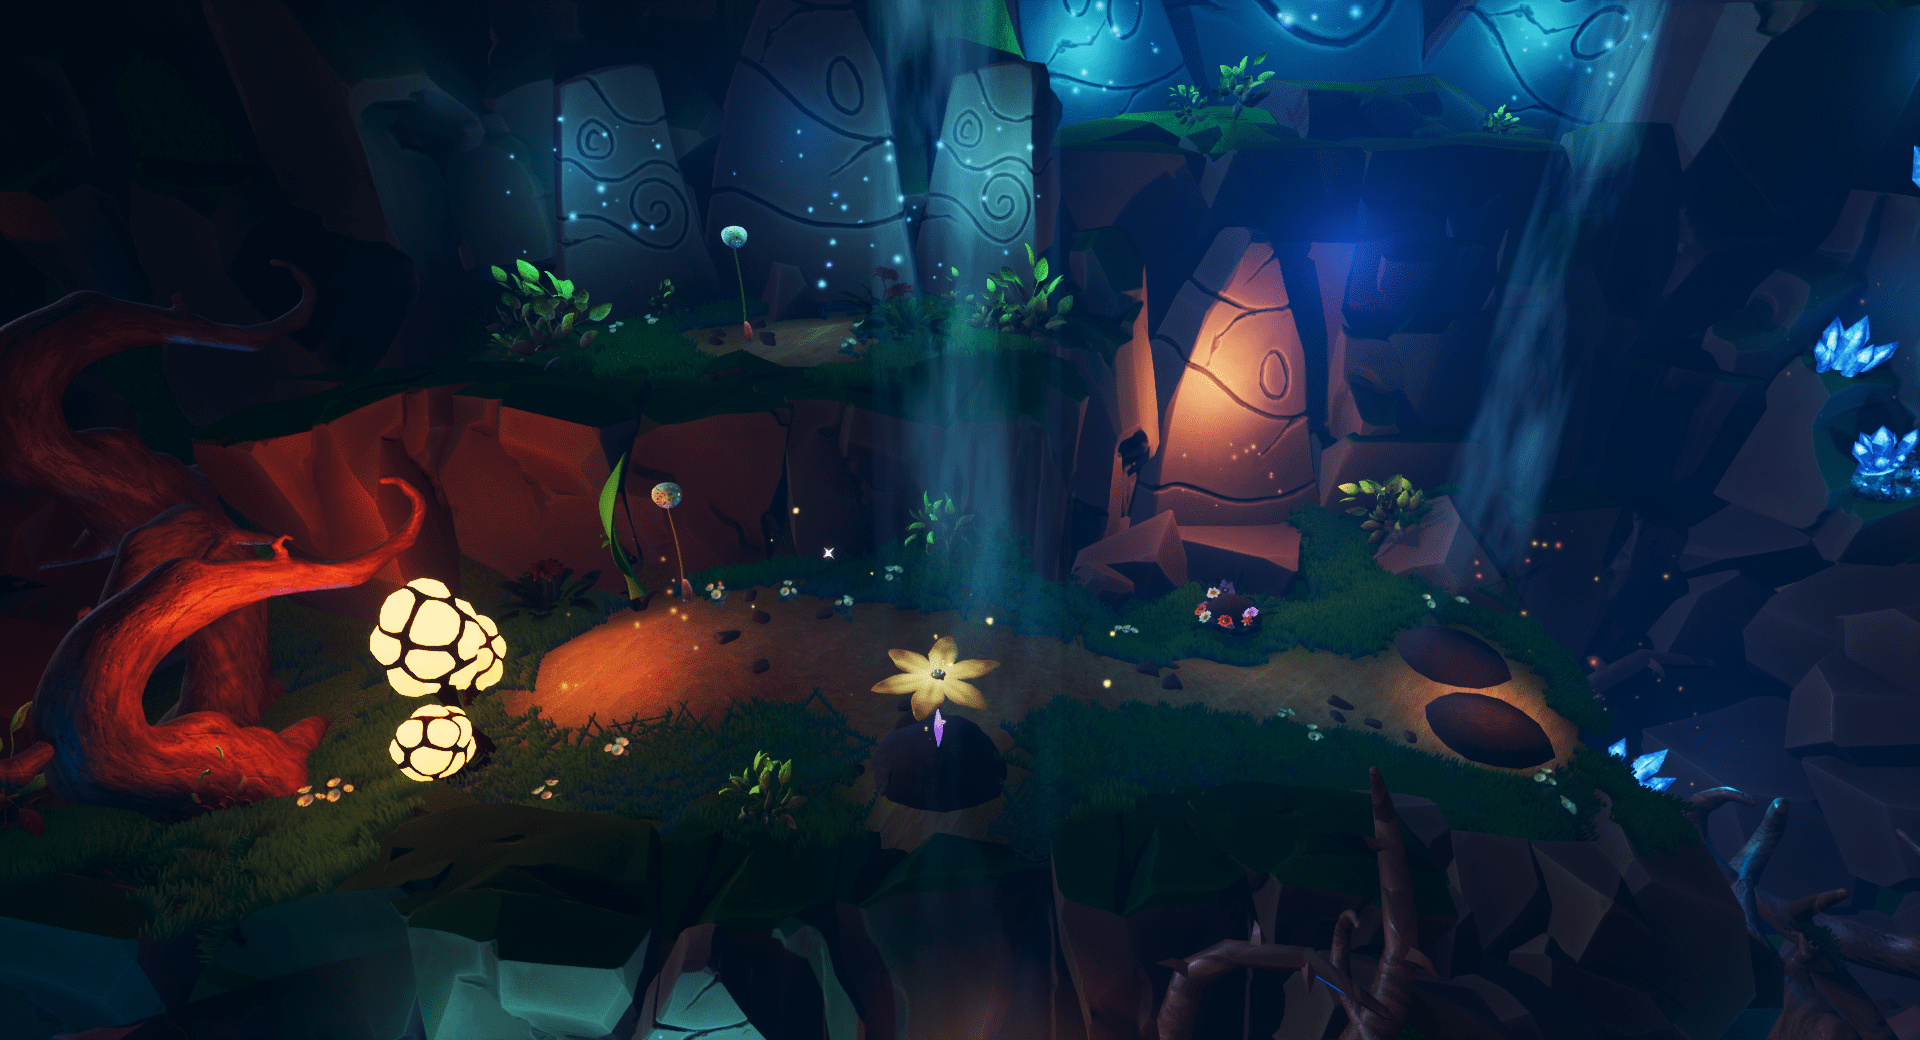
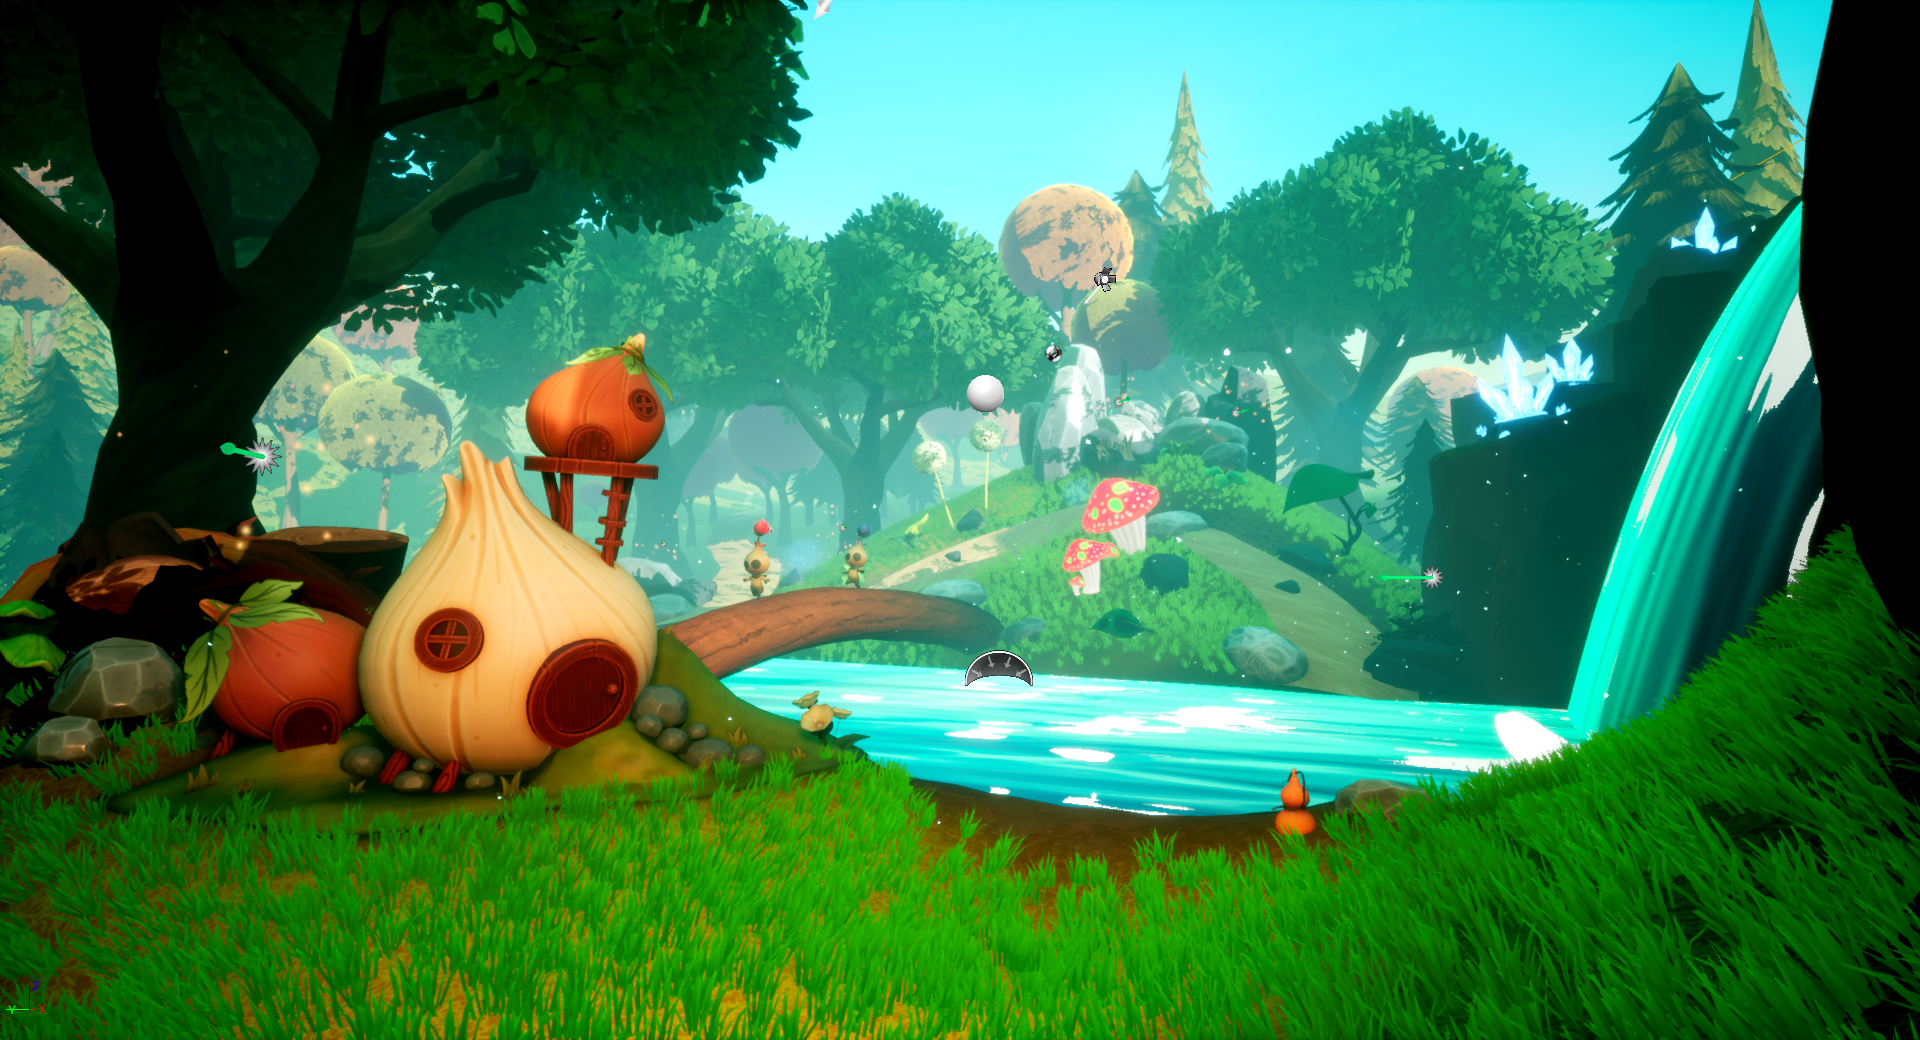
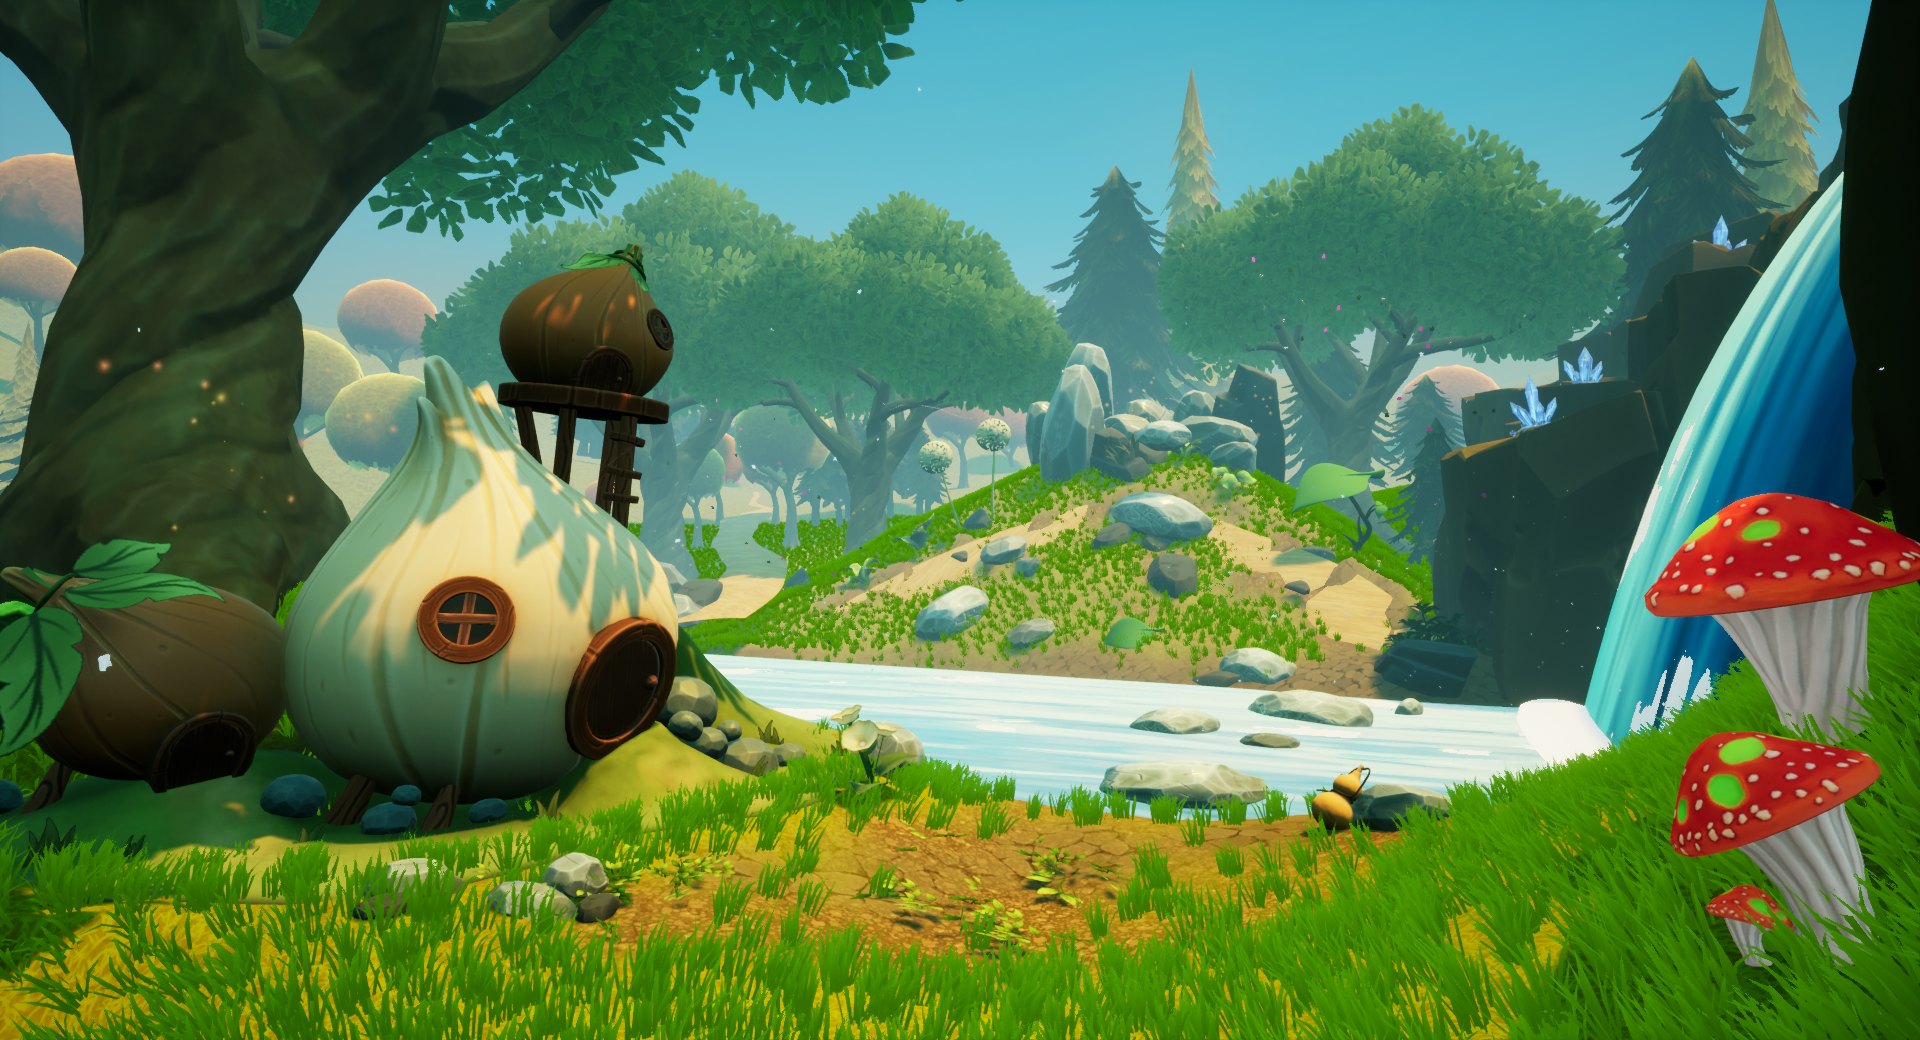
Lighting process Breakdown It was already confirmed that I had to make a night scene to fit within level 2. Even though I needed to make sure my secret level blended with level 2 night level, I still wanted my level to pop with more of a golden lamp light colors with the cool blue of the night which brought out more of the sky stars. I wanted my level to appear magical and feel like it was untouched by anyone in years.
I stripped the basic lights from my level, and then added new directional lights, spotlights for the moonlight effect, fill lights that the fireflies helped with, fog, reflections, post processing, and light mass importance volumes with a color gradient. Sam’s Blueprint lamps helped the most to guide the players; I simply changed the values to fit the mood I was trying to achieve with my level.
Lighting Progress Image Gallery:
Process of Main Menu:
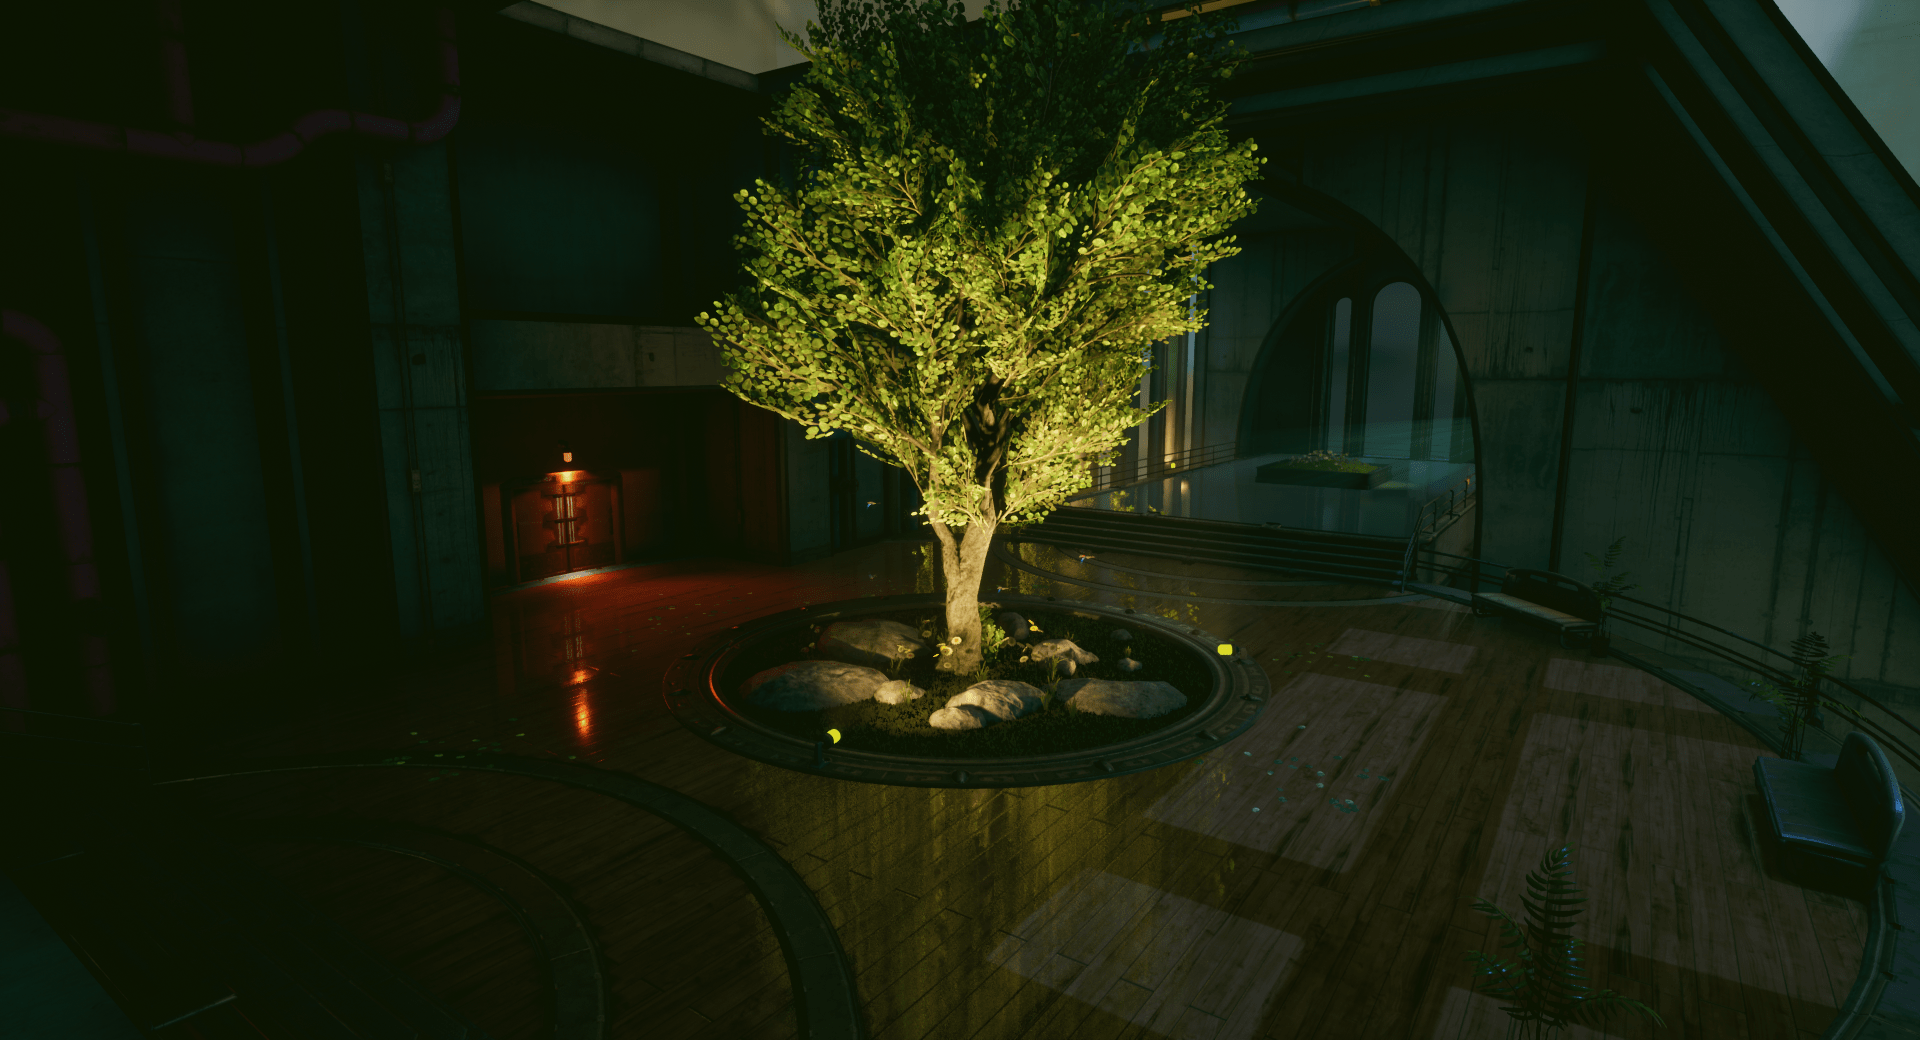
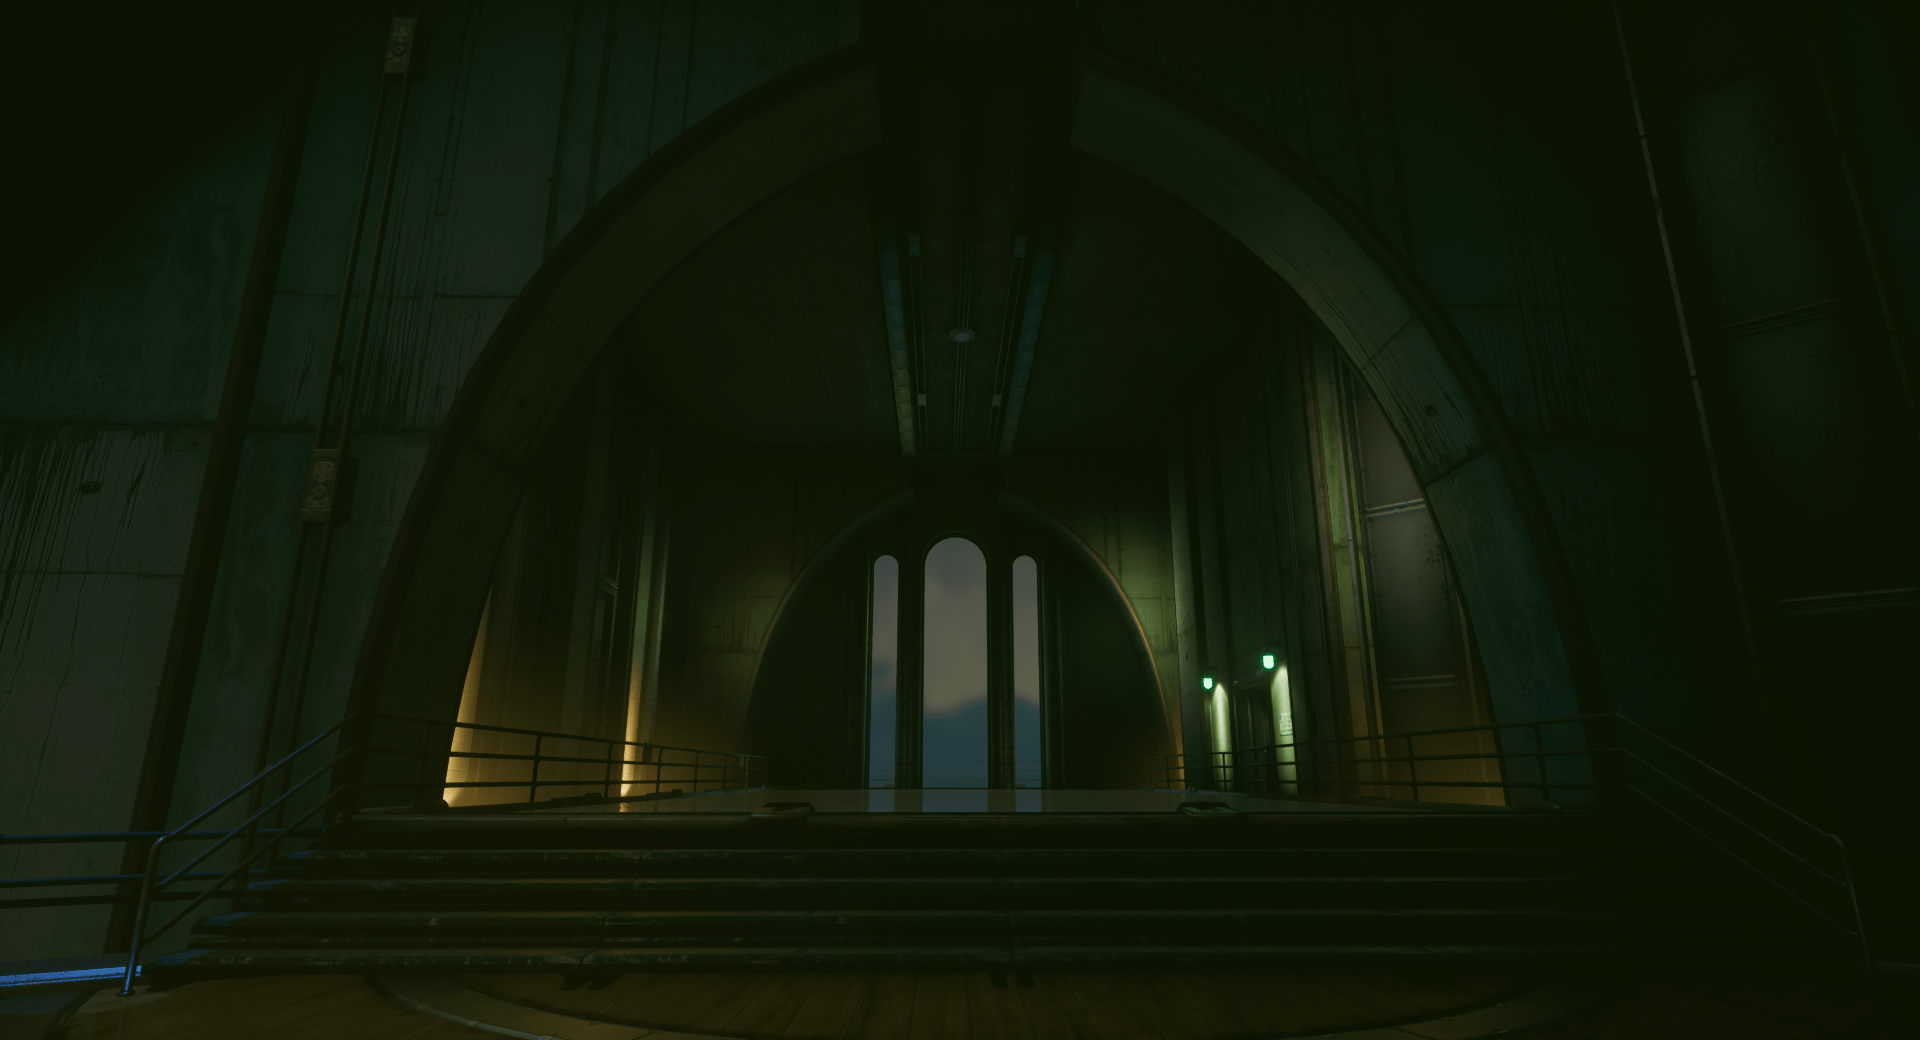
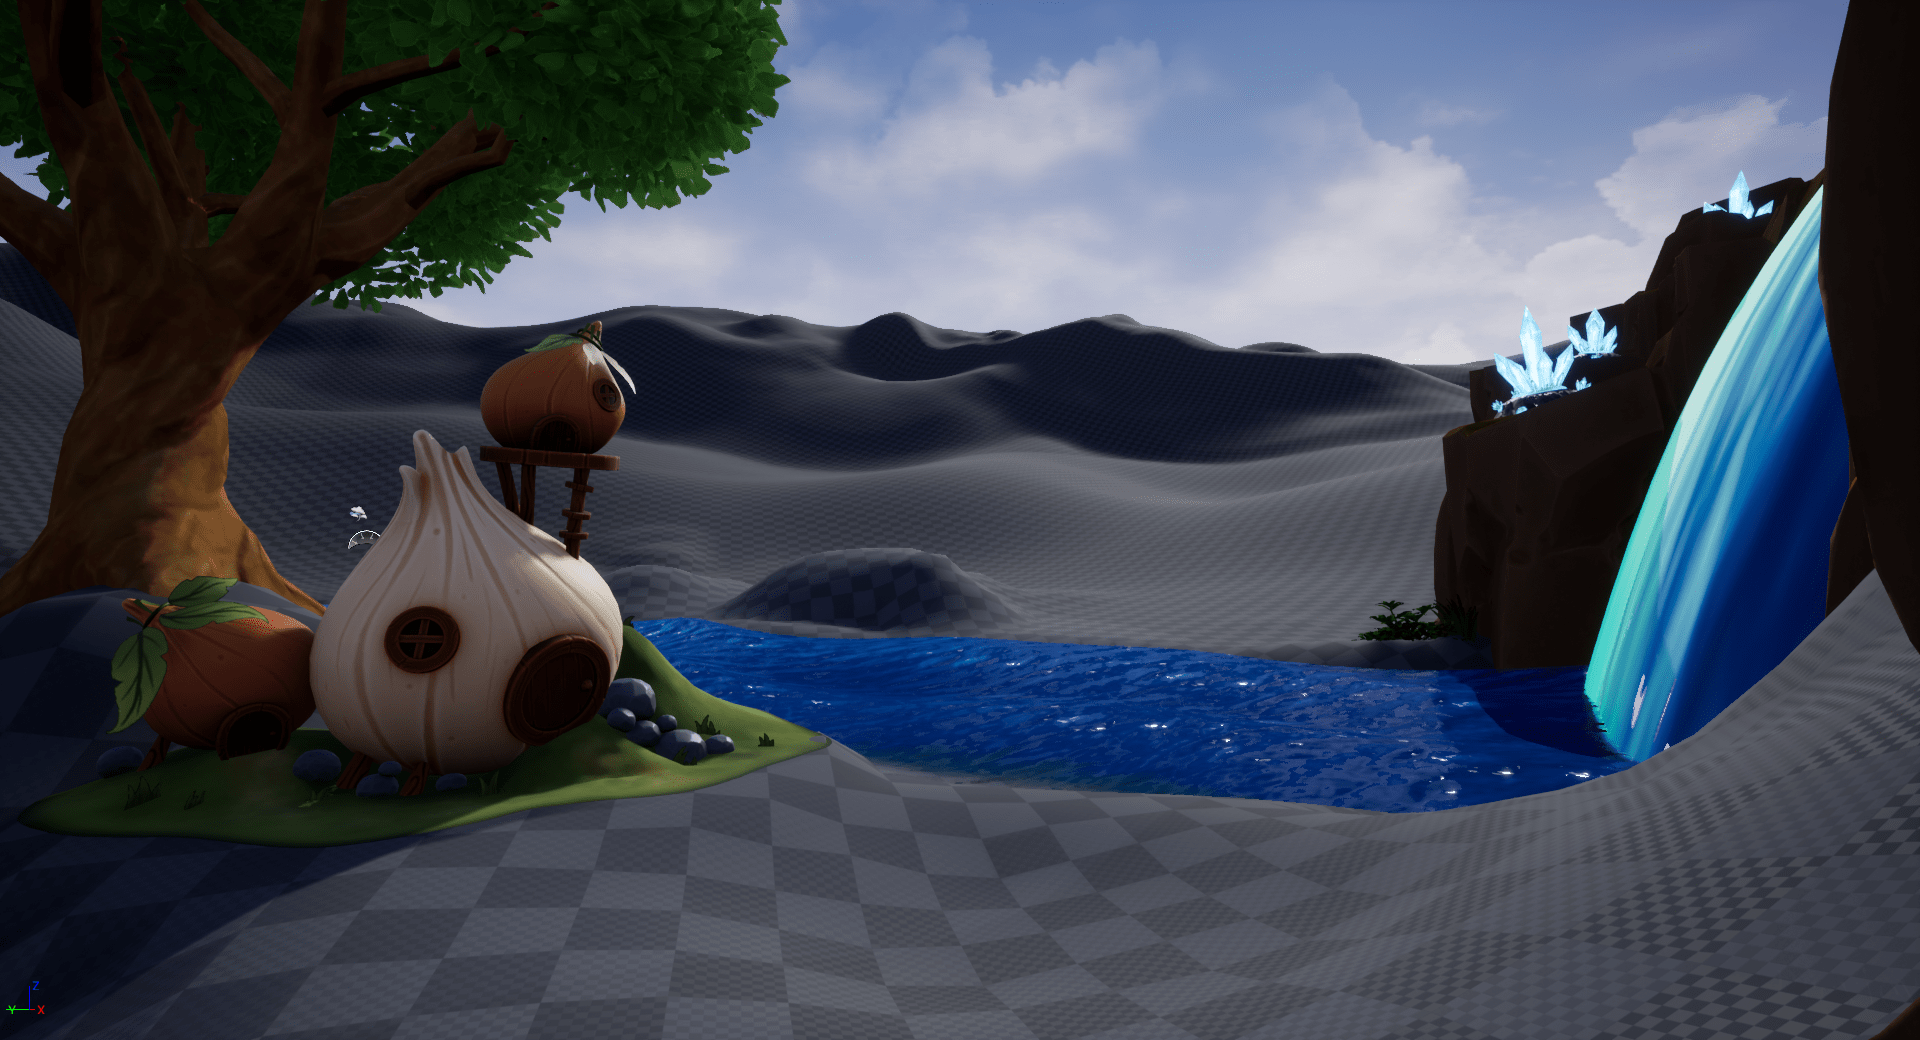
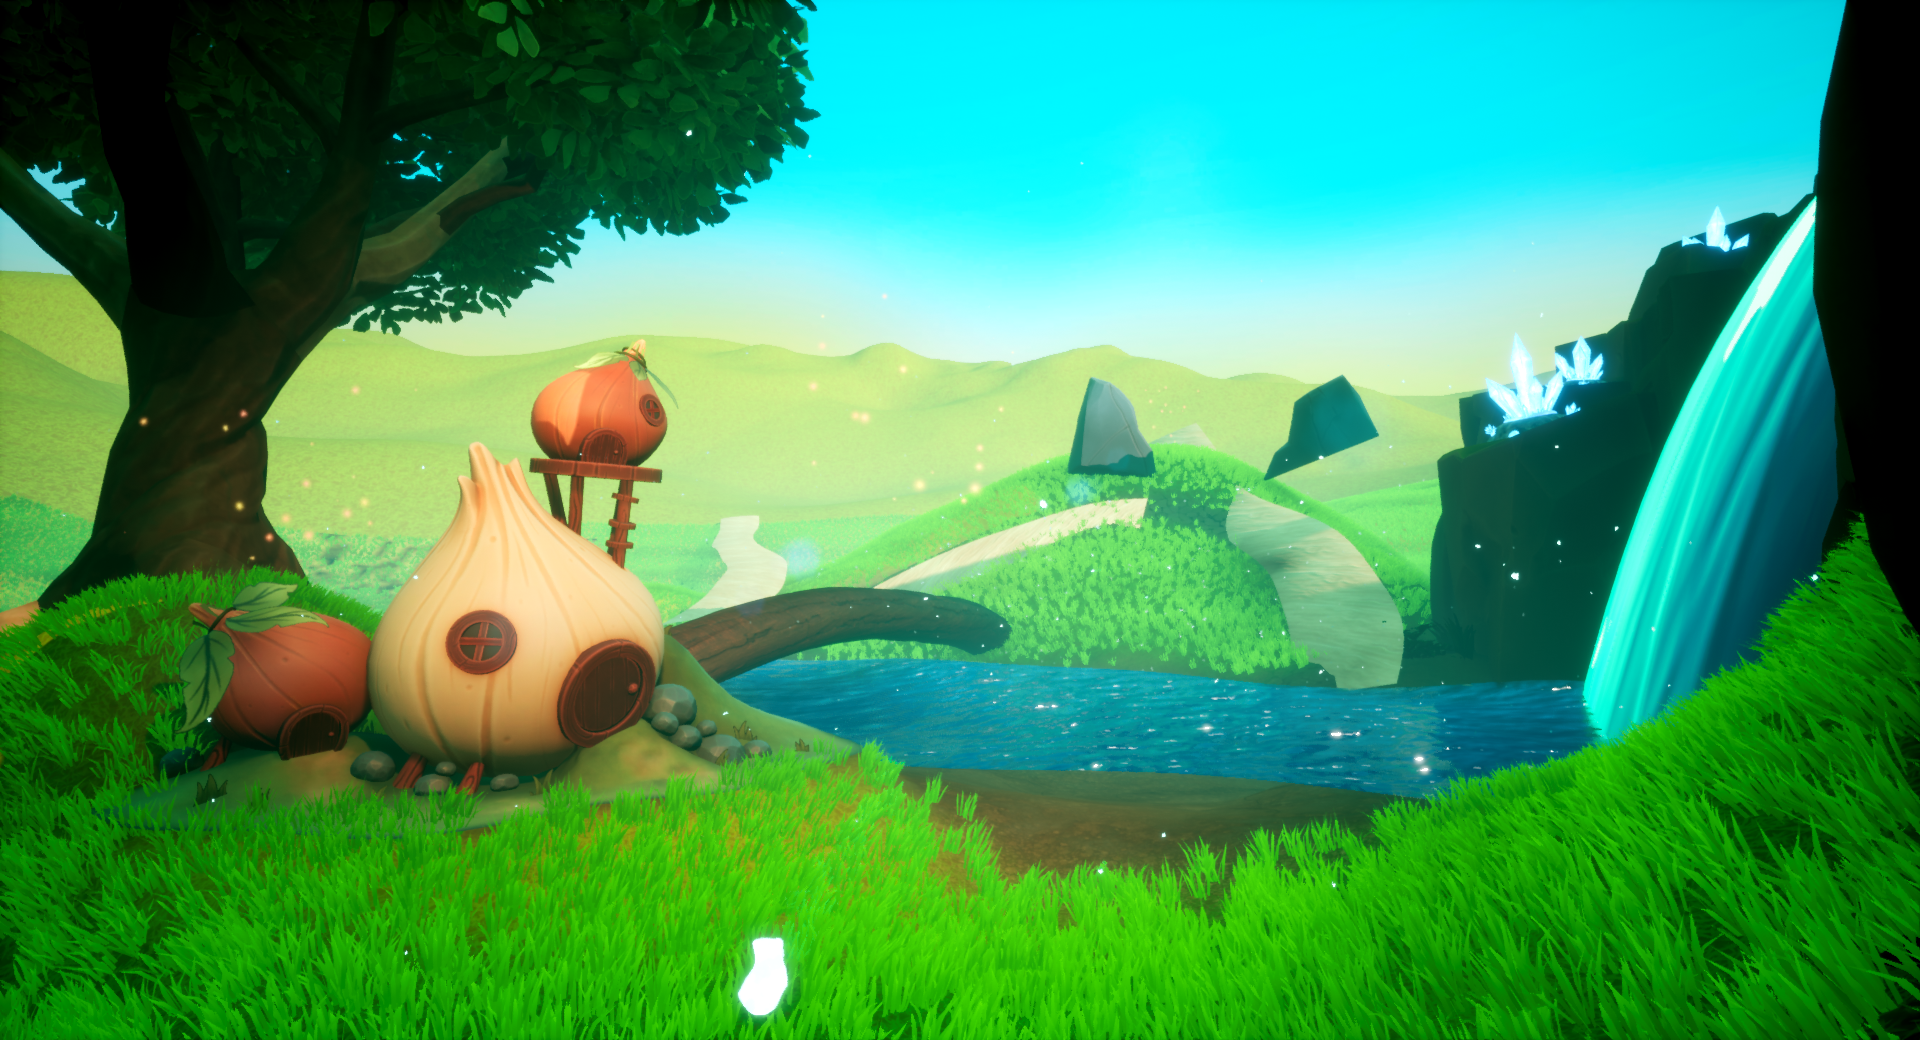
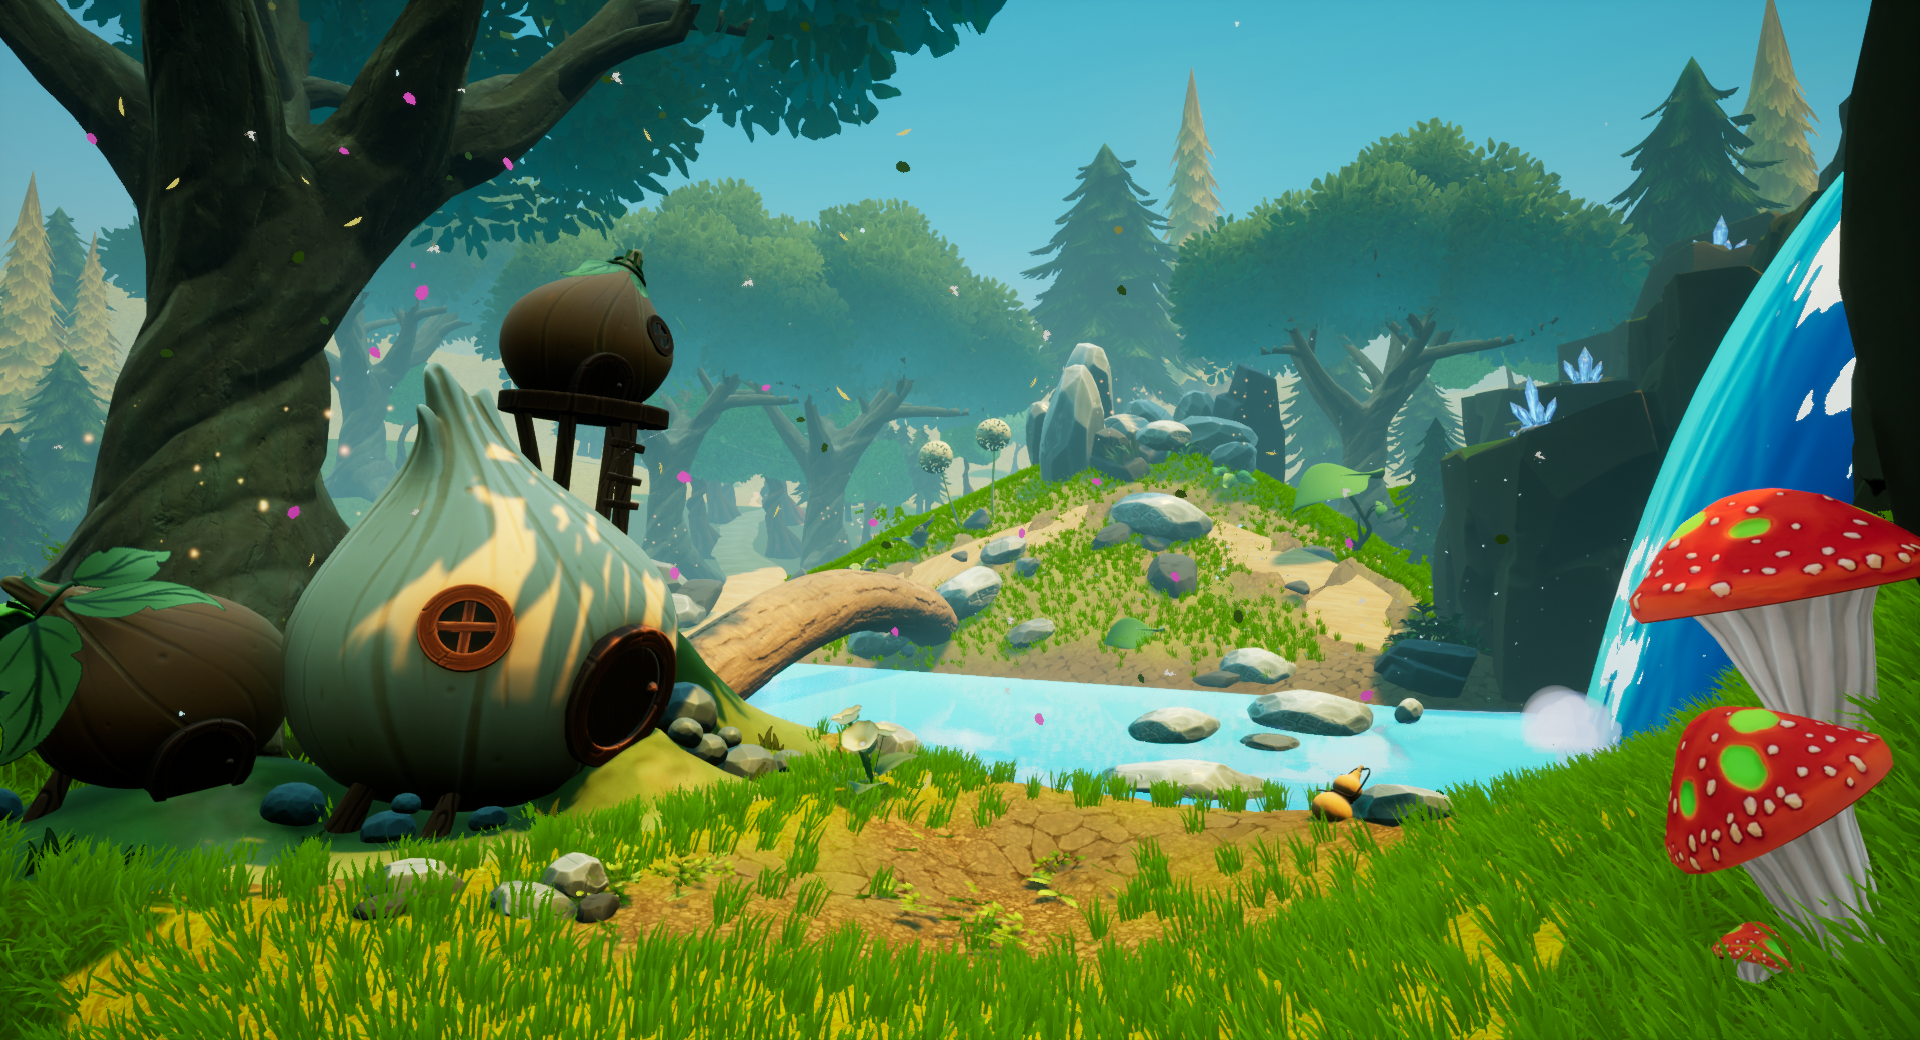
The Main Menu Breakdown I was assigned to create the Main Menu of the game inspired by the vision vignette designed by our Art Lead, Austin Labarbera. I sketched up ideas, enhancing his already amazing vignette idea. I have kept Austin’s main concept with the path, post processing, stream, small mountain, mechanics feature, and rock formation. I added the house, waterfall, trees, rocks, HDRI, different tree variations, and changed the lighting values and directional light to reflect a time more around sunset than mid-day.
Austin’s vignette close-up of the Keepers running.
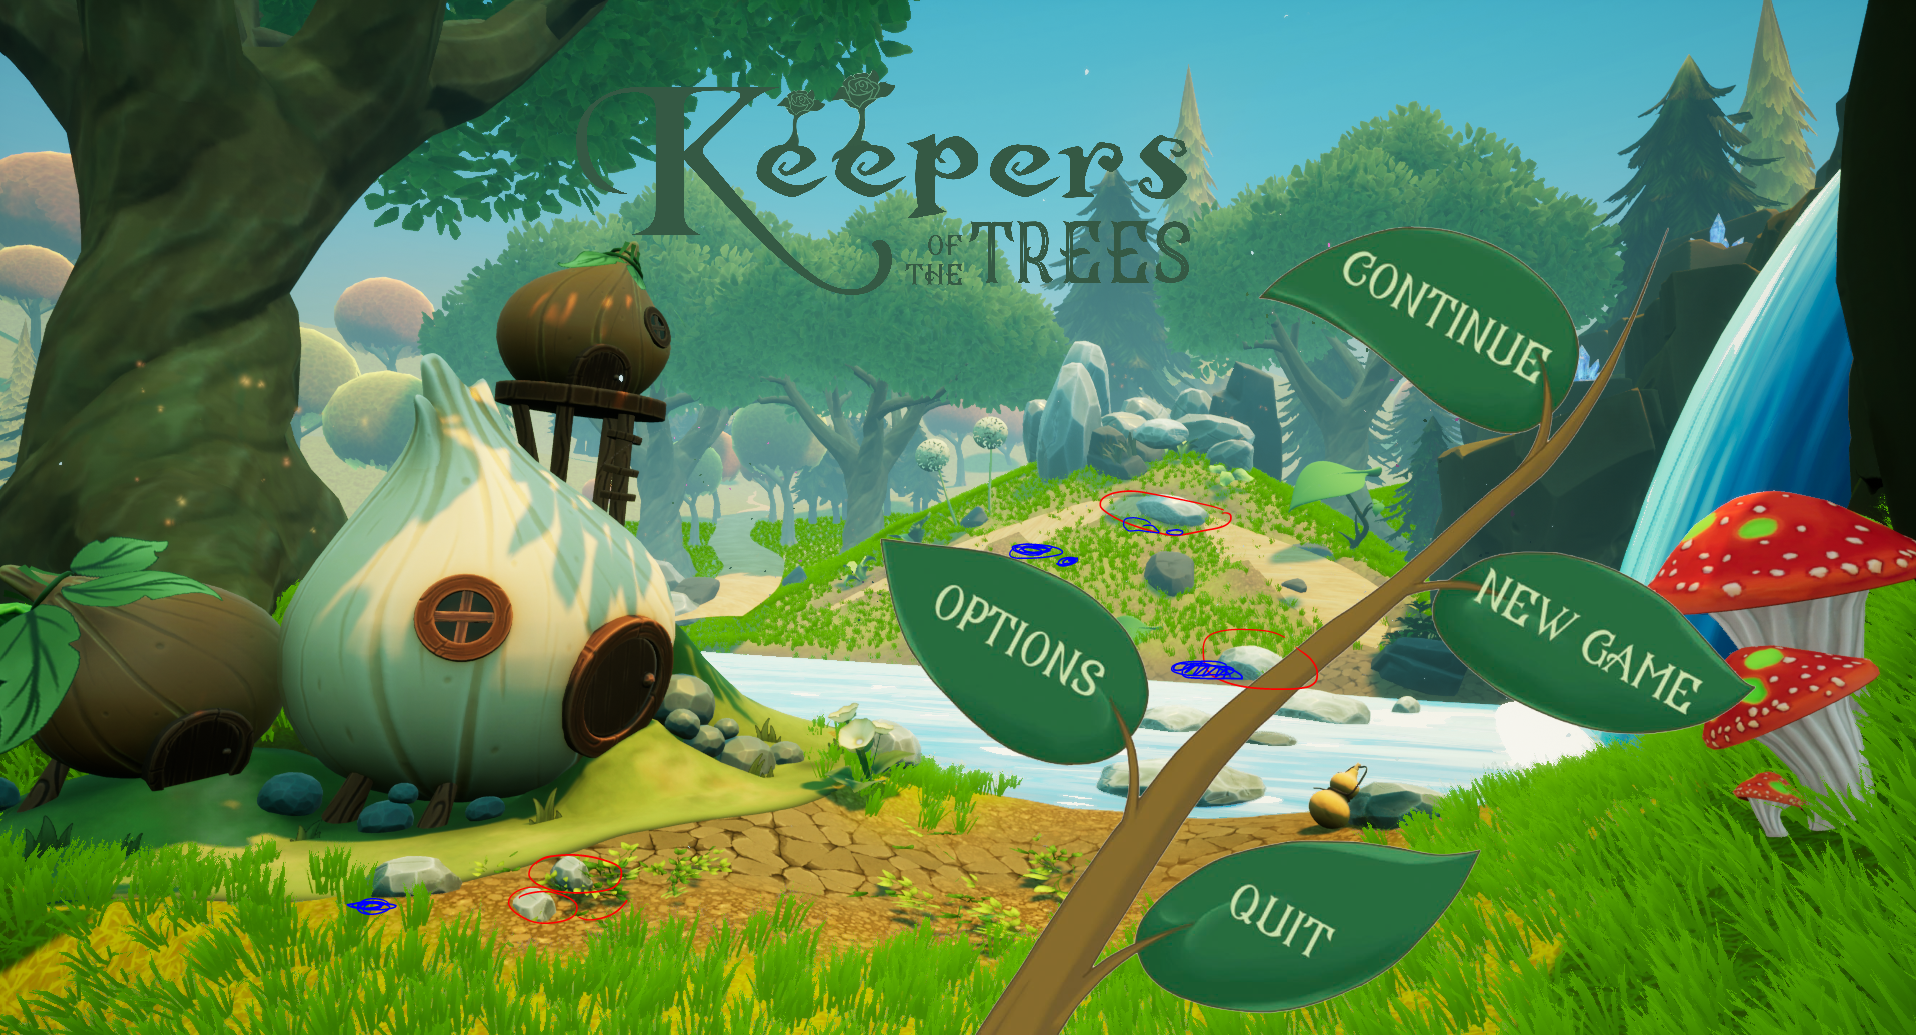
Menu Sketchs:
Main Menu Progress Images:
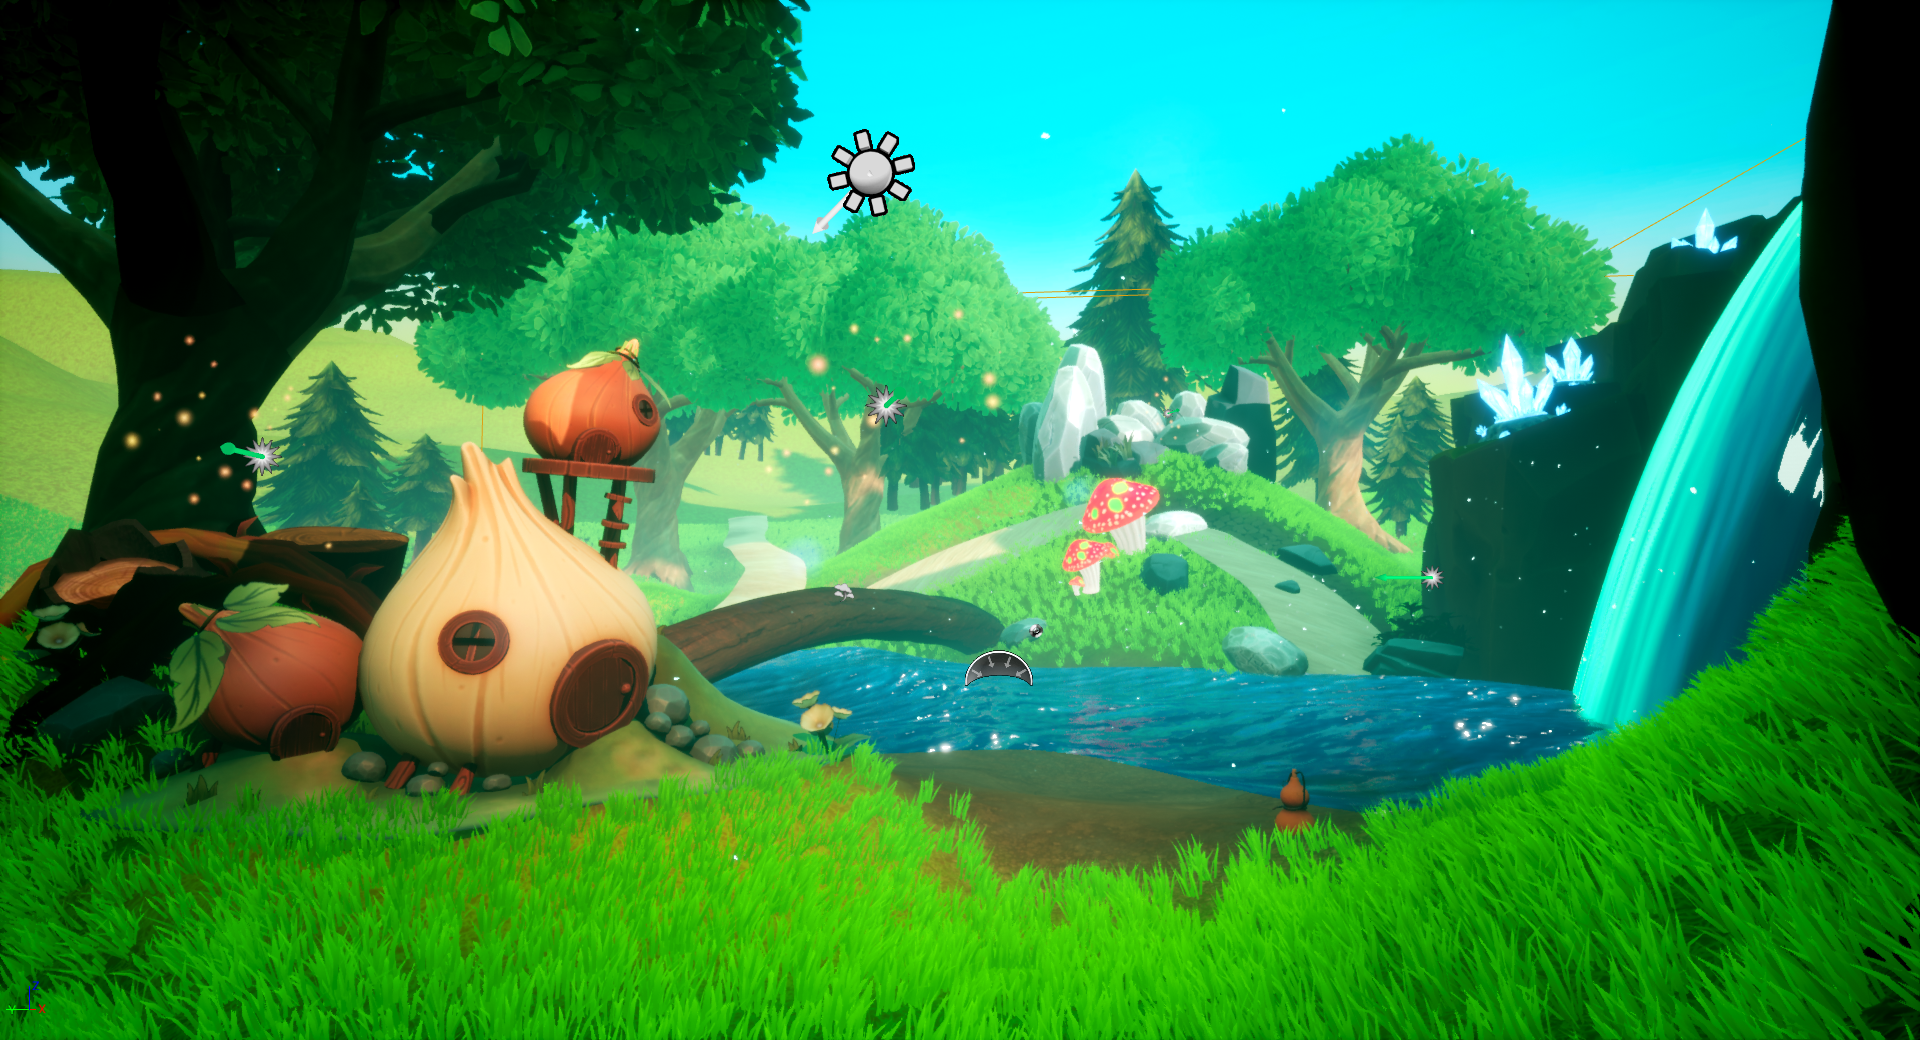
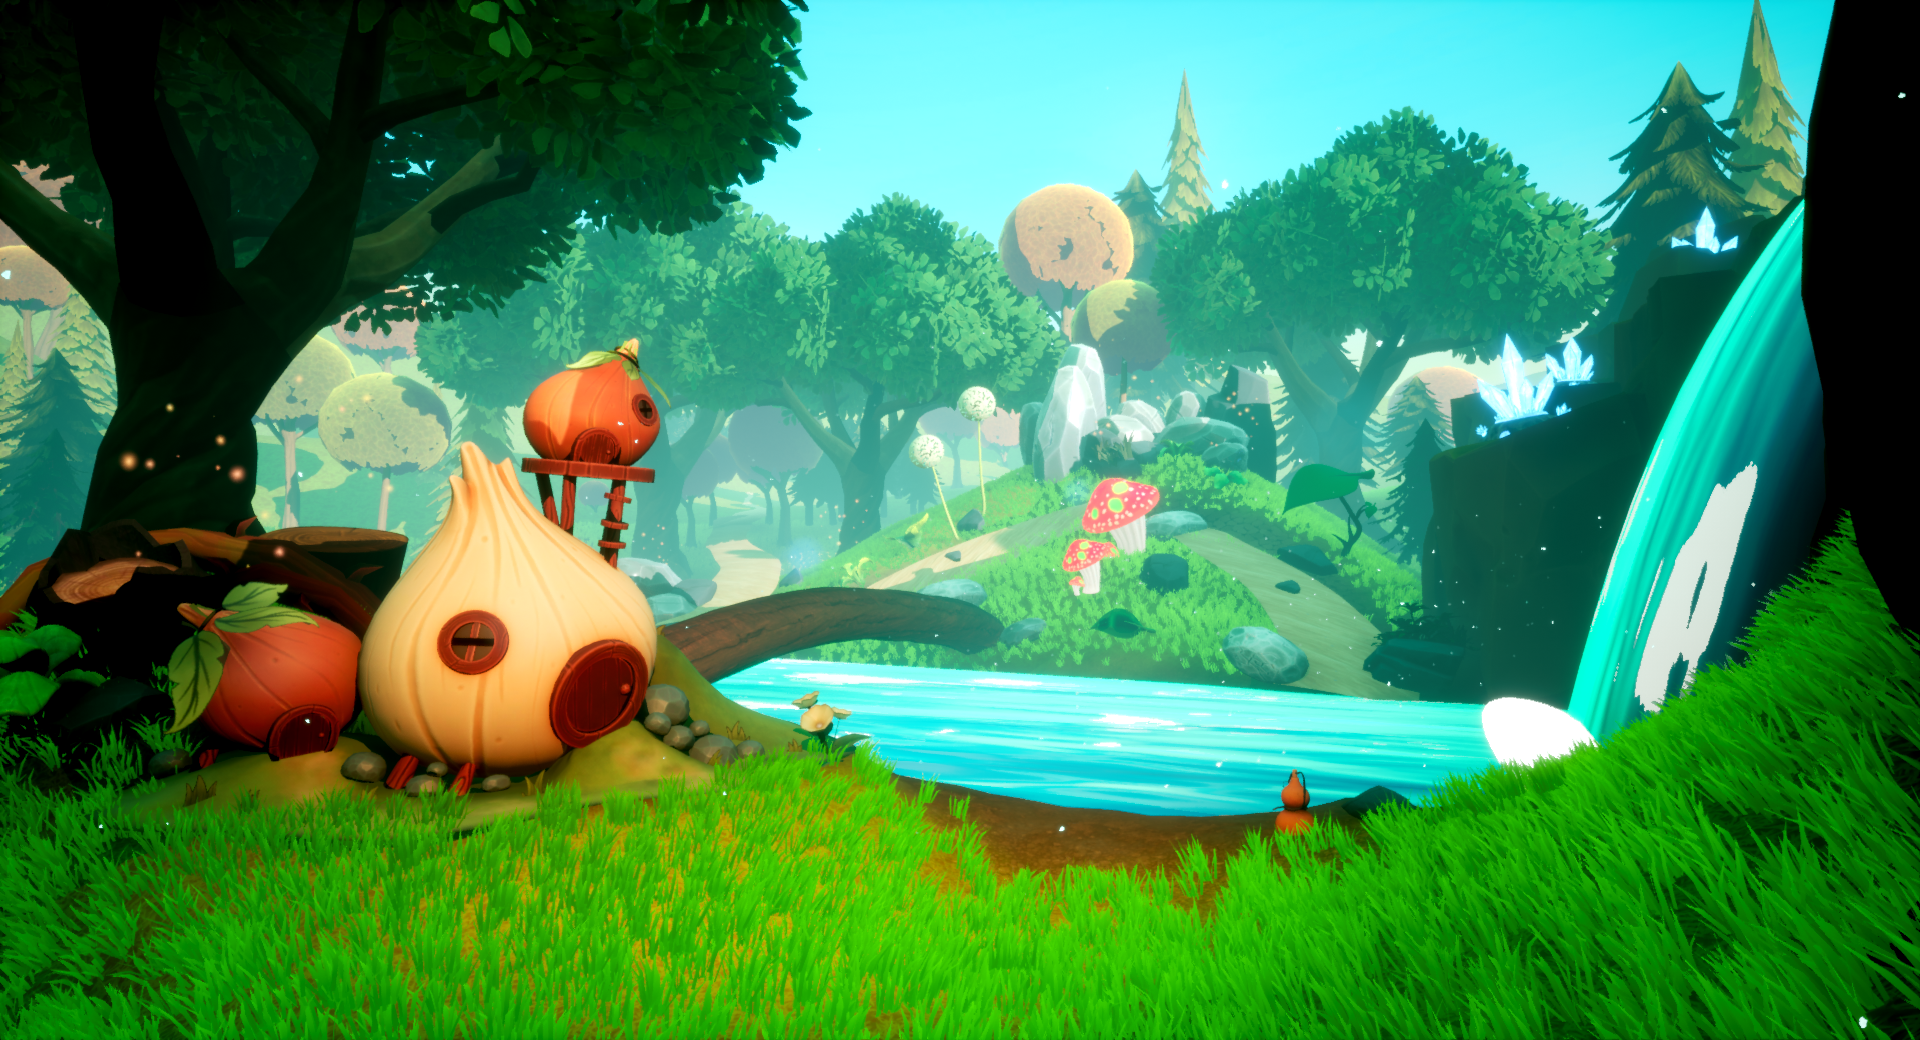
Current Game Menu Vignette:
Menu Vignette without buttons.
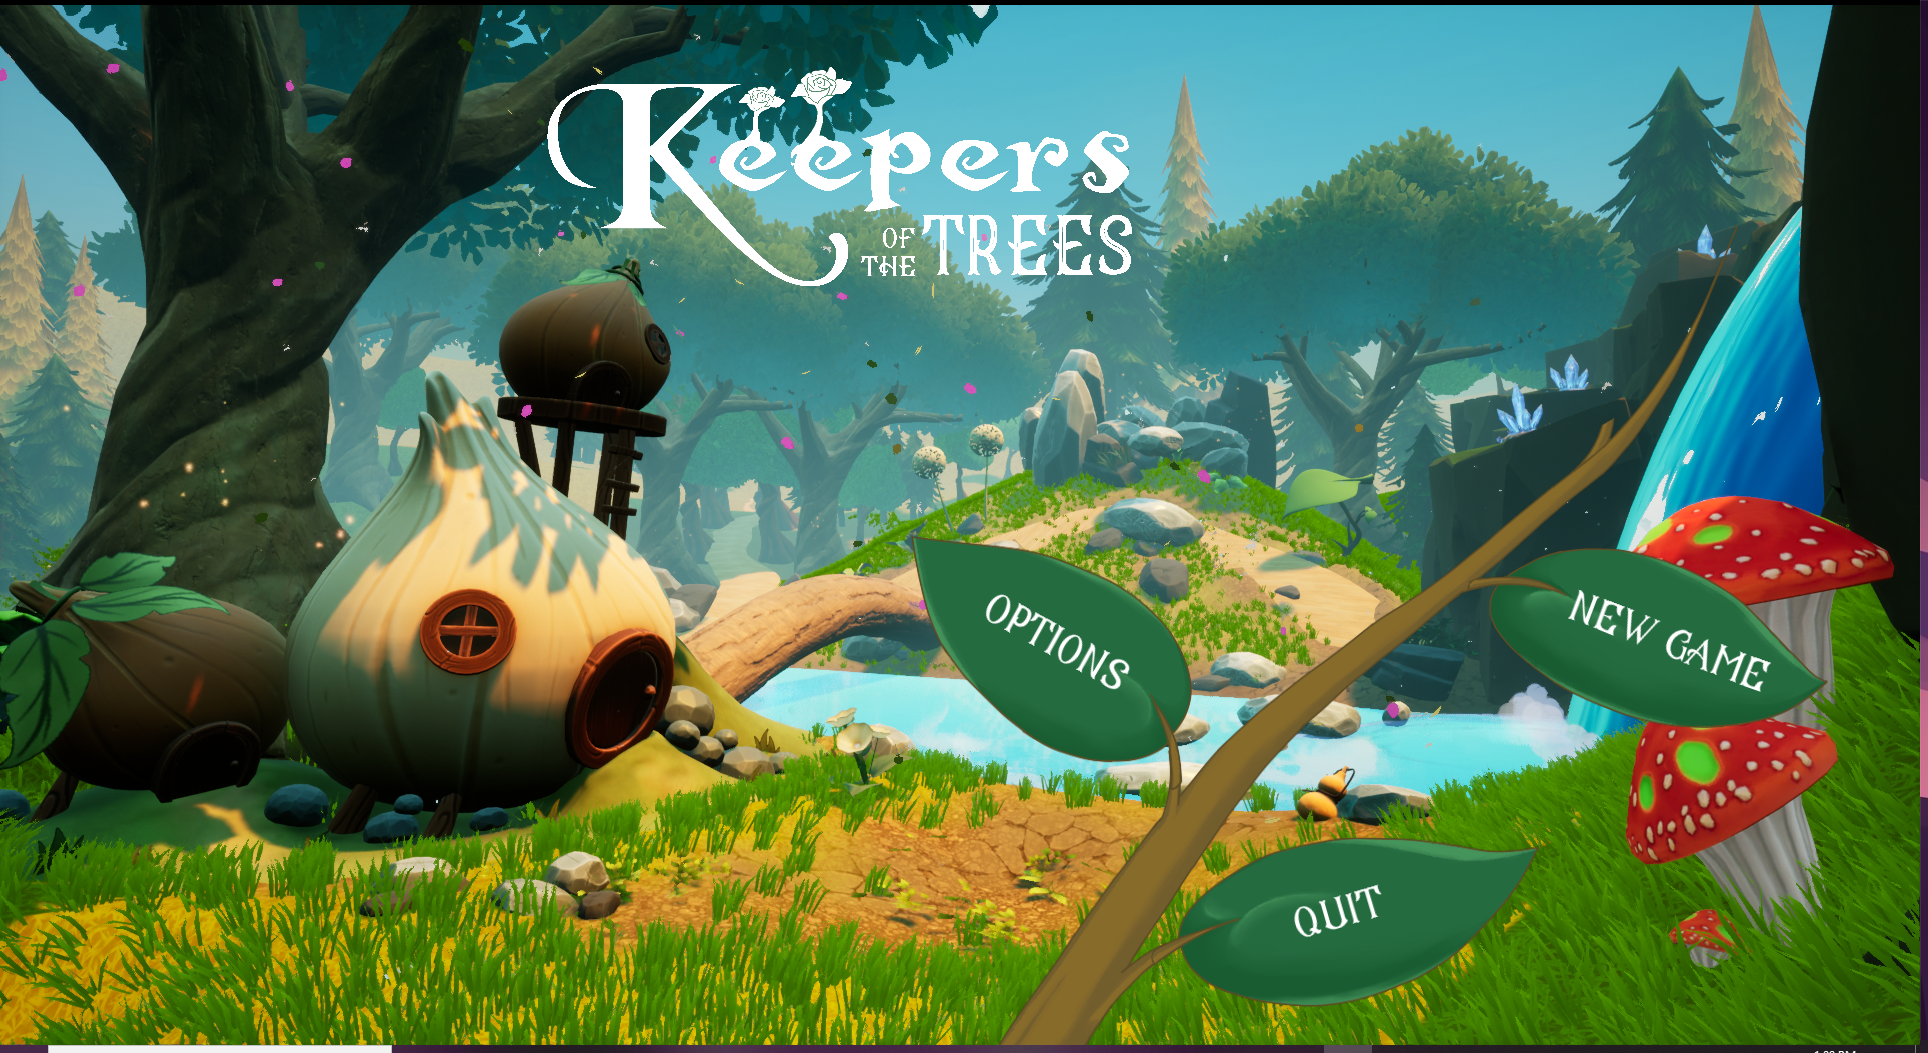
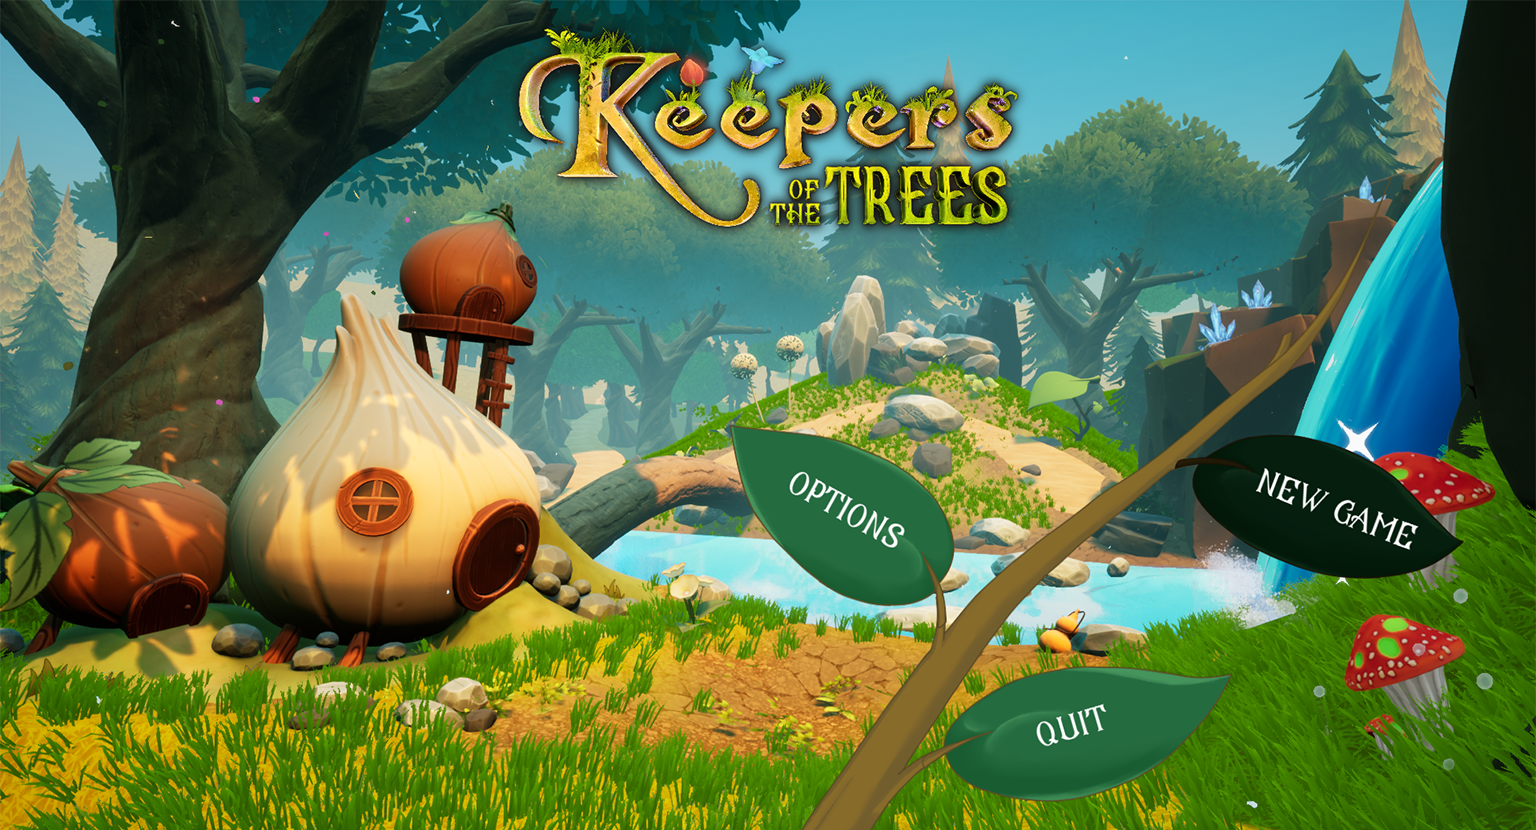
Current Game Menu with Buttons:
Menu with buttons. Buttons were created by a contractor.
Student Showcase | Fall 2020
Our game was featured in the Student Showcase Fall 2020. You can find it starting at 1:20! Enjoy!
SPECIAL CHALLENGES:
After we have started to finalize Pre-Production and starting Production phase, around early March 2020, the COVID-19 pandemic hit the entire planet and FIEA had us safely return home with all of our equipment for remote work. The entire team was committed to making our game top priority and showed drive and determination to continue the development of our game uninterrupted. It was not as easy developing a game during these unprecedented times but we transitioned to working remotely quite smoothly without missing a beat. Things we did as a team included:
Held online stand ups meetings at least twice a week, keeping everyone updated as to how things improved.
Held online Digital Show and tell – where everyone showed what they were working on.
Held “Core Hours” during workdays – hours where everyone would be available to each other to help answer questions or troubleshoot potential issues.
Got even more familiar with Jira and Confluence bug tracking tools.
Held online team bonding activities to help everyone stay in touch for not work-related issues as well.
Held online playtesting on Discord – where we were able to play with each other and watch volunteer game testers play our game.
These steps helped our production process during these challenging times.